
Apple and Herb Turkey Brine (With Step-by-Step Tutorial for Brining)
This post may contain affiliate links, meaning that I may receive a commission at no cost to you if you use a link provided. All opinions shared are my own. You can review my full disclosure policy here.
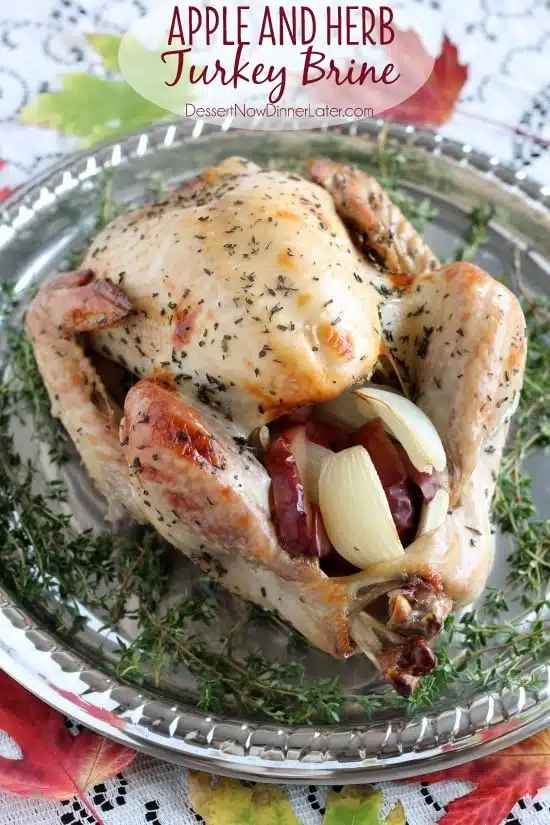
Our favorite Apple and Herb Turkey Brine with step-by-step photos on how to brine and cook a turkey to juicy perfection, just in time for Thanksgiving!
Thanksgiving will be here before you know it, so I will be giving you several recipes to consider for your holiday meal within this week and next! The first of which, is the Turkey! Better start with the most important part of the meal, right?!
Let me tell you, we ONLY ever brine our Turkey and roast it in a bag every year, because it NEVER fails to disappoint us with juicy, succulent meat! It takes some planning ahead, but of all meals year round, Thanksgiving and Christmas meals are typically planned, right?!
First off, you need to thaw your turkey in the Refrigerator up to 1 week early. Our 9 1/2 lb bird in this tutorial took 4 days to thaw completely under refrigeration (which is the safest way to thaw meat.)
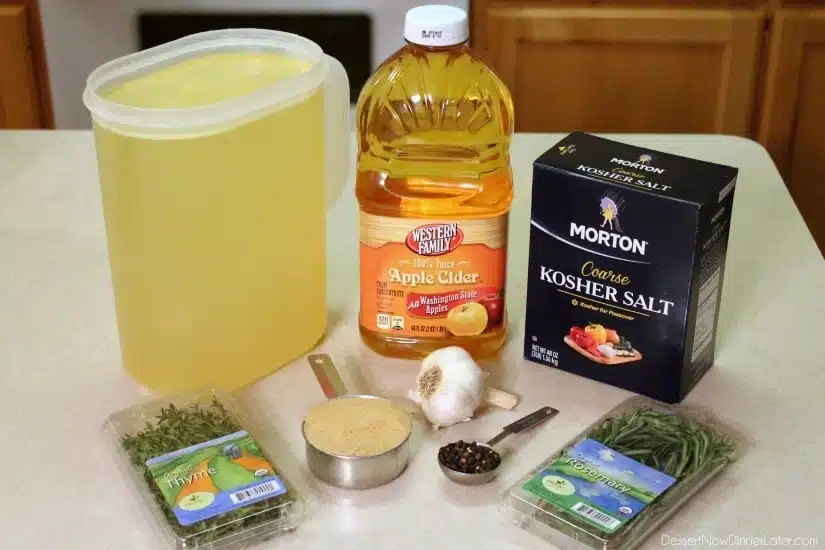
The recipe I’m sharing today is for our favorite, and simple, Apple and Herb Turkey Brine. It’s basically chicken broth, apple cider, garlic, brown sugar, peppercorns, thyme, rosemary, and SALT, of course. That is the trick to brining. The salt traps the moisture in! It was used in the early days for preserving foods, so that makes it perfect for brining!
You will be preparing your turkey the night before baking so that it has time to soak in all the aromatics and salt from the brine.
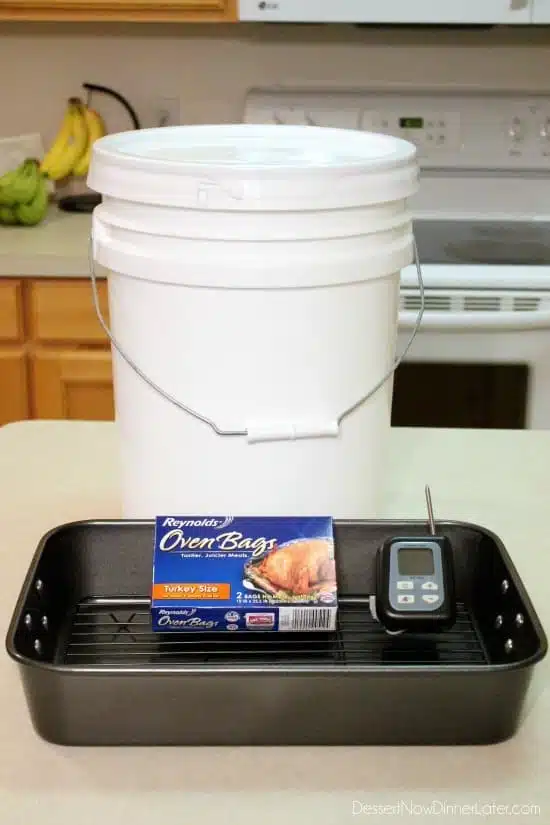
You will also need a large clean bucket or stock pot with a lid (we only use this bucket for our Thanksgiving turkeys), a roasting pan, a turkey size oven bag, and a reliable oven-safe meat thermometer.
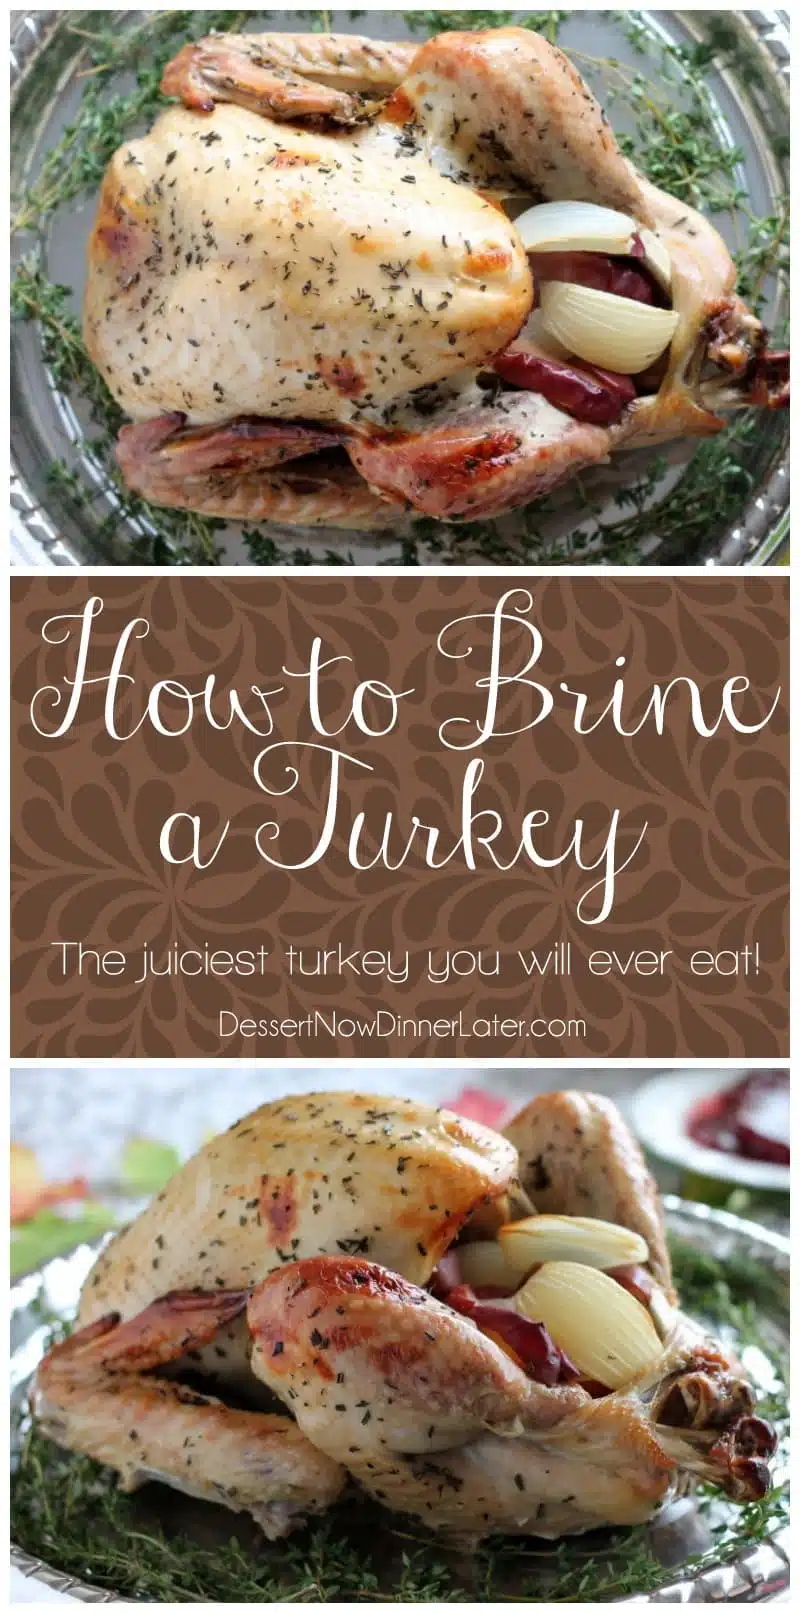
Okay, now that you have your supplies, are you ready to learn how to brine a turkey? It is life changing! No more dry Turkey on Thanksgiving day. We even roasted this bird until 180 degrees Fahrenheit instead of just the standard 165 degrees Fahrenheit for poultry, and it was still juicy and tender!
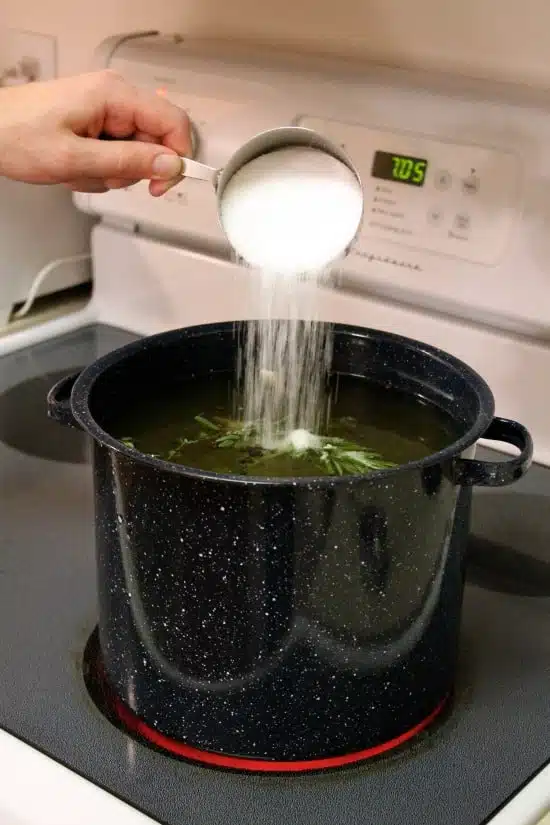
Basically what you want to do, is boil your brine to dissolve the salt and sugar. Then cool it down to room temperature.
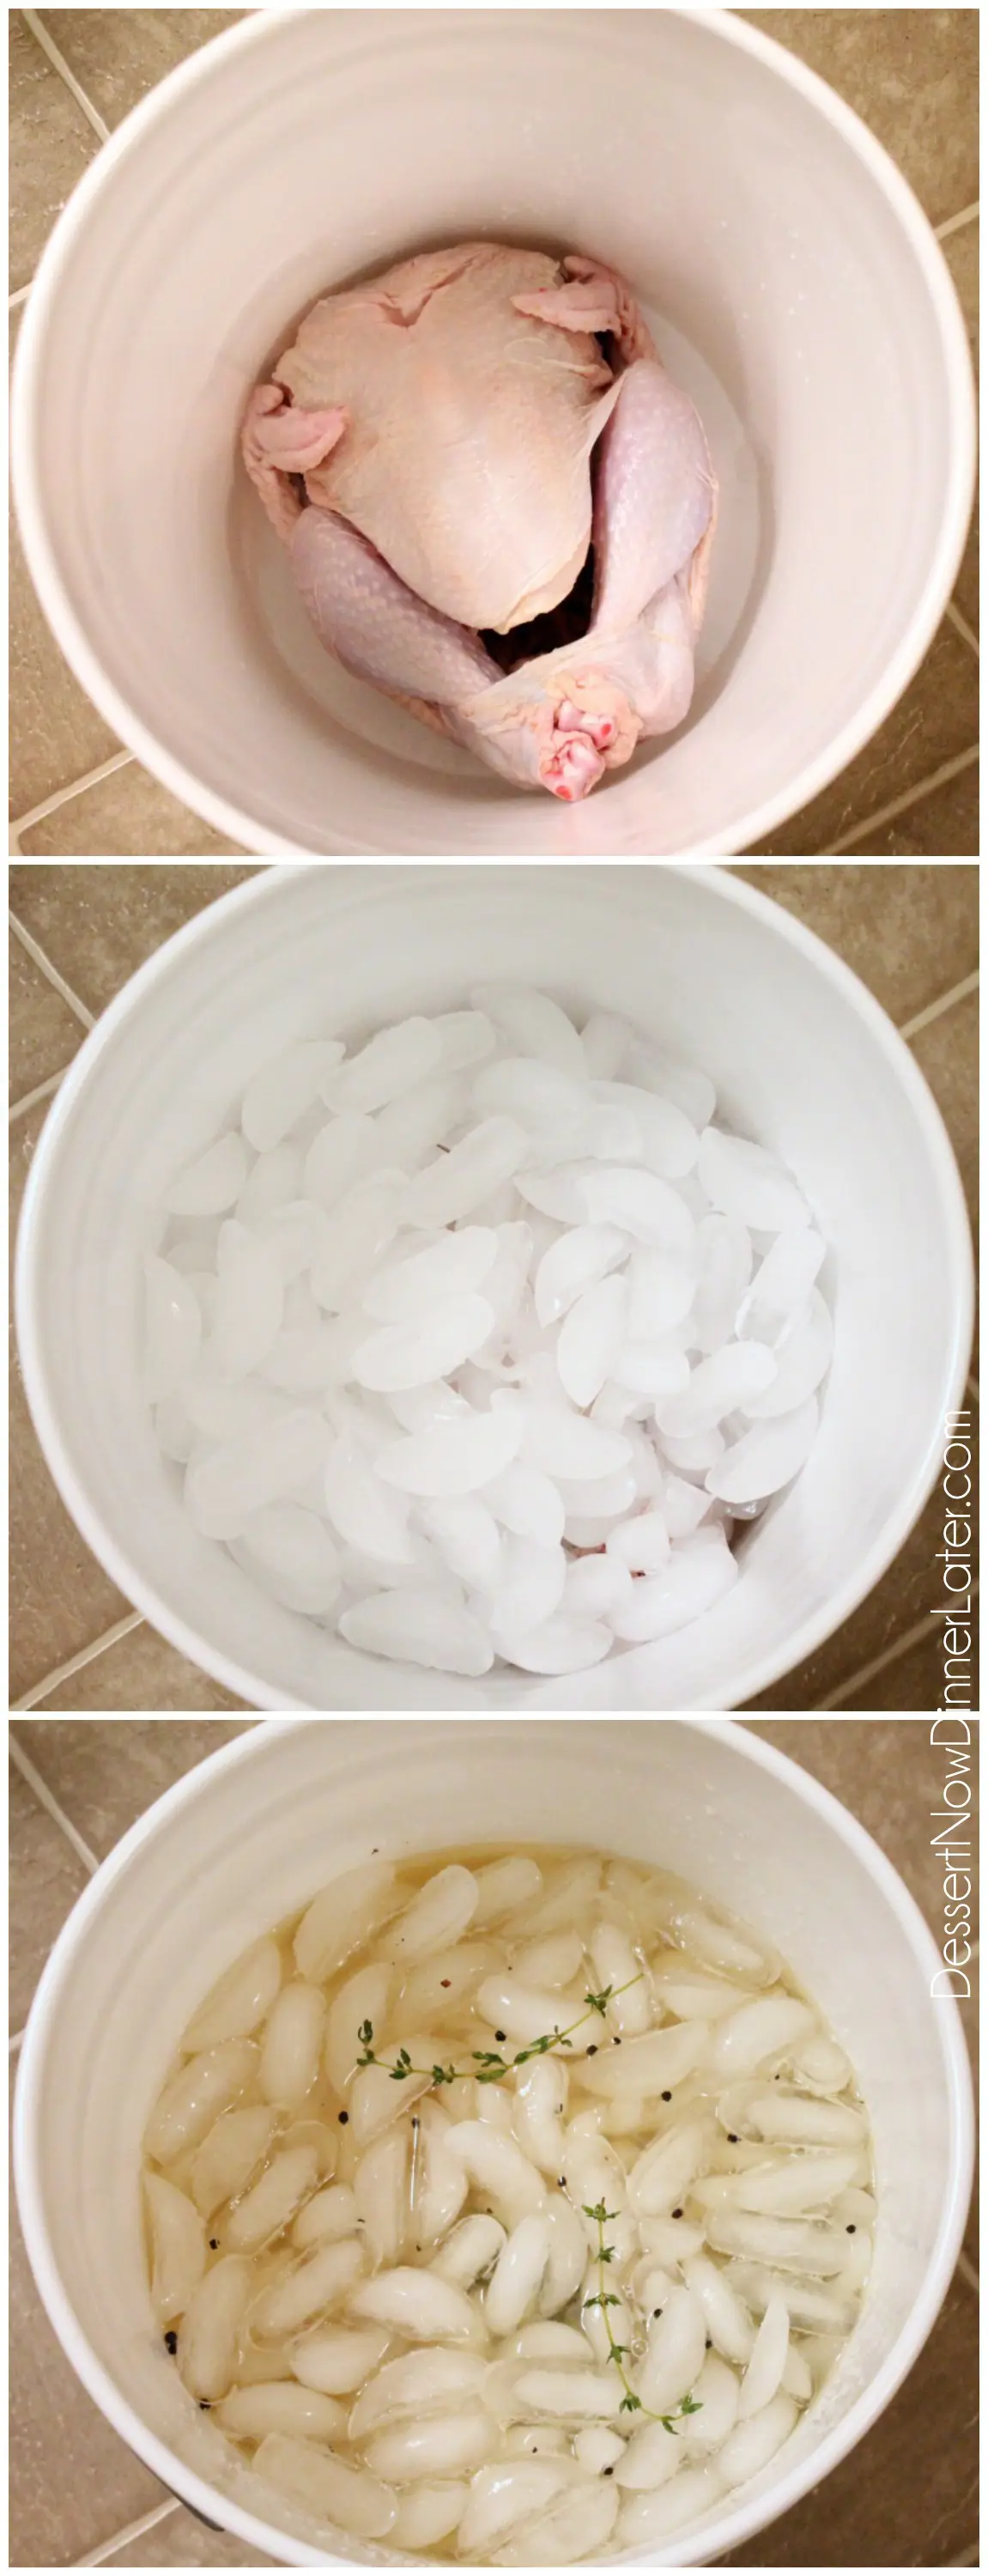
Thoroughly clean your bucket or pot that you will be submerging the turkey in. Rinse your turkey and remove and discard the neck and gizzards.
Place the turkey inside the bucket. Then you need to cover the turkey completely with ice (you may need to buy a 10lb bag or two depending on where you are storing your turkey for the night.) Then pour your cooled brine into the bucket. Your turkey should be completely submerged. If not, add a little more water or broth.
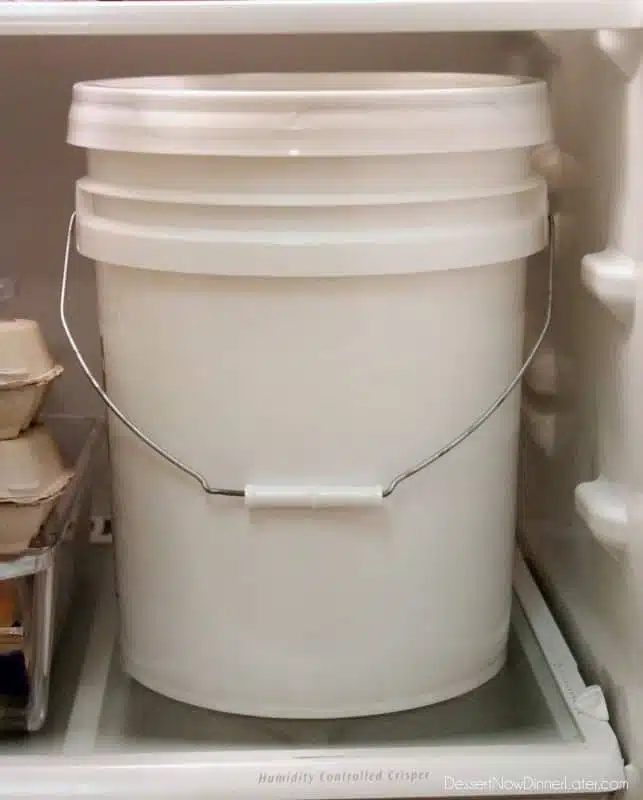
If possible, create a spot for your turkey in the refrigerator, and let it soak for 12 to 24 hours before baking time.
If your fridge is stuffed with pies and other Thanksgiving ingredients, you may keep your bucket outside, if it’s cold, with a tight fitting lid.
You may also store it inside the coldest room of your house (the basement is great – if you have one) where it won’t be disturbed by little children and periodically add ice to it throughout the night/day to keep it cold.
Brining and baking your turkey in an oven bag seems to take less cook time, in my opinion. Our 9 1/2 lb bird took just under 2 hours.
When you are ready to start cooking, remove the turkey from the brine and set it in a clean sink. You may discard the brine at this point.

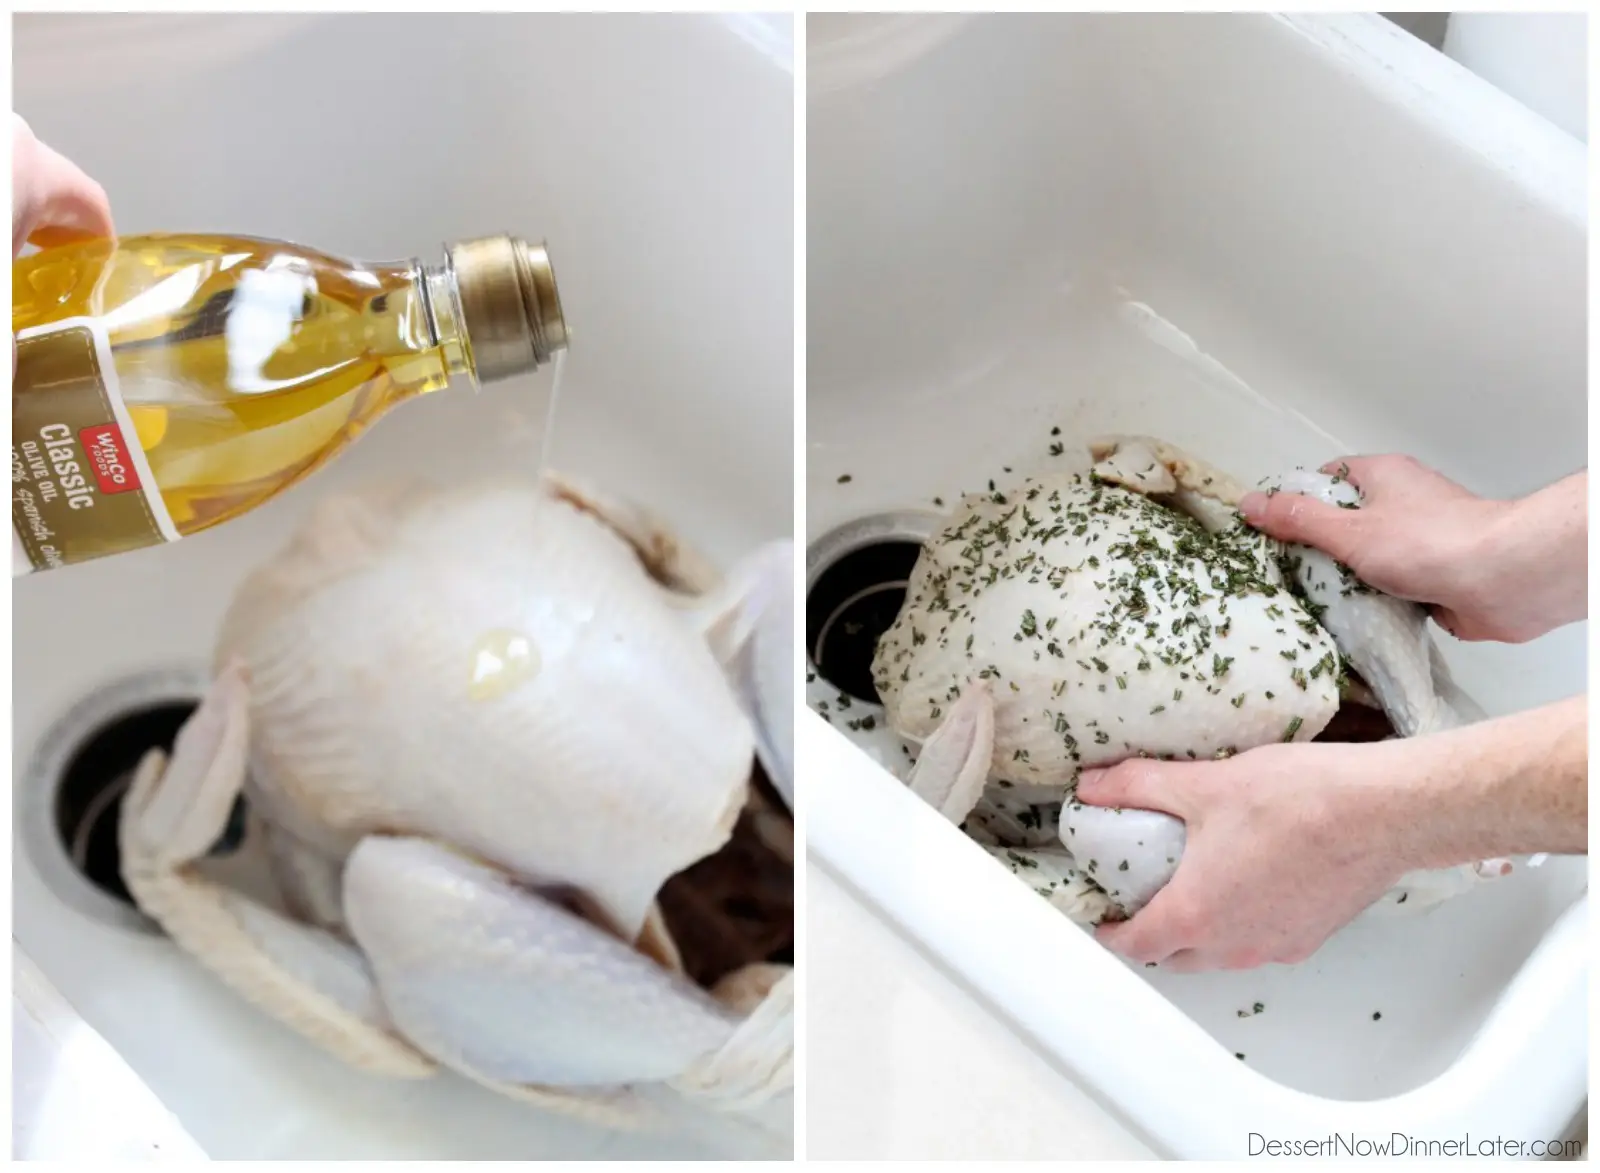
Thoroughly rinse the turkey and then pat it dry with a paper towel.

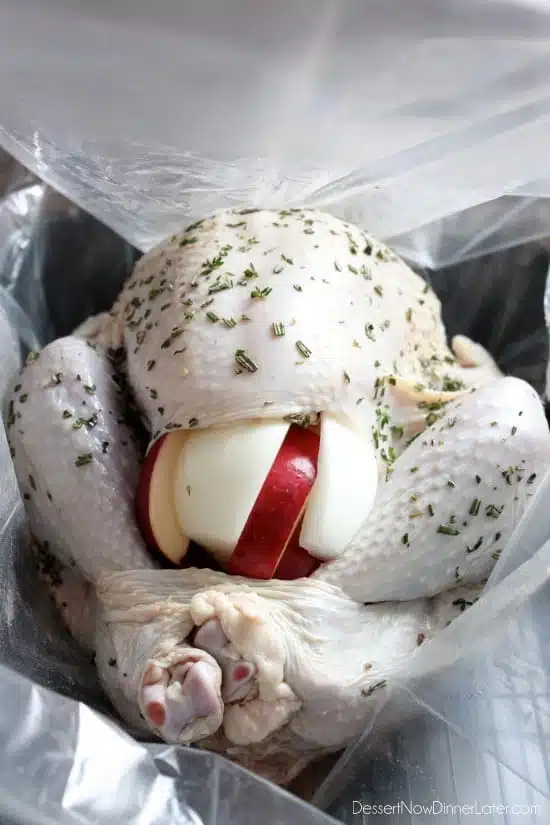
We like to rub the outside of ours with a light coating of olive oil and then some fresh chopped herbs, in this case, thyme and rosemary.
Place the turkey in an oven bag (which has been shaken with flour, if stated in the directions on the box) and place the bagged turkey inside of a roasting pan. Stuff the cavity of the turkey with aromatics, such as onions and apples. (Celery is good too, if you have it.)
Close up the bag, cut 1/2-inch air pockets if instructed to do so from the oven bag box, and insert your thermometer in the thickest part of the turkey breast. Set your thermometer to beep at you once it hits 165 degrees Fahrenheit.
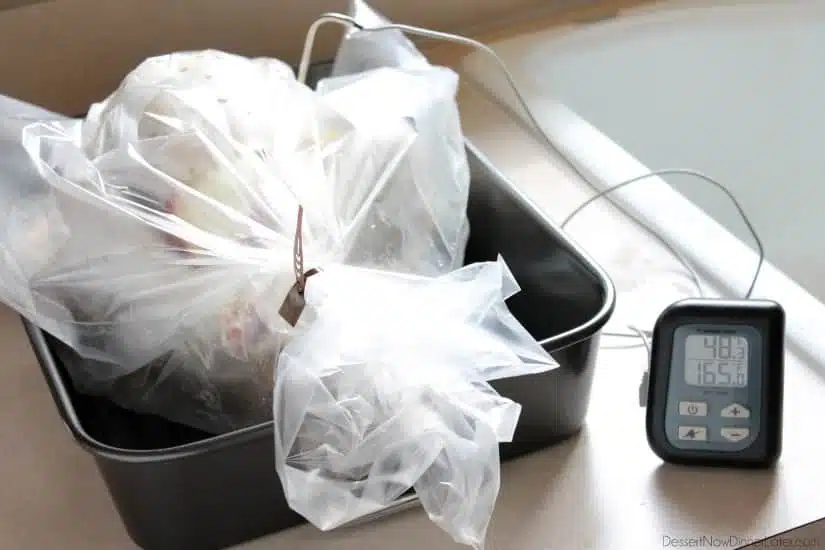
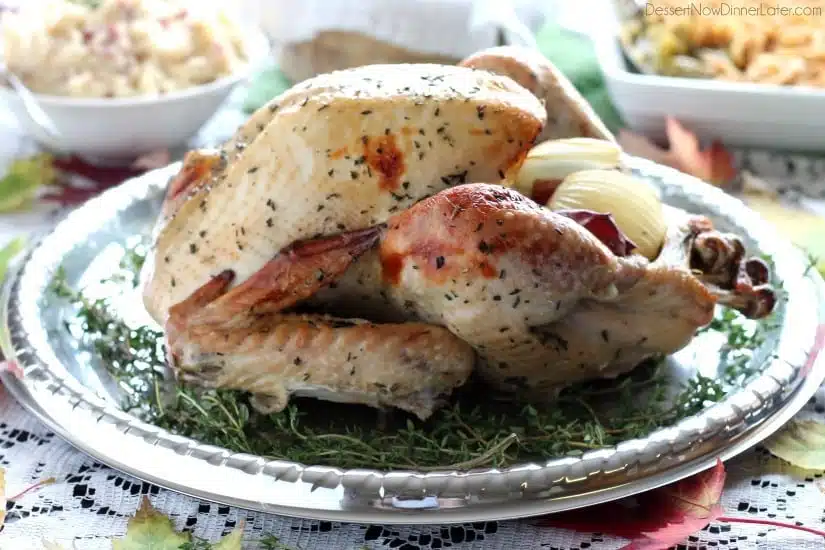
Bake at 350 degrees Fahrenheit until the thermometer beeps. The thermometer pictured above sits on your counter while the cord is still attached to the turkey inside the oven. Our 9 1/2 lb turkey took just under 2 hours to hit 165 degrees. I actually cooked it until 180 degrees trying to get it to brown a little more, for esthetic purposes, but it was still dang juicy even at 180 degrees Fahrenheit.
Remove the turkey from the oven, cut off the bag, save the juices for gravy (recipe coming next week), and let the turkey rest for 15 minutes before slicing. This way the juices will stay inside the meat instead of running over your cutting board.
I hope you enjoyed this tutorial and have success with your Thanksgiving Turkey! Here is my specific recipe for the brine:

Apple and Herb Turkey Brine
Ingredients
Equipment:
- 1 5-gallon bucket and lid (like a brand-new paint bucket and lid, washed well)
- A reliable oven-safe meat thermometer
- 1 Oven Bag - Turkey Size
- Heavy-duty roasting pan
Brine:
- 1 turkey (up to 12 or 14 lbs, anything bigger than that tastes gamey; if you need more meat, opt for an additional turkey breast or second turkey)
- 1 gallon chicken broth
- 1/2 gallon apple juice or cider
- 1/2 cup brown sugar
- 1 cup kosher salt
- 1 sprig rosemary
- 2 or 3 sprigs thyme
- 1 Tbsp whole peppercorns
- 5 garlic cloves,smashed
- ICE, consider buying a 10lb bag or two
Ingredients for Roasting:
- 1 to 2 Tbsp olive oil
- 2 Tbsp fresh rosemary, chopped
- 2 Tbsp fresh thyme, chopped
- 1 apple, cut in chunks or thick slices
- 1 onion, cut in chunks or thick slices
Instructions
- About a week before you begin brining your turkey, place it in the refrigerator to defrost.
- The day before you roast your turkey, combine all the brining ingredients except for the ice in a very large stockpot. Bring to a boil and then remove from heat and allow to cool to room temperature. (It takes a while to cool, maybe 1 to 2 hours.)
- Thoroughly clean your bucket or pot that you will be submerging the turkey in. Rinse your turkey and remove and discard the neck and gizzards.
- Place the turkey inside the bucket. Cover completely with ice (you may need to buy a 10lb bag or two depending on where you are storing your turkey for the night.) Then pour your cooled brine into the bucket. Your turkey should be completely submerged. If not, add a little more water or broth.
- If possible, create a spot for your turkey in the refrigerator, and let it soak for 12 to 24 hours before baking time.
- If your fridge is stuffed with pies and other Thanksgiving ingredients, you may keep your bucket outside, if it’s cold, with a tight fitting lid.
- You may also store it inside the coldest room of your house (the basement is great – if you have one) where it won’t be disturbed by little children and periodically add ice to it throughout the night/day to keep it cold.
- When you are ready to start roasting, remove the turkey from the brine and set it in a clean sink. You may discard the brine at this point.
- Thoroughly rinse the turkey and then pat it dry with a paper towel.
- Rub the outside of the turkey with a light coating of olive oil and then some fresh chopped herbs, in this case, thyme and rosemary.
- Place the turkey in an oven bag (which has been shaken with flour, if stated in the directions on the box) and place the bagged turkey inside of a heavy duty roasting pan. Stuff the cavity of the turkey with aromatics, such as onions and apples. (Celery is good too, if you have it.)
- Close up the bag, cut ½-inch air pockets if instructed to do so from the oven bag box, and insert your thermometer in the thickest part of the turkey breast. Set your thermometer to beep at you once it hits 165 degrees Fahrenheit.
- Bake at 350 degrees Fahrenheit until the thermometer beeps. Our 9½ lb turkey took just under 2 hours to hit 165 degrees.
- Remove the turkey from the oven, cut off the bag, save the juices for gravy, and let the turkey REST FOR 15 MINUTES before slicing. This way the juices will stay inside the meat instead of running over your cutting board. Enjoy your juicy turkey!
Notes
- Plan for 1lb of turkey in weight per person because you discard the carcus.
Nutrition Information:
Yield: 12Amount Per Serving: Unsaturated Fat: 0g
You Might Also Like...

Leave a Reply

Welcome!
Hi, I’m Amber! I am a culinary graduate and dessert lover! This is where I share my favorite sweet and savory recipes alongside my knowledge and skills as a culinary graduate. I hope you find something you like!


10 Comments on “Apple and Herb Turkey Brine (With Step-by-Step Tutorial for Brining)”
I am gonna try this recipe this year looks so yummy. We have started brining our turkeys last few years and love it! My sister in law said she heard from a famous chef not to brine your turkey cant imagine why because it tastes soo good that way!
Great! I wonder what famous chef said that and WHY they would say such a thing?! That’s crazy! I hope you enjoy our recipe! Let me know!
Brined in apple cider AND stuffed with apples?! Seriously, all the flavors you used in this turkey sound absolutely amazing! Love all your step-by-step photos and jeez that is one good-lookin’ bird!
This was a fun post to put together! We brine our bird every year, so I was glad to get it up on the blog this year! It’s Thanksgiving after all, so you better make that turkey count!
I brined my turkey for the first time last year and it was so tender and juicy! I’ll definitely be doing that from now on!
Awesome! My mom is crazy and isn’t convinced that it’s better. We seriously cooked ours to 180 degrees and it was still juicy. Do that without brining and you have a freaking dry bird!
We always stuff the turkey so how does this change things? Do I stuff right before roasting as usual?
Yes, stuff right before roasting and make sure that the center of the stuffing reaches 165 degrees Fahrenheit as well.
I brined my first turkey last year and it turned out so succulent and juicy. I may try roasting it in a bag next time to make it even more juicy. I like the addition of the sugar and apple flavors. I bet it tasted amazing!
We thoroughly enjoy brining our turkey each year, and I especially like roasting it in the bag. It’s easier clean up too!