
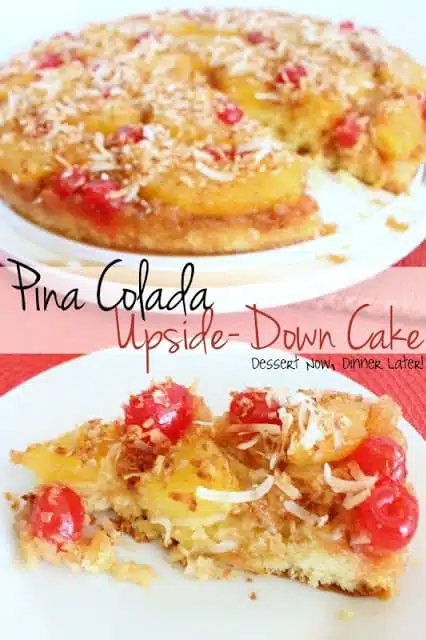
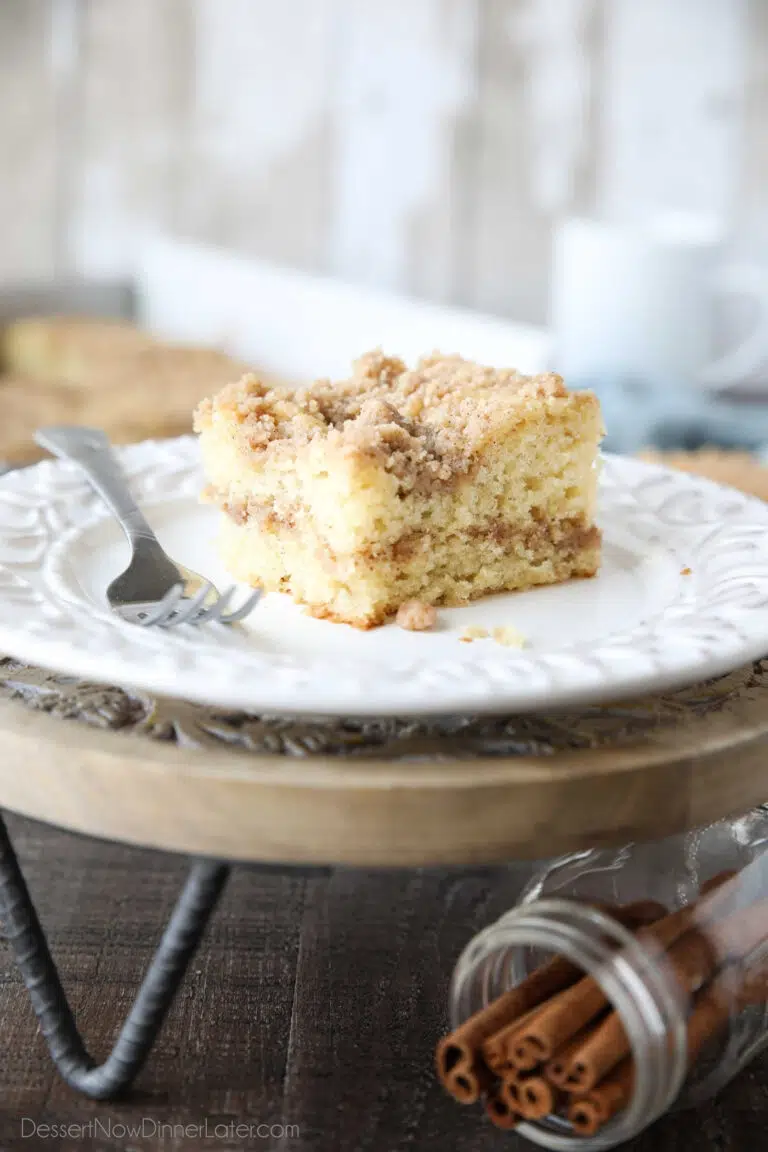
Piña Colada Upside-Down Cake
Doesn’t just the name of this cake make your mouth water? Any time I think of piña coladas it takes me back to my honeymoon cruise sipping (virgin) piña coladas by the pool atop the ship with my hot husband soaking up the sun in our swim suits! So just the name piña colada brings warm, beautiful, sunny places to my mind. This is another recipe I got from my friend Rochelle. She is a Pampered Chef consultant as well as owning her own cookie business & this is a Pampered Chef recipe.
I have a funny story about this cake though. I have actually made it twice now…the first time I was in kind of a time crunch.
Mistake #1: Don’t bake when you are under pressure due to time.
Save This recipe
Enter your email below to get a link to this recipe emailed straight to you to save later! Plus be signed up for all new recipes.
Mistake #2: I was stupid & tried using a springform pan. The brown sugar & butter was oozing out of the springform pan. So I had to put a baking sheet underneath it. That prolonged my baking time significantly, which I was stressing over anyways.
Mistake #3: Once the cake was finally done (at least 1 hour later) I let it cool for the recommended 5 minutes, by this time I was going to be late for my meeting anyways, & I grabbed my plate to turn it out onto. Well, since the cake wasn’t high up to the top of the springform pan, when the plate met the pan, they slid off of each other & I dropped the cake onto my countertop.
My advice: enlist help when flipping a cake especially if you are trying to hurry. So, lesson learned…
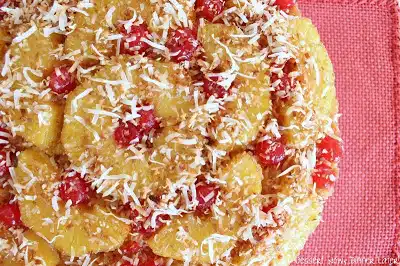
This second cake that is pictured, was using an actual 12″ cake pan, that I had because I make wedding cakes. It turned out on the plate much easier because the cake reached the top of the pan, creating a grippy surface once I flipped it over. There was no oozing of brown sugar & butter. Everything came out nicely. Phew! So learn from my mistakes. If you want to make this cake, you can use an equivalent of a 12″ round cake pan, but it is so pretty in the round pan (to me it looks like a flower) I would recommend just buying the pan. This cake is a show stopping work of art. It will impress your guests & takes as good as it sounds!
Piña Colada Upside-Down Cake
Ingredients
- ¼ cup (57 g) butter
- 1 cup (200 g) light brown sugar, gently packed
- 1 medium pineapple
- ½ cup (189 g) maraschino cherries, (no stems)
- 15.25 oz (432 g) box yellow cake mix
- 3 large eggs
- 13.5 oz (400 ml) can coconut milk, (I used light coconut milk)
- 1 tsp rum extract
- ½ cup (60 g) sweetened flaked coconut
Instructions
- Preheat oven to 350˚F. Melt butter in the microwave & spread across the bottom & sides of a 12-inch round pan. Sprinkle brown sugar over the butter on the bottom of the pan. Set aside.
- Cut off the top & bottom of the pineapple, creating a flat base; slice off the rind from top to bottom. Cut pineapple into slices about ¾” each. Remove the core with a corer. Cut slices in half. Place two slices in the center of the pan over the brown sugar to form a ring. Arrange additional pineapple halves around the center ring until it fills up the pan. Place cherries in any holes that you see. Make it pretty.
- Combine cake mix, eggs, coconut milk & rum extract in a large bowl. Whisk until well-blended. Carefully pour batter over the pineapple.
- Bake 35-45 minutes or until the cake springs back when touched in the center or a toothpick comes out clean.
- Meanwhile, in a small saute pan, toast coconut on medium heat stirring frequently until lightly browned & crisp. Once it starts to brown it happens quickly, so don’t walk away or it might burn. (Once you can hear a slight sizzle & smell it cooking, it will start to turn colors.) Once the coconut is toasted remove it from the pan & put it in a bowl so it doesn’t keep cooking in the warm pan.
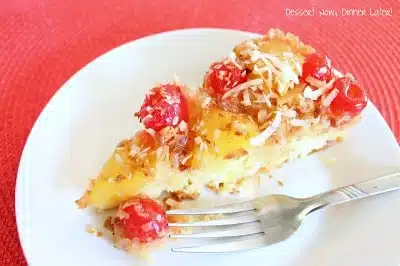
- When the cake is done, remove the cake from the oven & allow it to cool for 5 minutes on a cooling rack. Then invert cake onto a large platter, removing the cake pan slowly to not burn yourself with the sticky brown sugar mixture. Sprinkle & press toasted coconut onto the tops & or sides of the cake. Enjoy!
Notes
Did you make this?
Don’t forget to leave a rating below and make sure to follow on Pinterest and Instagram for more!


was wondeyif you have to use fresh pineapple or can you use canned pineapple
Canned pineapple will work just fine, but won’t taste as good as fresh.
Hey Amber! I found your link at The Best Blog Recipes and wanted to let you know how amazing I think this recipe looks! I want to invite you to my link party to post this recipe for others to see! http://home-styled.blogspot.com/2013/04/link-party-show-your-style-sunday-2.html
Hi Amber! This looks seriously amazing and now I think I have to go get some pineapples so I can make it for dessert tonight! 🙂 I’m a Pampered Chef consultant and would LOVE to share this on my PC facebook page. I would just share a picture, title of the recipe and a link back to your blog for the recipe…would that be okay with you? https://www.facebook.com/ThePamperedChefIndependentConsultantPaulaIniguez
Yes, please share it! 🙂 The original recipe uses a 12″ skillet from Pampered Chef, but I didn’t have it. If you make this with the skillet, let me know how it goes. I just used my wedding cake pan. 🙂
Oh this looks so good! Love Pina Coladas! Following you on Twitter!
OOh, I love pina coladas and cake!
Yum!! We love piña coladas!! Thanks for the recipe, can’t wait to try it out 🙂
This sounds and looks amazing! I love pina colada and coconut!
This looks AMAZING!! Pinning it for sure.