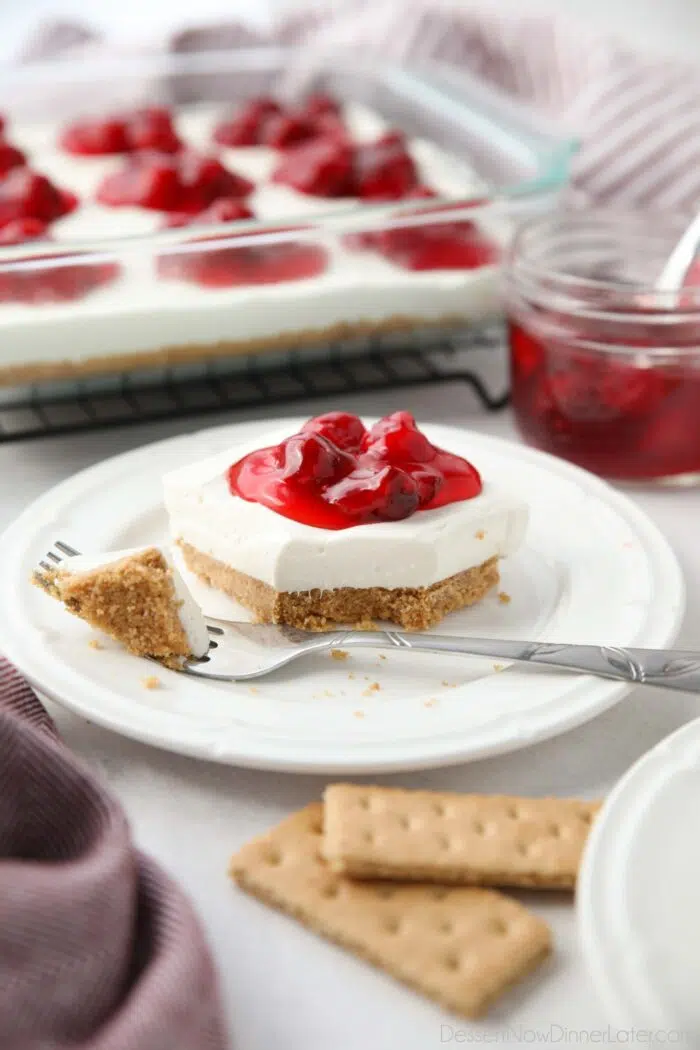
Cherry Delight
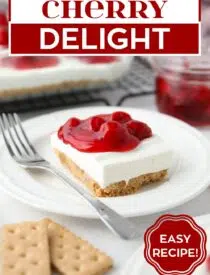

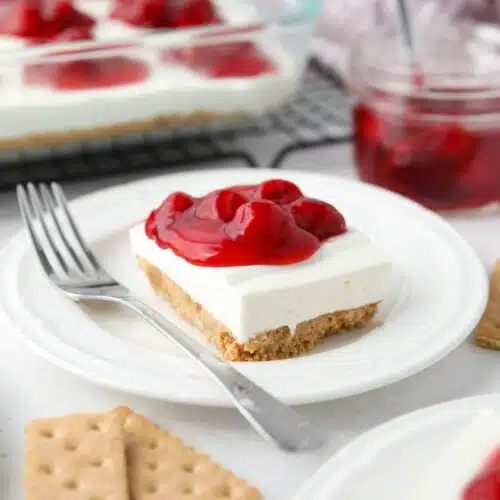
This Cherry Delight recipe is super easy to make with a graham cracker crust and layers of no bake cheesecake and cherry pie filling. It’s a crowd-pleasing dessert for holidays, get-togethers, summer, or celebrations.
Cherry Delight
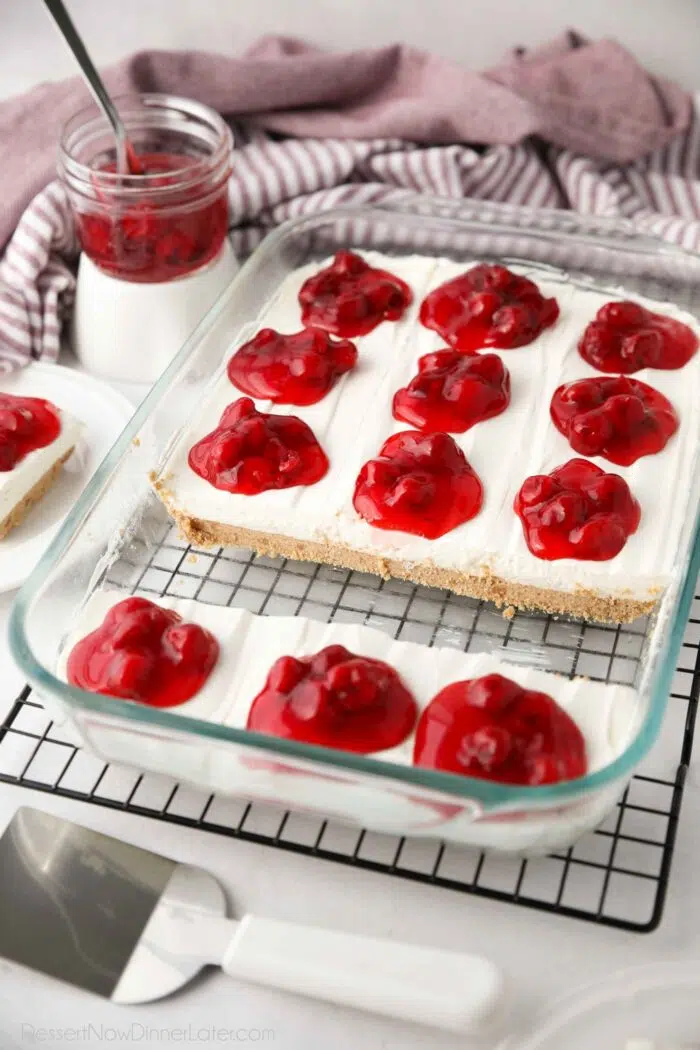
This cherry delight dessert is basically a classic no-bake cherry cheesecake in a 9×13-inch pan. So it feeds a crowd!
It’s super simple to make with 3 layers:
Save This recipe
Enter your email below to get a link to this recipe emailed straight to you to save later! Plus be signed up for all new recipes.
- Graham Cracker Crust
- No-Bake Cheesecake Filling
- Cherry Pie Filling
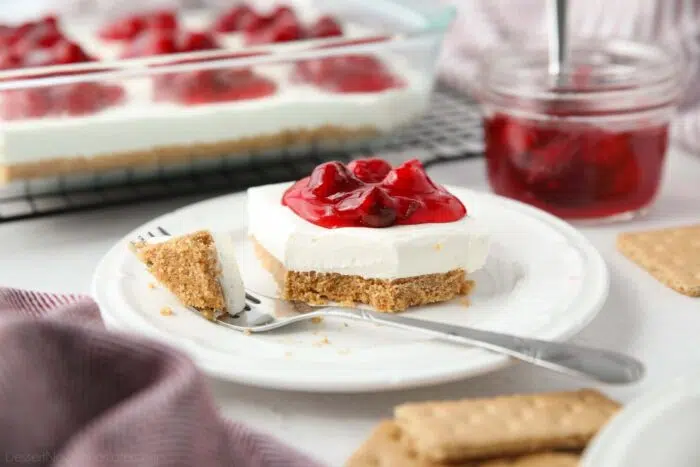
The result is a light and creamy dessert that melts in your mouth with a buttery crust and sweet fruit topping. What’s not to love?!
Although I prefer to bake the crust to add flavor and solidify the base, this cherry delight can be made completely no-bake. Simply freeze the crust for 10 minutes before adding the cream cheese filling.
Make Ahead Dessert
Because the cheesecake filling needs time to set up, this is the perfect make-ahead dessert. Prepare it the day before, and refrigerate it overnight.
But if you’re a last minute person, you can cheat and place it in the freezer for 1 hour before topping it, to help it set up quicker. (That’s what I did for these pictures.)
Now let me show you just how easy it is to make this cherry delight!
Graham Cracker Crust
First, you will make the graham cracker crust.
NOTE: Exact measurements and instructions can be found in the printable recipe card below.
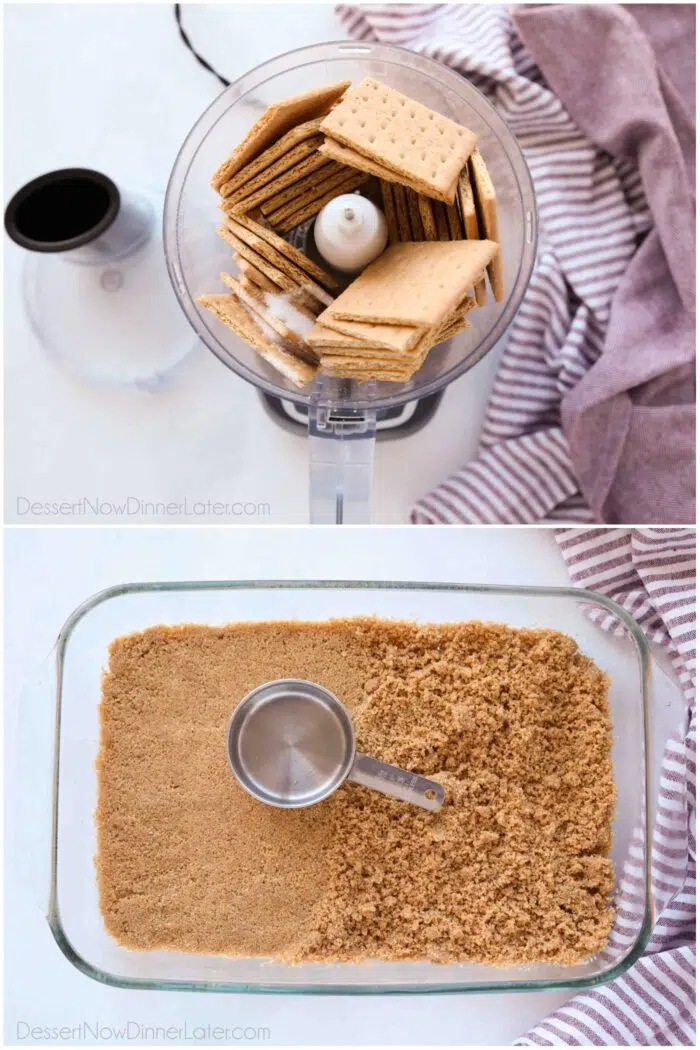
- Pulse the graham crackers and granulated sugar together in a food processor. Add the melted butter and mix until the crumbs are evenly coated.
- Empty the moistened crumbs into a lightly greased 9×13-inch pan and press firmly into the bottom of the pan.
- Bake at 350 degrees Fahrenheit for 8-10 minutes. Remove from oven and allow crust to cool completely. (Option: Freeze the crust for 10 minutes for a no-bake crust.)
No-Bake Cheesecake Filling
While the crust is cooling, make the no bake cheesecake filling.
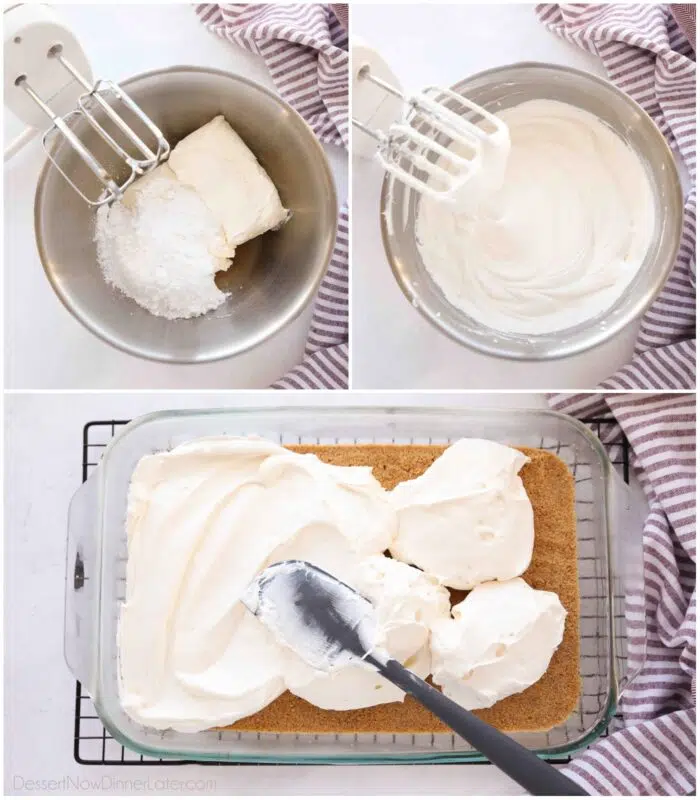
- Place the cream cheese, powdered sugar, vanilla, and lemon juice in a bowl. Beat together with an electric hand mixer until smooth and combined. Scrape bowl.
- Add the whipped topping and beat together to combine.
- Dollop the cream cheese filling over the cooled crust, then spread evenly with a spatula.
Chill, Top, and Serve
After the filling is made, I like to:
- Chill the dessert.
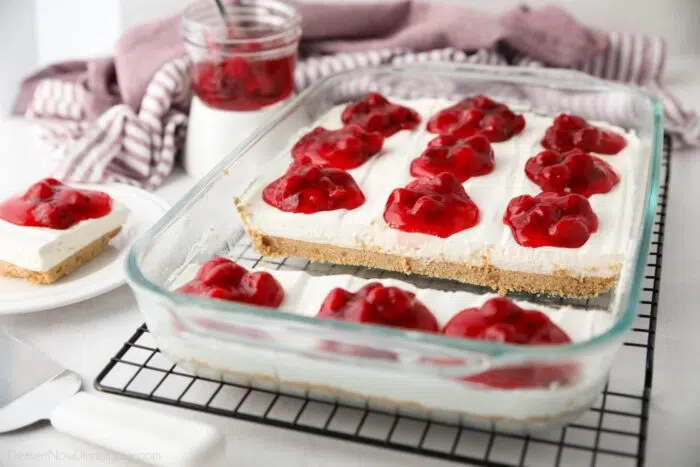
- Cut it.
- Then add the cherry topping.
This way the cherry pie filling stays on top and doesn’t run down the sides of every slice you make. Plus, you can see your cuts better.
Of course you can simply add the cherry pie filling first, then chill and cut the whole dessert. You decide what works best for you.
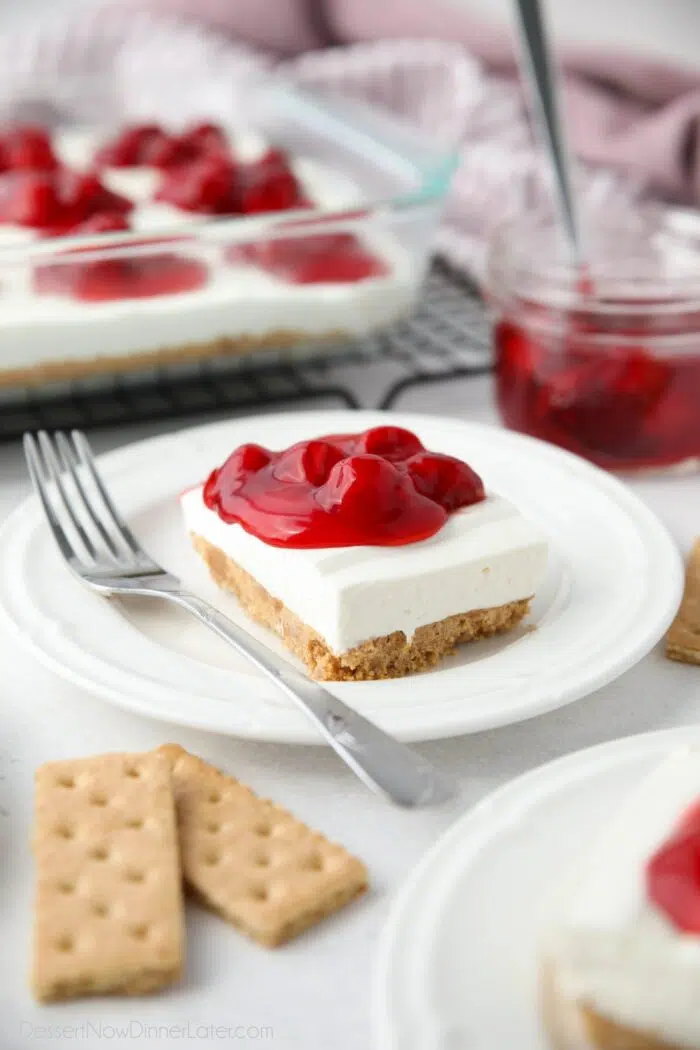
Chill the cherry delight for a minimum of 2 hours or overnight.
Tip for nice slices: Run a knife under hot water, then carefully dry it with a cloth, and use the warm knife to slice the dessert. Re-heat and dry the knife between slices.
Alternative Ingredients
No Cool Whip: Don’t like using Cool Whip (aka frozen whipped topping)? Simply make your own stabilized whipped cream instead.
Cherry Pie Filling: Canned pie fillings are great in a pinch, or for simplicity, but homemade will always taste better. You can try my homemade cherry pie filling made with frozen cherries.
Any pie filling can be substituted for the flavor of your choosing. This cherry delight is super versatile!
More Delight Desserts
Try my other delight desserts. Some have pecans in the crust, and they’re all different flavors.
Cherry Delight
Ingredients
For the Crust:
- 2 sleeves graham crackers (18 full sheets), around 2 1/4 cups crumbs
- 2 Tbsp granulated sugar
- 10 Tbsp (141 g) butter, melted
For the Filling:
- 16 oz (452 g) block cream cheese, room temperature/softened
- 1 cup (120 g) powdered sugar
- 1 tsp vanilla extract
- 1 Tbsp lemon juice, optional
- 8 oz (226 g) tub frozen whipped topping, thawed (*Cool Whip)
For the Topping:
- 21 oz (595 g) can cherry pie filling
Equipment
Instructions
- Preheat oven to 350 degrees Fahrenheit (if baking the crust). Lightly grease a 9×13-inch pan with cooking spray.
- Crust: Pulse the graham crackers and granulated sugar together in a food processor. Add the melted butter and mix until the crumbs are evenly coated.
- Empty the moistened crumbs into the prepared pan and press firmly into the bottom.
- Bake at 350˚F for 8-10 minutes. Remove from oven and allow crust to cool completely. (Option: Freeze the crust for 10 minutes for a no-bake crust.)
- Filling: Place the cream cheese, powdered sugar, vanilla, and lemon juice in a large bowl. Beat together with an electric hand mixer until smooth and combined. Scrape bowl.
- Add the whipped topping and beat together to combine.
- Dollop the cream cheese filling over the cooled crust, then spread evenly with a spatula.
- Chill the dessert for a minimum of 2 hours. Cut the dessert with a knife and dollop some of the cherry pie filling on each piece. Cover and refrigerate any leftovers.
Notes
- No Cool Whip: Don’t like using Cool Whip (aka frozen whipped topping)? Simply make your own stabilized whipped cream instead.
- Cherry Pie Filling: Canned pie fillings are great in a pinch, or for simplicity, but homemade will always taste better. You can try my homemade cherry pie filling made with frozen cherries.
- Any pie filling can be substituted for the flavor of your choosing. This cherry delight is super versatile!
- In a hurry? Place the dessert in the freezer for 1 hour before topping it, to help it set up quicker.
- Storage: This dessert will last up to 1 week in the refrigerator. To freeze, cover the pan with plastic wrap and foil and freeze up to 3 months. Thaw in refrigerator overnight before serving.
Nutrition
Did you make this?
Don’t forget to leave a rating below and make sure to follow on Pinterest and Instagram for more!