
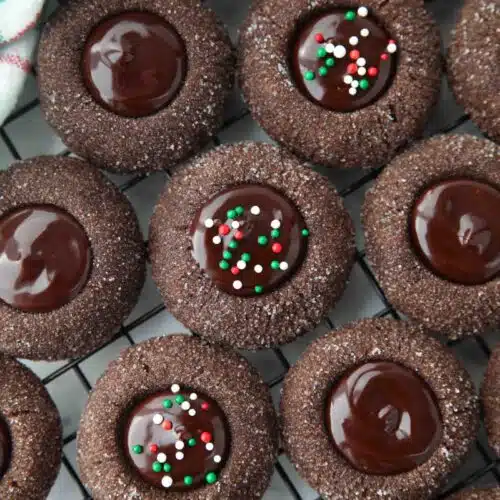
Chocolate Thumbprint Cookies

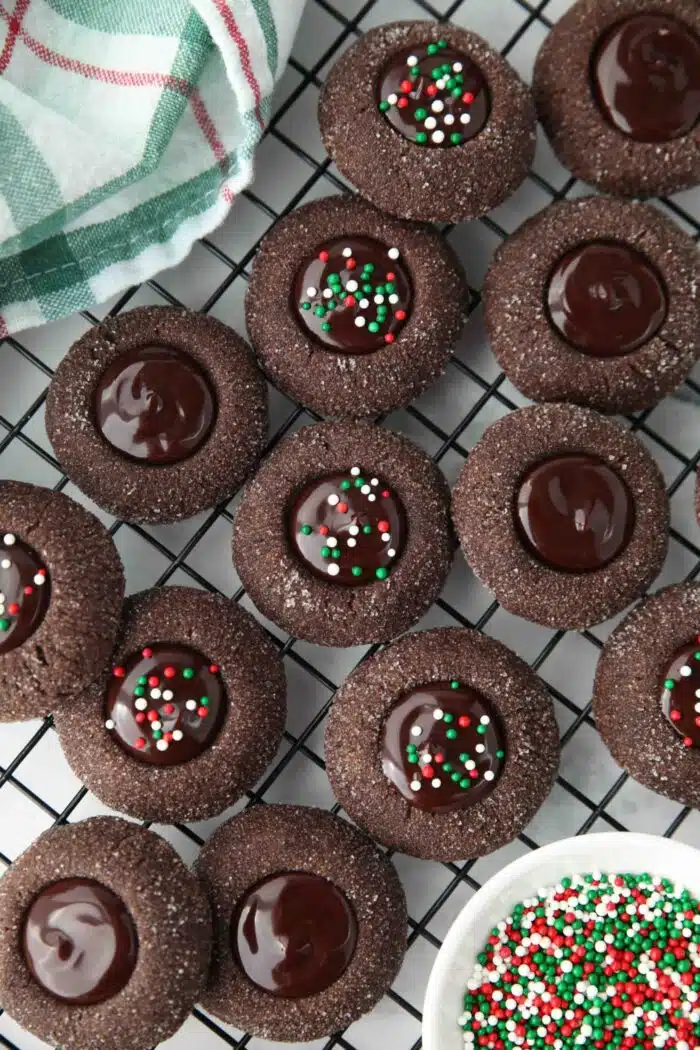
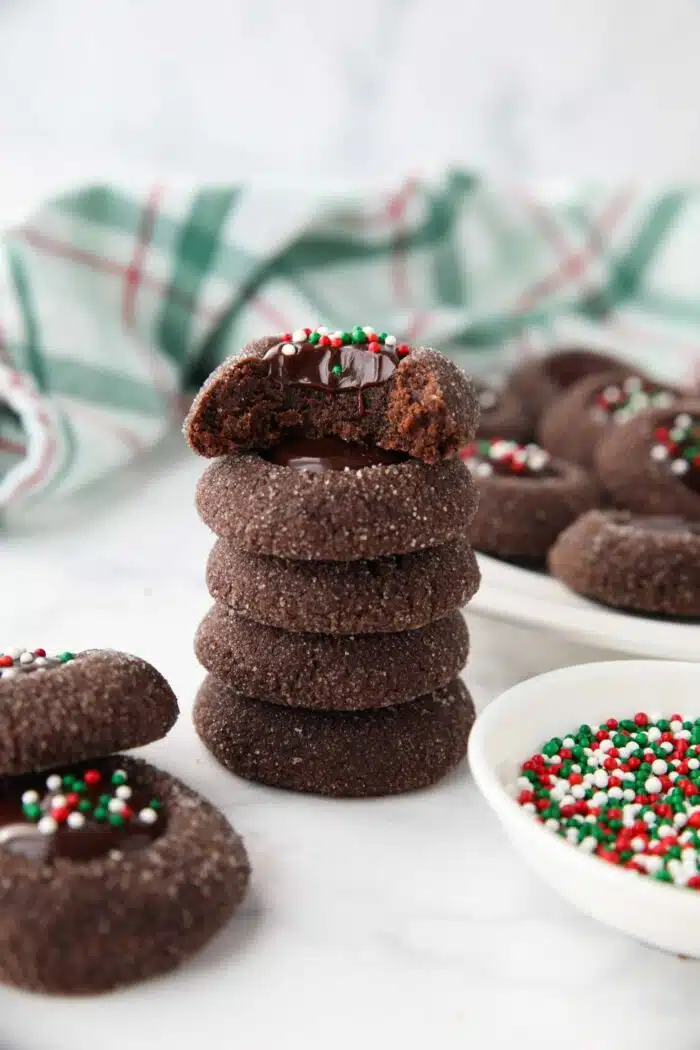
These rich and festive chocolate thumbprint cookies feature a soft chocolate cookie base filled with silky chocolate ganache and topped with optional holiday sprinkles. An easy thumbprint cookies recipe perfect for gifting and holiday dessert tables.
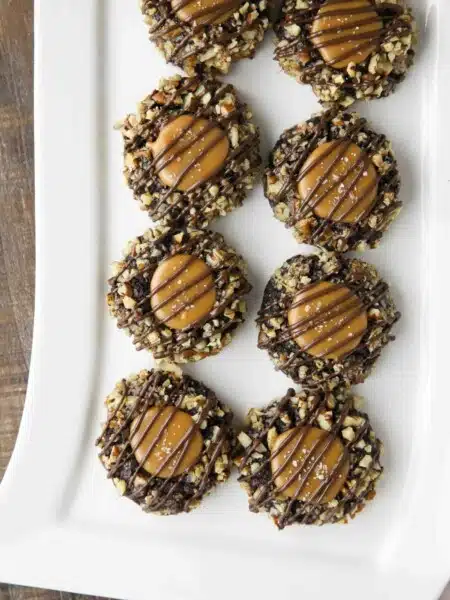
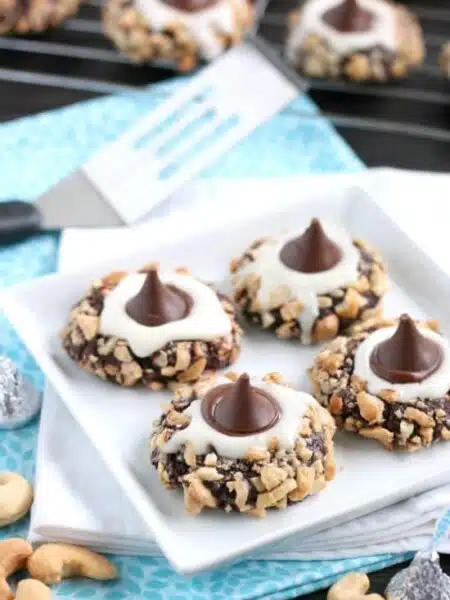
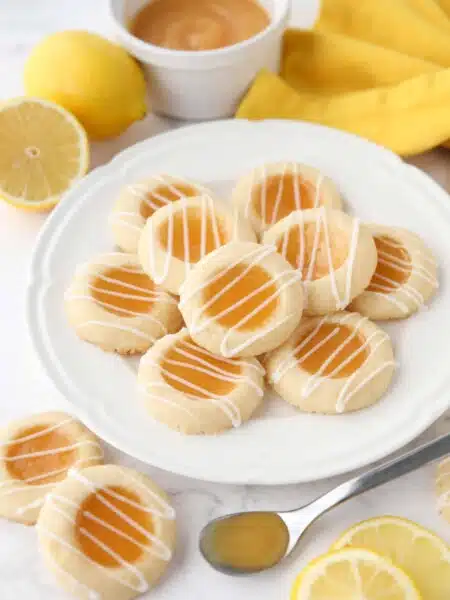
Love thumbprint cookies? Classic raspberry thumbprint cookies are always a hit. You can switch out the jam for any flavor or even use lemon curd. Want something unique? These turtle thumbprint cookies and chocolate cream thumbprint cookies are coated in nuts instead of sugar.
Chocolate Thumbprint Cookies (Double Chocolate & Festive!)
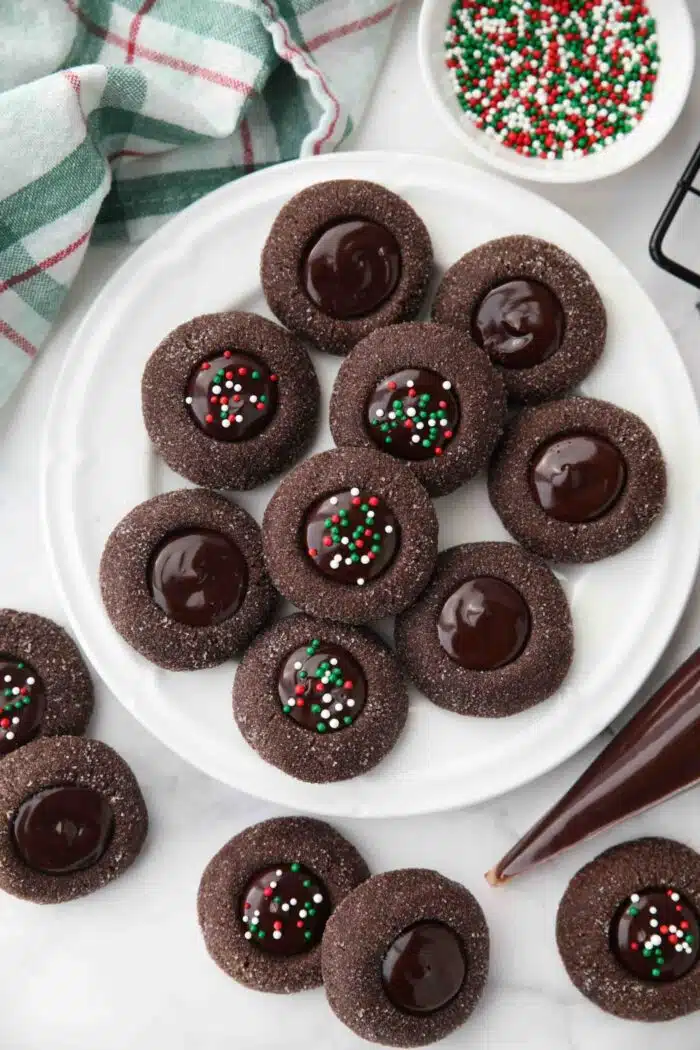
If you’re looking for a decadent holiday treat, these chocolate thumbprint cookies are the perfect mix of simple, beautiful, and incredibly delicious. This recipe features a soft, fudgy chocolate cookie base paired with a smooth, melt-in-your-mouth chocolate ganache filling. Finish them with holiday sprinkles or nonpareils for a festive touch!
Whether you’re baking for your cookie exchange, gifting tins to friends, or stocking up your holiday dessert tray, this thumbprint cookies recipe is guaranteed to impress.
Save This recipe
Enter your email below to get a link to this recipe emailed straight to you to save later! Plus be signed up for all new recipes.
Why You’ll Love These Thumbprint Chocolate Cookies
- Double chocolate: chocolate cookie + chocolate ganache filling
- Holiday-ready: sprinkles and nonpareils add instant festivity
- Soft, fudgy texture: tastes like a brownie in cookie form
Ingredients You’ll Need
NOTE: Full ingredient amounts and instructions are in the printable recipe card at the end of the post.
Jump
- All-Purpose Flour
- Cocoa Powder (Dutch-process)
- Baking Powder
- Salt
- Butter (unsalted)
- Granulated Sugar
- Light Brown Sugar
- Egg Yolk (no whites)
- Vanilla
- Semi-Sweet Chocolate Chips
- Heavy Cream
- Sprinkles (or nonpareils, optional)
Step 1: Make the Chocolate Cookie Dough
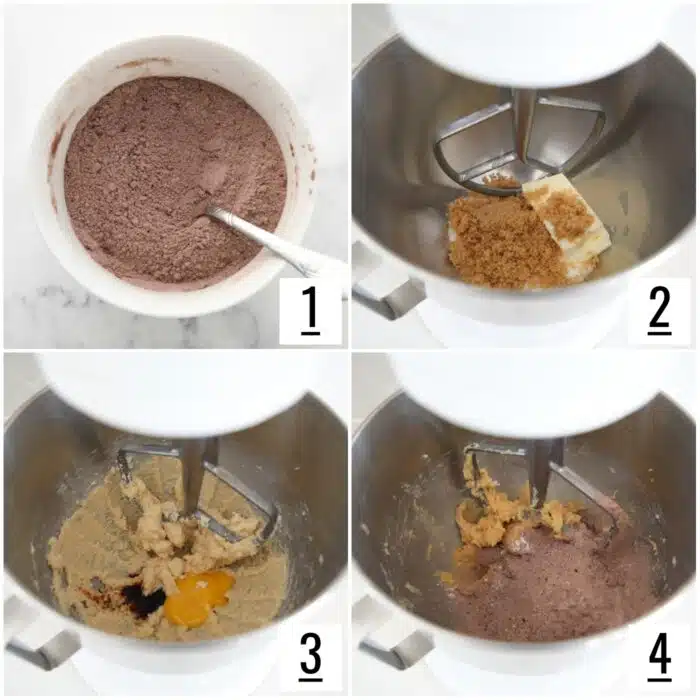
- Mix the Dry Ingredients: Combine flour, cocoa, baking powder and salt in a small bowl. Stir together and set aside.
- Cream the Butter and Sugars: In a stand mixer fitted with the paddle attachment, cream together the butter and both sugars.
- Mix in the Wet Ingredients: Add the egg yolk and vanilla. Mix until incorporated, scraping the bowl as needed.
- Combine Wet and Dry Ingredients: Add the flour mixture, and mix until just combined.
Step 2: Shape and Chill the Chocolate Thumbprint Cookies
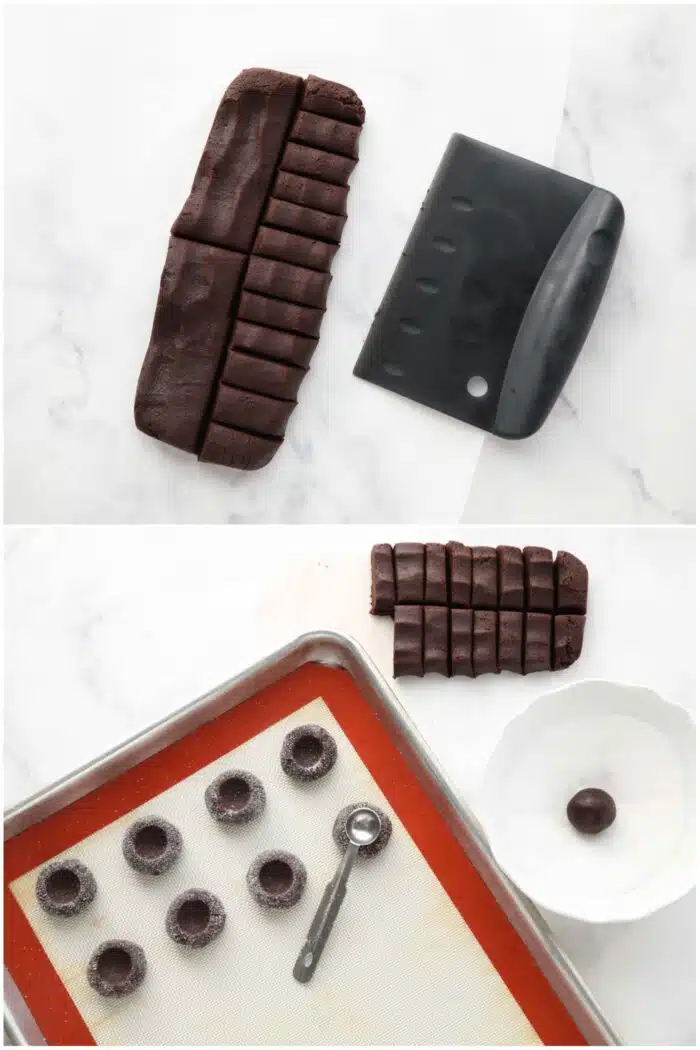
- Divide the Dough: Empty dough out onto a piece of parchment paper. Flatten into a rectangular disk about 1-inch thick. Use a knife or bench scrape to divide the dough into 24 pieces.
- Roll & Press the Cookies: Roll each piece of dough into a ball with your hands, coat it in granulated sugar, then place it onto a parchment or silicone lined tray. Immediately press the center one-third of the way down with the back of a ½ teaspoon while still warm from your hands, to reduce cracking. (Don’t press too far down or the cookies will spread more.)
- Chill: Repeat with all dough balls, placing cookies close together on the same pan, as long as they are not touching. CHILL the pan of chocolate thumbprint cookies for 20-30 minutes in the freezer until cold and firm to the touch.
Step 3: Bake and Indent Again
- Preheat the oven to 350 degrees Fahrenheit, while the cookies chill. Line half sheet pans with silicone baking mats or parchment paper. Set aside.
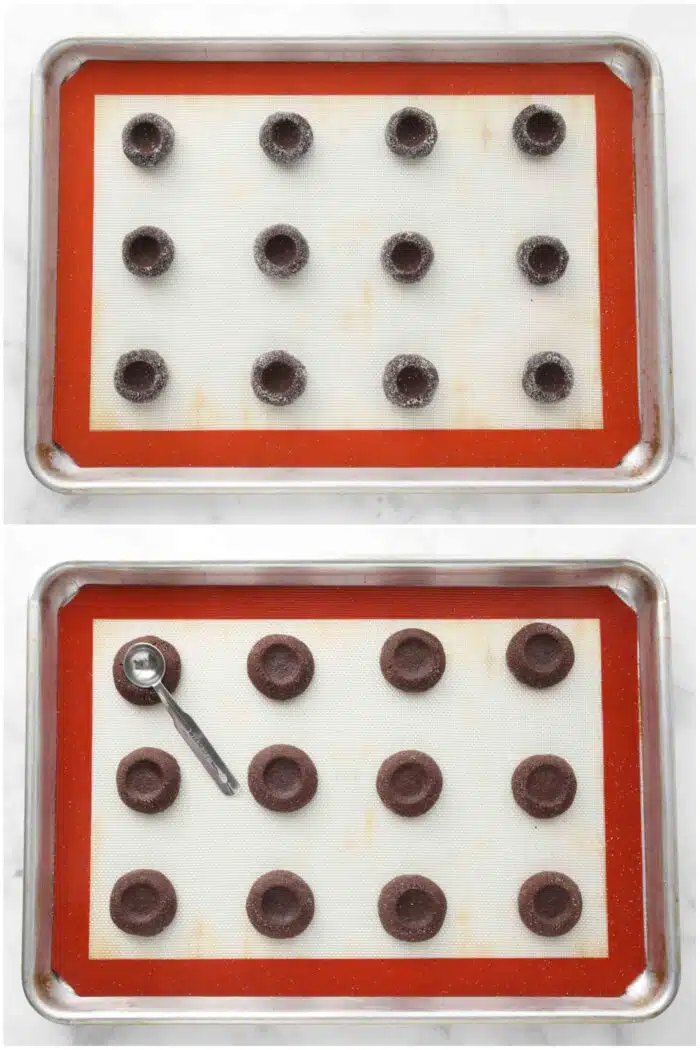
- Separate the Cookies: Place the chilled cookies 2 to 3-inches apart (12 per tray) onto the prepared pans.
- Bake at 350˚F for 9-11 minutes until cookies are puffed up and matte in the center. Then use the back of a 1 teaspoon to gently re-press the centers slightly while still warm. Allow the cookies to rest for 5 minutes on the tray, then transfer to a wire rack to cool completely. (NOTE: Keep extra cookies chilled while you bake each pan.)
Step 4: Make and Fill with Ganache
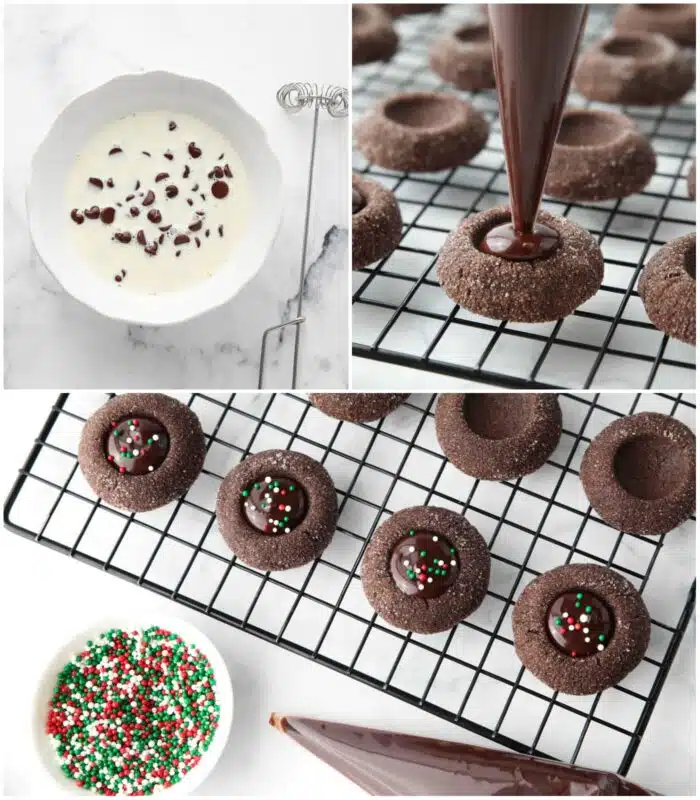
- Make the Ganache: Warm the heavy cream for about 30 seconds in the microwave, until just boiling. Pour the cream over the bowl of chocolate chips and let it sit for for 1 minute. Then whisk together until smooth.
- Fill the Cookies: Place the ganache in a piping bag or plastic zip-top bag, cut off the tip/corner and fill each cookie well with ganache. (TIP: Don’t heap the ganache, try to make it level with the cookie or slightly under the rim. This makes it easier to store the cookies.)
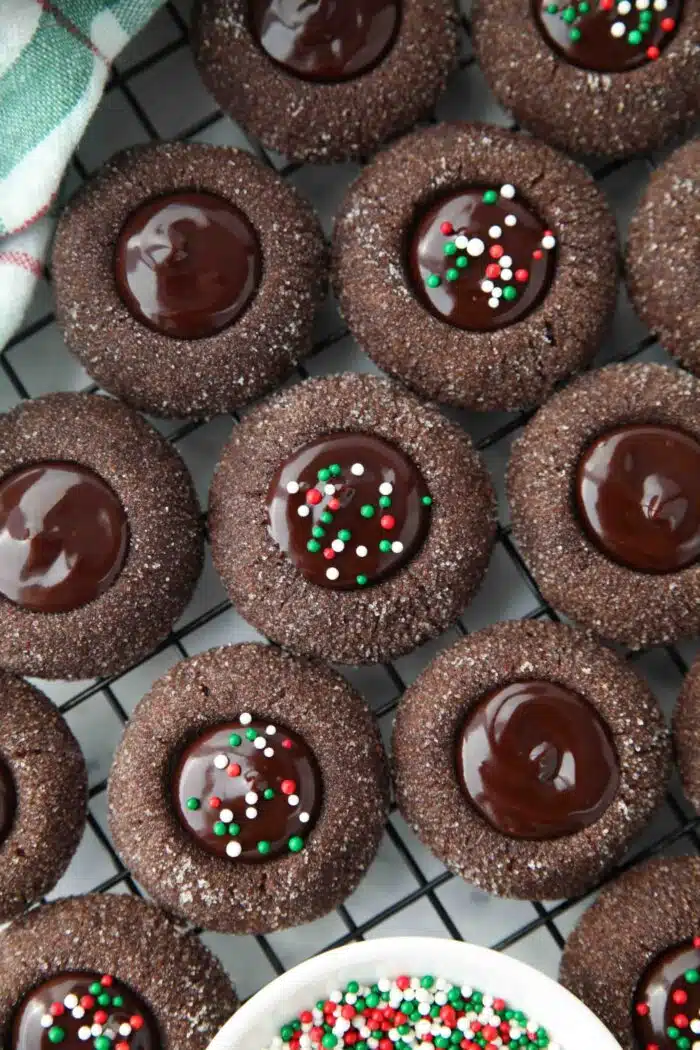
- Decorate (Optional): Sprinkle with nonpareils/sprinkles if desired. Chill the cookies in the fridge for 15 minutes or until the chocolate ganache is set.
Did you Make This?
Please leave a review and rating about how you liked this recipe! Your feedback supports my small business and allows me to continue providing free recipes.
Storing and Freezing
- TO STORE: Store cookies in an airtight container or on a plate covered tightly with plastic wrap for up to 2 days at room temperature (due to the cream in the ganache) or up to 5 days in the refrigerator.
- TO FREEZE: Freeze cookies in a single layer on a sheet pan for 1 hour until firm. Then transfer frozen cookies to a freezer-safe container, separating any layers with parchment paper and freeze for up to 3 months. To thaw, separate cookies into single layers, covered or in an airtight container, and thaw overnight in the refrigerator or on the counter until room temperature before consuming.
Festive Decorating Ideas
- Red & green sprinkles for Christmas
- Crushed peppermint for a candy-cane twist
- Gold or silver sanding sugar for coating the cookies OR
- White nonpareils for a snow-kissed look
Recipe Notes
Tips for Perfect Thumbprint Chocolate Cookies
- Divide the dough evenly to make the cookies the same size for uniform baking. I flatten the dough into a rectangular disk, cut 24 even pieces, and then roll them. *See image in post.*
- To minimize cracking, indent the thumbprint cookies immediately after rolling the dough with your hands, while it is still warm.
- Don’t overbake—they should stay soft and slightly fudgy.
- Press the indent 1/3 of the way down. More than that and they will spread considerably more.
- Add sprinkles immediately after filling with ganache so they stick.
FAQs
The dough got cold or dry before it was indented. To minimize cracking, it is best to indent the thumbprint cookies immediately after rolling the dough with your hands, while it is still warm. A few cracks are still normal.
Yes! Add sprinkles immediately after filling with ganache so they adhere. Or, roll the dough in the sprinkles instead of sugar before baking.
No, you do not need to roll thumbprint cookies in sugar, however, it does add a nice crunch and sweetness. You may still want a little bit of sugar on your thumb or measuring spoon to prevent sticking when making the indents in the cookies.
This is normal. Simply press the indentation again while the cookies are still warm.

Chocolate Thumbprint Cookies
Ingredients
- 1 cup (125 g) all-purpose flour, (stir, spoon & level)
- ⅓ cup (33 g) dutch-process cocoa powder
- ¼ tsp baking powder
- ¼ tsp salt
- ½ cup (113 g) butter, (1 stick) room temperature
- ⅓ cup (68 g) granulated sugar
- ⅓ cup (68 g) light brown sugar, gently packed
- 1 egg yolk, (no whites)
- 1 tsp vanilla extract
Coating and Topping Ingredients
- ⅓ cup (68 g) granulated sugar, for rolling (optional)
- ½ cup (85 g) semi-sweet chocolate chips
- ¼ cup (59 ml) heavy cream
- nonpareils/sprinkles, optional
Instructions
- Combine flour, cocoa, baking powder and salt in a small bowl. Stir together and set aside.
- In a stand mixer fitted with the paddle attachment, cream together the butter and both sugars. Add the egg yolk and vanilla. Mix until incorporated, scraping the bowl as needed. Add the flour mixture, and mix until just combined.
- Empty dough out onto a piece of parchment paper. Flatten into a rectangular disk about 1-inch thick. Use a knife or bench scrape to divide the dough into 24 pieces. (*See image in post.)
- Roll each piece of dough into a ball with your hands, coat it in granulated sugar, then place it onto a parchment or silicone lined tray. Immediately press the center one-third of the way down with the back of a ½ teaspoon while still warm from your hands, to reduce cracking. (Don't press too far down or the cookies will spread more.)
- Repeat with all dough balls, placing cookies close together on the same pan, as long as they are not touching. CHILL the pan of chocolate thumbprint cookies for 20-30 minutes in the freezer until cold and firm to the touch.
- Preheat the oven to 350 degrees Fahrenheit, while the cookies chill. Line half sheet pans with silicone baking mats or parchment paper. Set aside.
- Place the chilled cookies 2 to 3-inches apart (12 per tray) onto the prepared pans. Bake at 350˚F for 9-11 minutes until cookies are puffed up and matte in the center. Then use the back of a 1 teaspoon to gently re-press the centers slightly while still warm. Allow the cookies to rest for 5 minutes on the tray, then transfer to a wire rack to cool completely. (NOTE: Keep extra cookies chilled while you bake each pan.)
- Warm the heavy cream for about 30 seconds in the microwave, until just boiling. Pour the cream over the bowl of chocolate chips and let it sit for for 1 minute. Then whisk together until smooth.
- Place the ganache in a piping bag or plastic zip-top bag, cut off the tip/corner and fill each cookie well with ganache. (TIP: Don't heap the ganache, try to make it level with the cookie or slightly under the rim. This makes it easier to store the cookies.) Sprinkle with nonpareils/sprinkles if desired. Chill the cookies in the fridge for 15 minutes or until the chocolate ganache is set.
Notes
- TO STORE: Store cookies in an airtight container or on a plate covered tightly with plastic wrap for up to 2 days at room temperature (due to the cream in the ganache) or up to 5 days in the refrigerator.
- TO FREEZE: Freeze cookies in a single layer on a sheet pan for 1 hour until firm. Then transfer frozen cookies to a freezer-safe container, separating any layers with parchment paper and freeze for up to 3 months. To thaw, separate cookies into single layers, covered or in an airtight container, and thaw overnight in the refrigerator or on the counter until room temperature before consuming.
Nutrition
Did you make this?
Don’t forget to leave a rating below and make sure to follow on Pinterest and Instagram for more!


Can these be made with raspberry jam filling? My family loves the combination of chocolate and raspberry.
Yes, I would still freeze the pressed dough balls and then insert the jam and bake like traditional thumbprint cookies. Here’s my recipe if you need a reference: https://www.dessertnowdinnerlater.com/raspberry-thumbprint-cookies/