Soft Baked Chocolate Chip Cookies
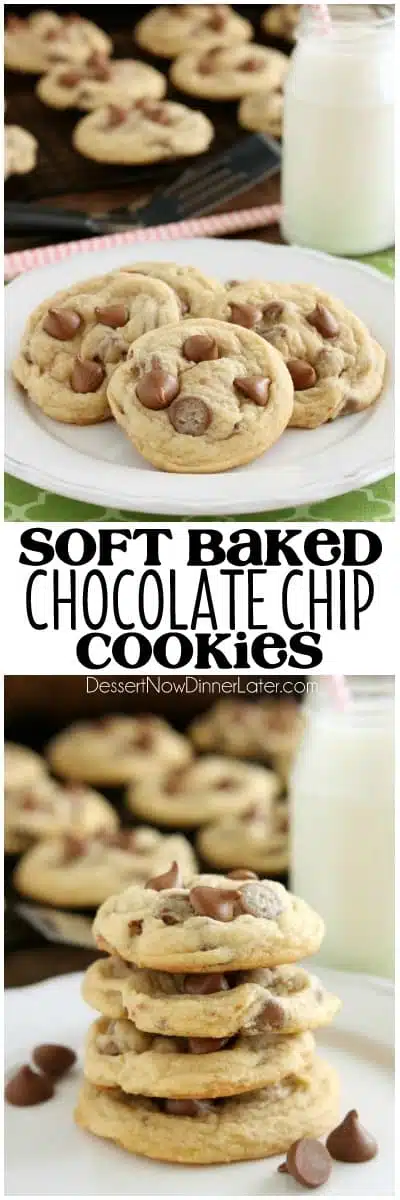
These Soft Baked Chocolate Chip Cookies include a special ingredient to make them perfectly thick, chewy, and soft! Plus tips and techniques for baking the best chocolate chip cookies!
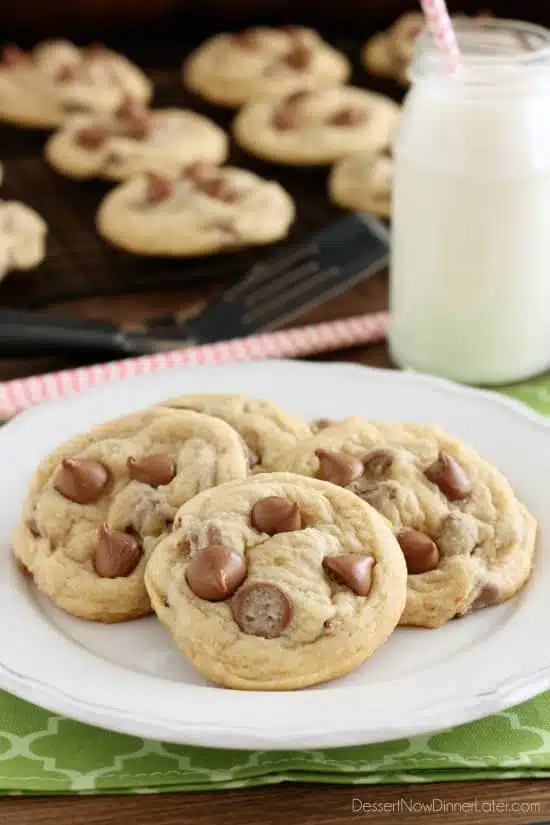
I can’t believe I have been blogging for 3 1/2 years and I have not shared a classic chocolate chip cookie recipe with you! This recipe has a special ingredient in it, and I am going share with you my tricks to get gorgeous, thick, soft cookies!
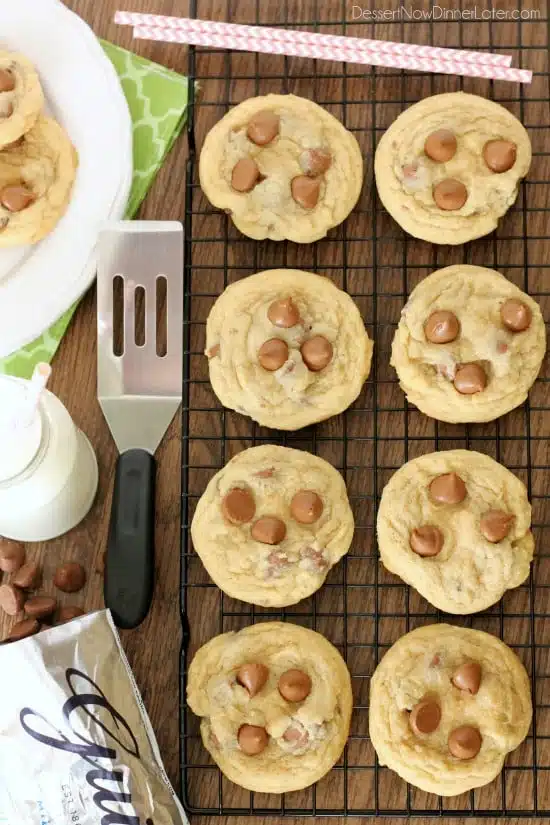
First things, first. Use quality ingredients! I ALWAYS use Guittard Chocolate Chips. The milk chocolate variety are bigger than the average chocolate chip and are MELT IN YOUR MOUTH DELICIOUS! Semi-sweet are great too! The reason why I love Guittard is because they don’t put wax fillers in their chocolate. It’s high-quality, legit chocolate, and you can taste the difference! I actually keep a bag of Guittard Milk Chocolate Chips in my pantry to snack on during those chocolate cravings. 😉
Save This recipe
Enter your email below to get a link to this recipe emailed straight to you to save later! Plus be signed up for all new recipes.
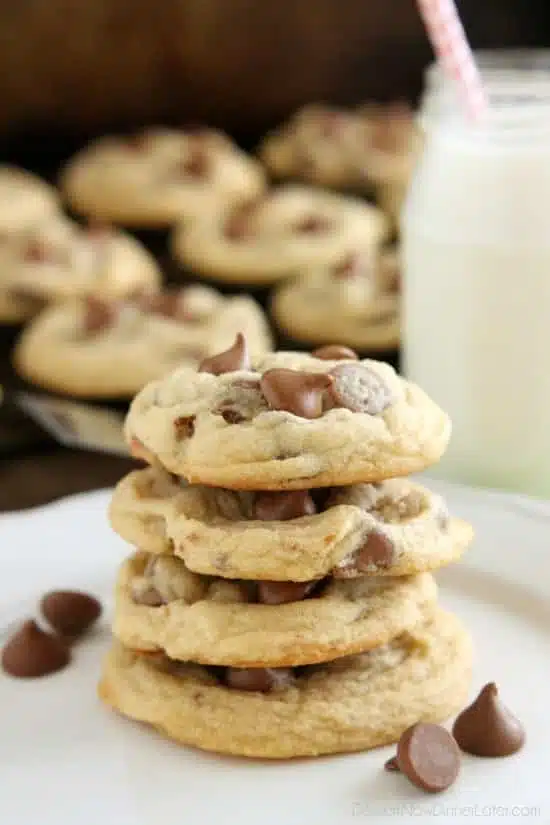
Besides chocolate, let’s talk about butter. I had price matched some butter at Walmart a while back and used some of the Great Value brand in the first batch I made for this post. Well, they turned out quite yellow and they spread out more than I had hoped. I made them again with Land O Lakes Butter and 1/4 cup more flour to help the spreading and I got these gorgeous, light cookies. It definitely pays off to pay a little more for a high quality butter! Check out my instagram post to see the difference! And while we are on the subject of butter…
UNSALTED BUTTER vs SALTED BUTTER – What’s the difference? Purely the salt content (and shelf life of the butter). I was told in culinary school to ALWAYS use unsalted butter so you can control the amount of salt that goes in. Each brand of butter has different amounts of salt, so it’s hard to adjust recipes accurately. If you are using salted butter, you should probably consider halving the amount of salt called for in the recipe, or omit any additional salt completely. Salted butter does last longer (because salt is a preservative), but butter freezes really well. We actually use unsalted for baking, and salted to spread on bread/rolls. It’s up to you what you choose to do, but salted butter definitely effects the flavors more, so I highly recommend using unsalted.
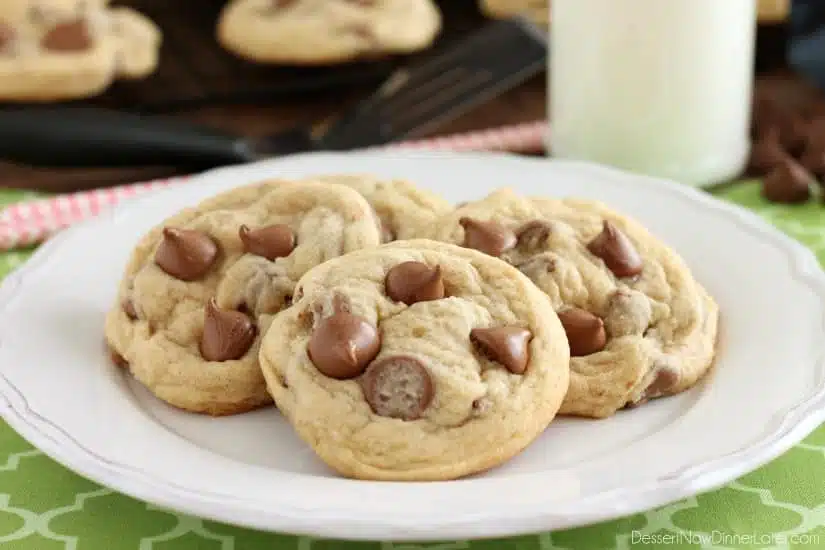
This chocolate chip cookie recipe requires NO REFRIGERATION. I am impatient and hate to wait, so you will rarely get a cookie recipe on my blog that makes you refrigerate the dough. My tricks to get a cookie that doesn’t spread:
- – Use a cookie scoop. If you use your hands to roll the dough into balls, you are warming up the butter, which will make your cookies spread further. Use a cookie scoop to put the dough balls directly on the baking sheet without warming it with your hands. I used a #30 cookie scoop for the medium/large cookies pictured in this post. It’s about 2 Tablespoons worth of cookie dough. If I want a smaller cookie, I use my #50 cookie scoop. It’s about 1 Tablespoon worth of cookie dough. If you are at the store, and trying to figure out what size a scoop is, look at the inside of the scoop on the part that pushes the dough out to find the number. Most scoops are engraved with a number and it’s totally weird, but the larger the number, the smaller the scoop and vice versa.
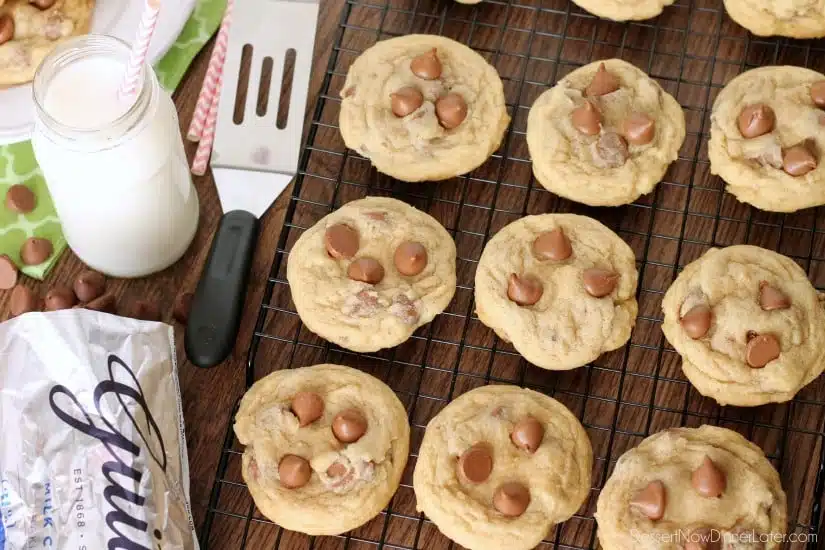
- – Use a silicone baking mat and half sheet pans. I have 4 silicone baking mats and I use them for almost everything I bake on a tray! Cookies slide right off and don’t spread as badly as they do using a baking sheet greased with cooking spray. Parchment paper works fine, but I like to be able to re-use my mats and not throw my money away with the paper. They wash easily with soap and water. The half sheet pans are perfect for a dozen cookies and you can use them for cake rolls and other things too.
- – ALWAYS do a test cookie first! There are a whole myriad of factors (your altitude, the weather, your oven, etc.) that can effect any good recipe from turning out well. I always bake one cookie first, right in the center of the tray, to see how it’s going to do. If it spreads and flattens, I will add 1/4 cup more flour to the batch and do a second test cookie. If it’s perfect, I start scooping and baking the rest of the dough!
- – Bake the cookies until just set, remove the tray from the oven, and let them rest on the warm pan for a few minutes before moving them over to a cooking rack. This carry over cooking during the resting time helps the cookie finish setting up without being over-baked.
- – Allow the cookie sheet to cool before re-loading it with cookie dough balls. Same concept as rolling the balls with your hands. Warm baking trays can start melting the butter in your cookies before they go in the oven, resulting in flatter cookies. Keep the dough in a cooler area of the kitchen (or in the refrigerator if it’s especially hot, like in the summer-time) and scoop the cookies onto the tray right before you bake them.
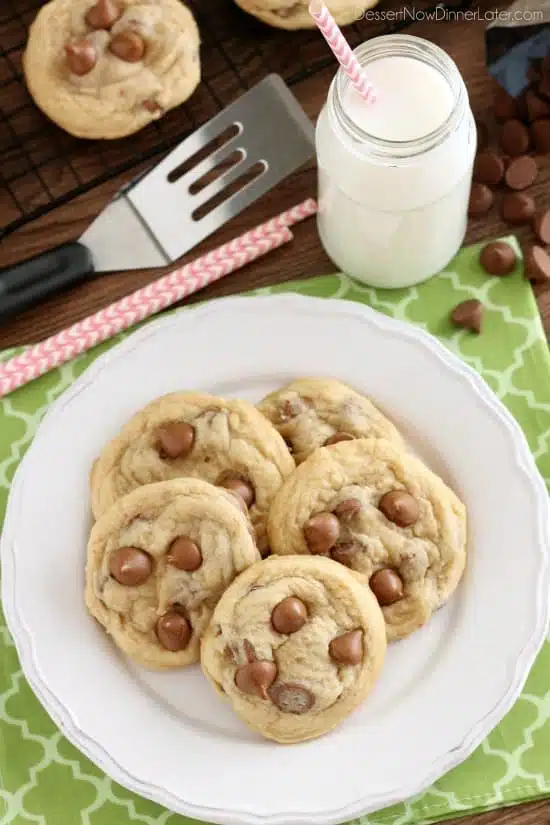
Last but not least, let’s talk about the secret ingredient in these cookies. CORNSTARCH! It’s a tenderizer, so it helps make these cookies soft and chewy. Have you ever had a meltaway cookie? They’re made with cornstarch, so they melt-away in your mouth. Same idea, but just enough cornstarch is added to produce the tenderness needed to make these soft baked chocolate chip cookies! I hope you learned something new today! Now get to baking!
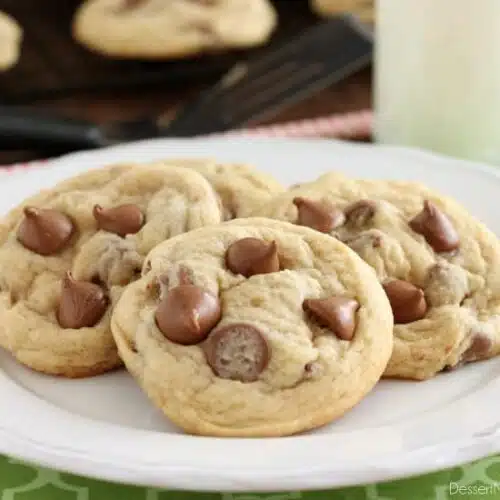
Soft Baked Chocolate Chip Cookies
Ingredients
- 1 cup (226 g) unsalted butter, (2 sticks) room temperature
- ½ cup (100 g) light brown sugar, gently packed
- ½ cup (100 g) granulated sugar
- 2 large eggs
- 1 tsp vanilla extract
- 2 ½ to 2 ¾ cup (300-330 g) all-purpose flour, (start with less, do 1 test cookie, and add more if needed)
- 1 tsp baking soda
- 1 tsp salt
- 1 Tbsp cornstarch
- 12 oz (340 g) bag Guittard Milk Chocolate Chips
Instructions
- Cream the butter and sugars together in a stand mixer with the paddle attachment.
- Add the eggs and vanilla. Mix well, then scrape the bowl.
- Combine the flour, baking soda, salt, and cornstarch in a bowl. Add dry ingredients all at once into the butter mixture, and mix just until incorporated.
- TEST COOKIE DOUGH: Scoop 1 test cookie onto a silicone lined baking sheet. Bake at 350 degrees Fahrenheit for 9 to 11 minutes, until just set in the center. If the cookie spreads, add ¼ cup more flour to the remaining dough and do another test cookie.
- Scoop the cookie dough onto cool (not warm) silicone lined baking sheets, bake at 350 degrees Fahrenheit for 9 to 11 minutes, until just set in the centers. (10 minutes was perfect for my oven.)
- Allow cookies to rest on the cookie sheet for 2 to 3 minutes, then transfer cookies to a wire rack to cool. Store cookies in an airtight container.
Notes
Nutrition
Did you make this?
Don’t forget to leave a rating below and make sure to follow on Pinterest and Instagram for more!







Hi, I want to try this recipe out but I’m wondering if the dough can be made ahead and frozen or will that change the way it comes out? I have a demanding job so I need a recipe that can be frozen and popped in the oven when needed
Yes, that should be fine. You will need to bake a few extra minutes, if baking from frozen.
These were so easy and tastes delicious. Brilliant recipe.
I’m so glad you enjoyed these cookies Joanne! Thanks for your review!
Hello!
Will these cookies keep soft for up to a day? Or will they harden quickly?
They will stay soft for several days.
So I have to admit I cheated. First, I just made these and the first batch is already gone. The family is in love with them. They are so chewy soft.
I cheated by not doing a test cookie. I figured since I’m at a higher altitude adding the extra flour would be best. Plus, these looked so good I wanted to eat them right away. I’m not a patient person 😆. Thanks for the recipe.
I’m so glad you loved these cookies so much. Thanks for your feedback Rachel!
Amber,
You have completely changed my baking game UP for the better! I have never accomplished a “soft” cookie…. these AND your peanut butter cookies have changed all that. Thank YOU for sharing and I can’t wait to try ALL of your recipes!!! 😊 Hugs
That’s great news! Thanks for your comment! I hope you enjoy many more of my recipes. Thanks for following along!
Made these today, so yummy! We didn’t have cornstarch so we added 1 tablespoon of corn syrup instead (read the comments for that tip), they’re perfect!
That’s great! Thanks for stopping by to let me know!
I made these last week. My family devoured them and said they were THE best chocolate chip cookies they ever had! Then I deleted the recipe by mistake!! I have been scouring the internet trying to find your recipe again and finally had luck today!! I was so happy to be able to print your recipe out so that never happens again!! Had to go with another recipe for the Super Bowl Party we are having. But your recipe will be the one we use from now on. Thank you for sharing!!
Oh no! So glad you were able to find it again! Thank you for your kind words Cathy! Have a wonderful Sunday!
These are wonderful! Will you please share your meltaway cookie recipe?
Thanks Naomi! I may have to ask some old co-workers if they have it, because I don’t think I do. If I get it, I will definitely post it to my blog! Writing it on my “to make” list now.
For those of us who are allergic to corn, I’m hoping that tapioca or potato starch will do just as well. The recipe sounds fantastic!!
You’ll have to let us know how it works out Barbara!
Just made them, Amber, with potato starch – FABULOUS!! Thank you so much for this recipe, I love it!
Hi Barbara! Thanks for coming back to share your adjustments for those who need to make these gluten free! So glad they turned out well!
My pleasure. Thank you for the wonderful recipes. 🙂
Also, I used a gluten-free flour mix (1:1) and 1 1/8 tsp xantham gum instead of regular flour. They turned out beautifully. 🙂
I just made these cookies and followed the recipe exactly. They turned out absolutely perfect. Thank you! 🙂
Yay! Thanks for your review Mary! Happy baking!