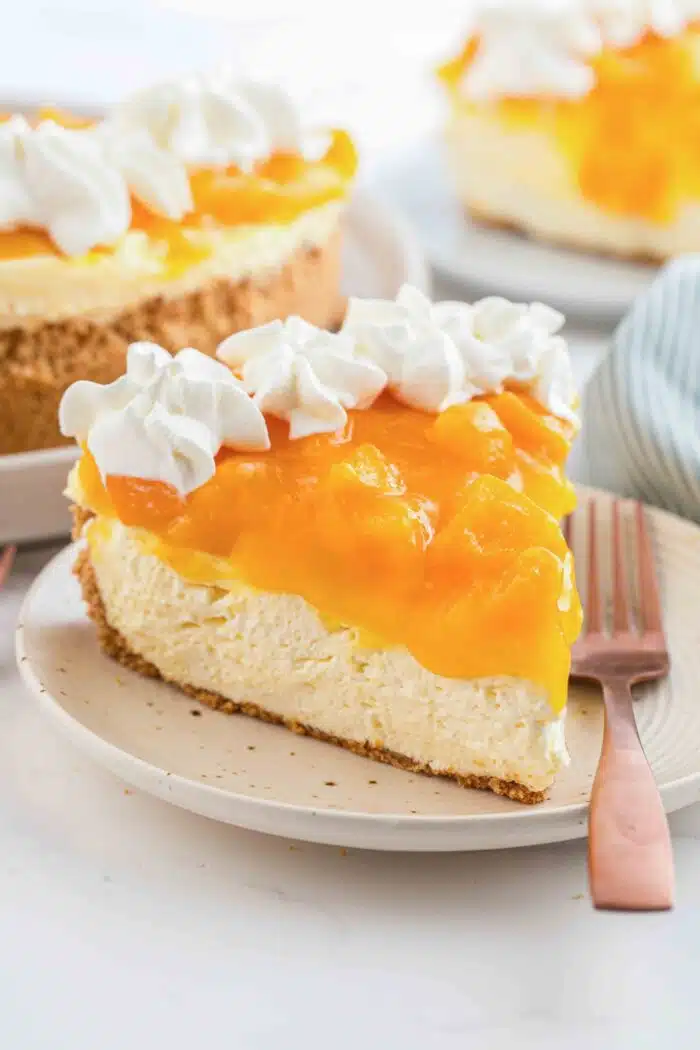
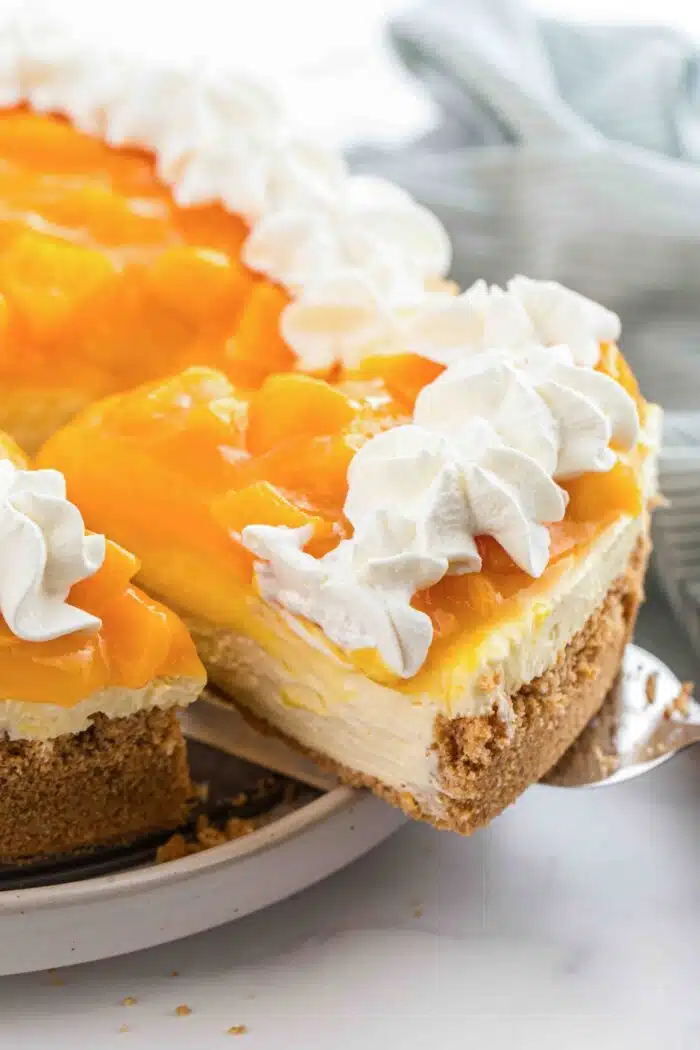
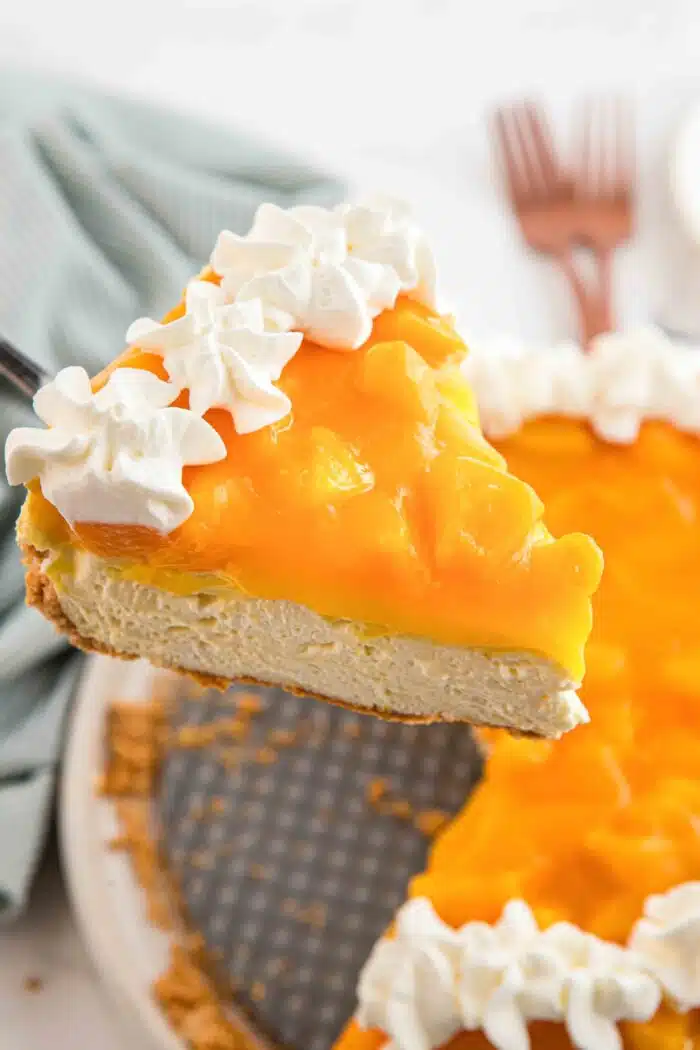
No Bake Peach Cheesecake
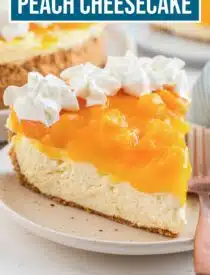

This No Bake Peach Cheesecake is the ultimate creamy, refreshing dessert you can make without ever turning on the oven. Whether you’re using fresh peaches in summer or relying on pantry staples, this recipe doubles as one of the best canned peach recipes for dessert you’ll ever try.
With a buttery crust, smooth cheesecake filling, and a sweet peach topping, this peach cheesecake is simple, elegant, and perfect for any occasion.
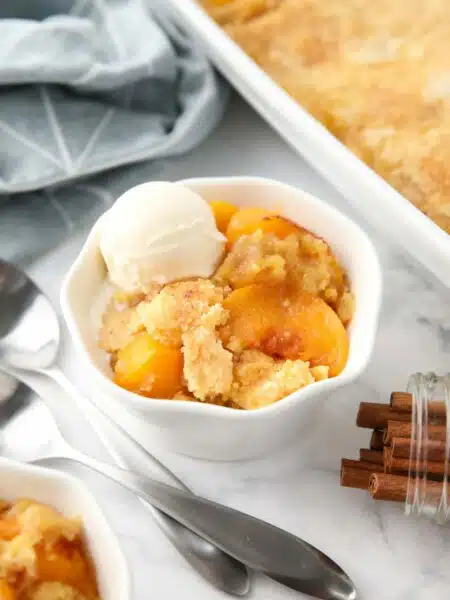
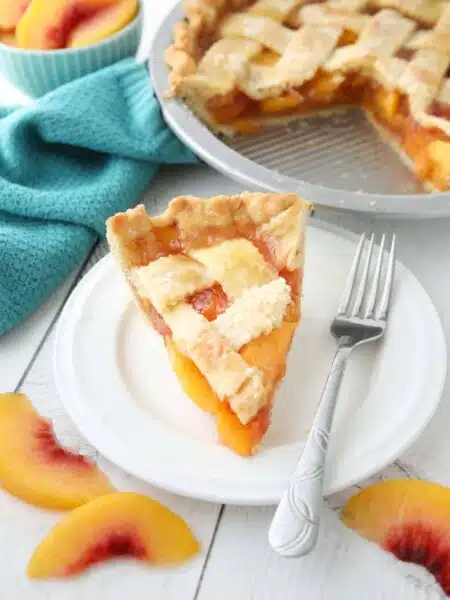
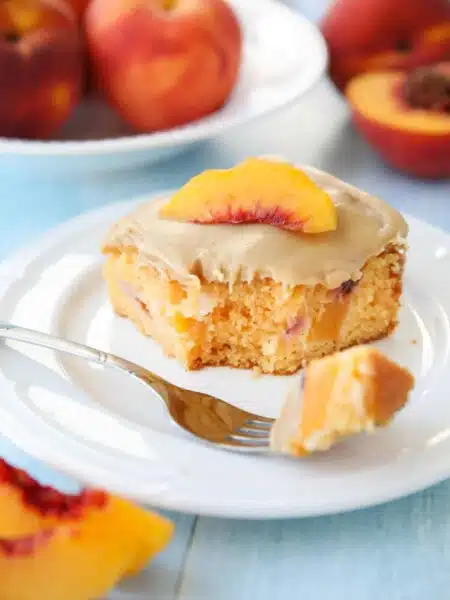
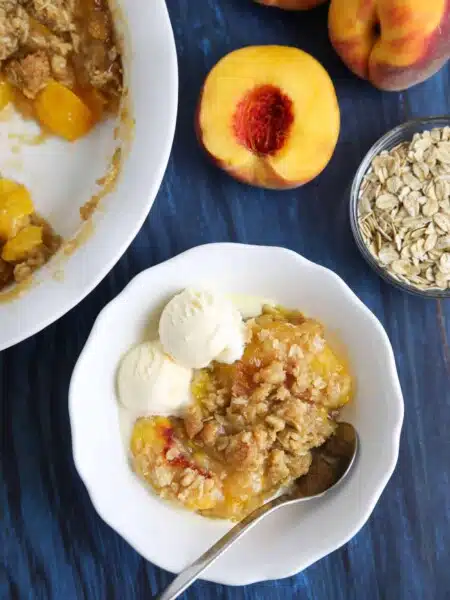
Love peach desserts? I’ve got recipes using fresh, frozen, or canned peaches. Like my Easy Peach Cobbler with canned peaches, my Frozen Peach Pie, or my fresh Peach Cake with Brown Sugar Frosting, Peach Crisp, and Peach Fritters.
Why You’ll Love This Recipe
- No oven required – perfect for warm days
- Works beautifully with fresh or canned peaches
- A standout among easy peach dessert recipes
- Make-ahead friendly for gatherings
- Light, creamy, and full of peach flavor
Prefer fresh berries? Check out my No Bake Blackberry Cheesecake, a perfect summer berry cheesecake packed with seasonal flavor.
Save This recipe
Enter your email below to get a link to this recipe emailed straight to you to save later! Plus be signed up for all new recipes.
No Bake Peach Cheesecake
If you’re searching for easy peach dessert recipes, this peach cheesecake checks every box. It’s creamy, refreshing, and incredibly simple to make, whether you’re using fresh fruit or canned peaches. Proof that delicious desserts don’t have to be complicated—and once you try it, it’ll quickly become a favorite in your rotation.
Why This Recipe Works Year-Round
Unlike many seasonal desserts, this no bake peach cheesecake shines as one of the most reliable canned peach recipes for dessert. That means you can enjoy it anytime—no waiting for peak peach season, simply use pantry staples. It’s the perfect go-to when you want something fruity, creamy, and effortless.
Ingredients You’ll Need
NOTE: Full ingredient amounts and instructions are in the printable recipe card at the end of the post.
Jump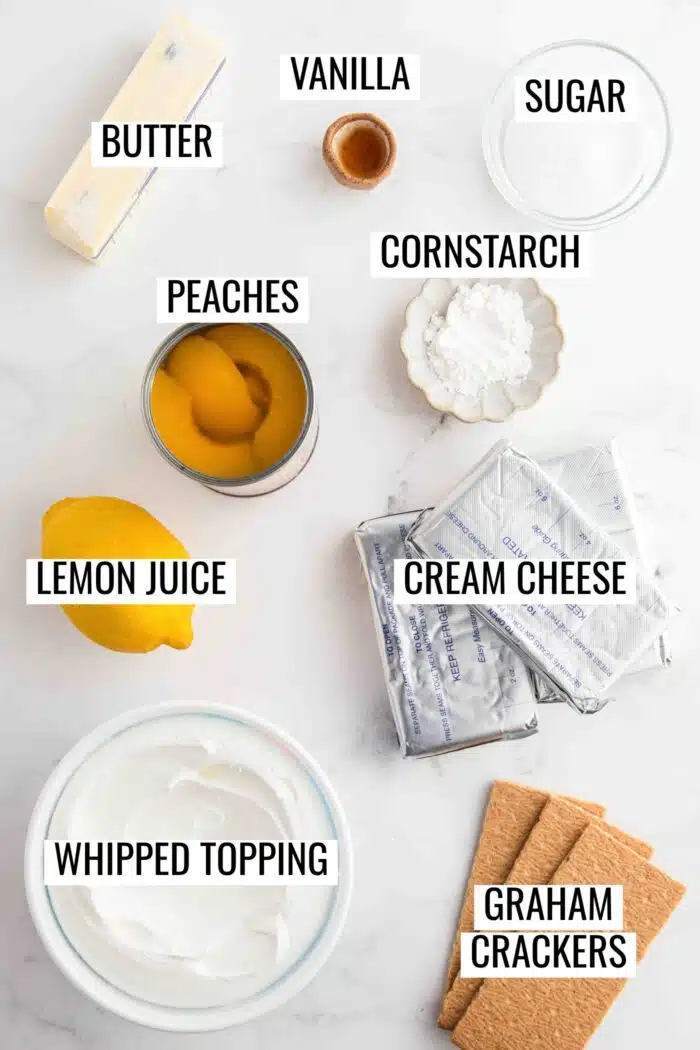
- Graham Crackers – Regular honey graham crackers make a great crust.
- Granulated Sugar – To sweeten the crust, filling, and topping.
- Butter – To bind the crust. Use salted butter to enhance the flavors and balance the overall sweetness of the dessert.
- Canned Peaches – In fruit juice, which you will drain. Canned peaches in syrup will be too sweet. Fresh peaches work great too.
- Cream Cheese – Use full-fat, block-style cream cheese for best results. Not the cream cheese in a tub.
- Lemon Juice — To enhance the tang of the cream cheese and brighten the fruit topping.
- Vanilla Extract – For flavoring.
- Whipped Topping – (aka Cool Whip) To create a light whipped texture. You can substitute it with stabilized whipped cream.
- Cornstarch – To thicken the peach topping.
How to Make No Bake Peach Cheesecake
1. Prepare the Crust
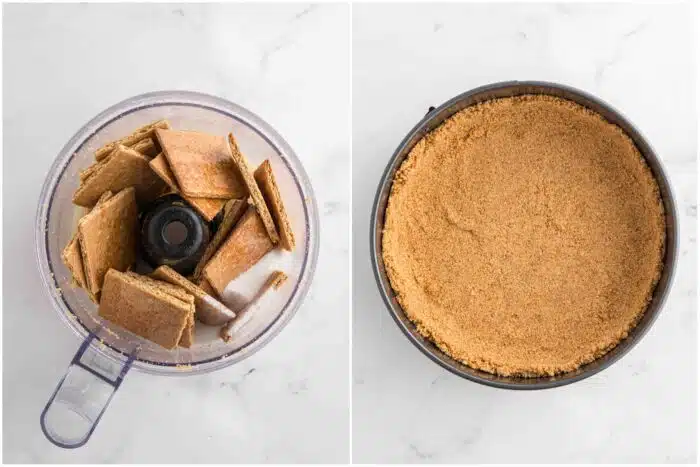
- In a food processor or blender, pulse the graham crackers, granulated sugar, and melted butter together until the texture resembles wet sand.
- Press the mixture very firmly into the bottom and halfway up the sides of a 9-inch springform pan. Chill the crust in the freezer while you prepare the filling and topping.
2. Make the Filling and Refrigerate
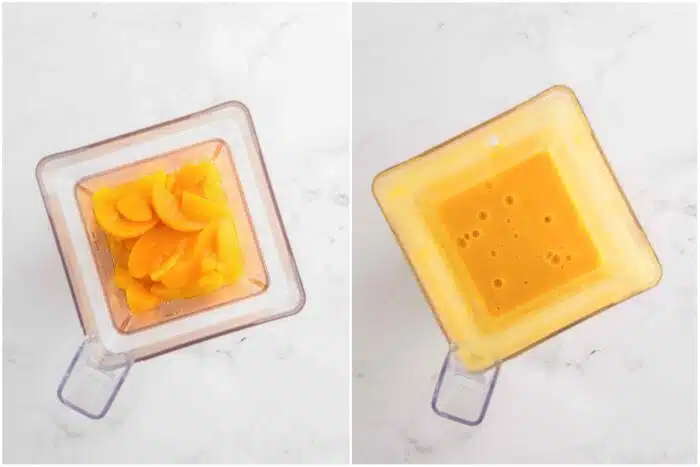
- Place 2 drained cans of peaches into a blender or food processor. Blend until smooth. Measure out 1 cup (237 ml) of the puree and reserve the rest for the topping.
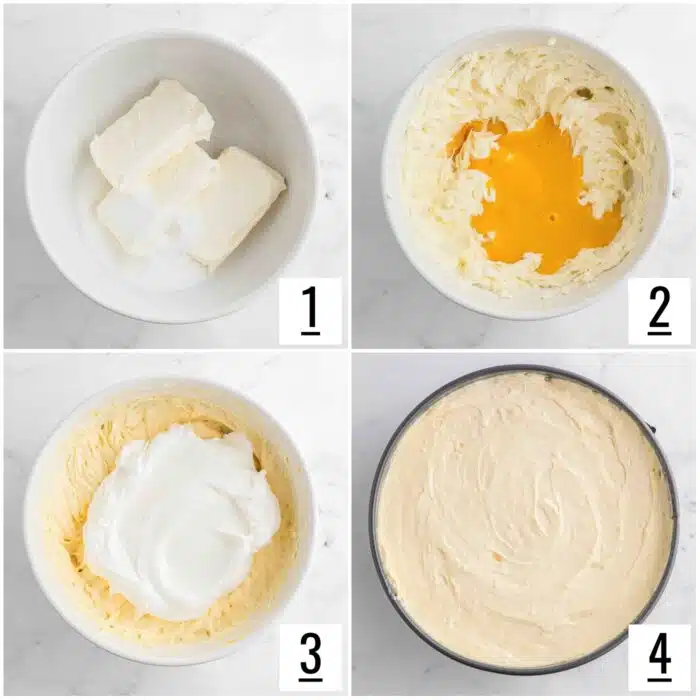
- In a large bowl with an electric hand mixer, beat the cream cheese and granulated sugar together until completely smooth.
- Add 1 cup (237 ml) of the peach puree, as well as the lemon juice, and vanilla extract. Mix until incorporated.
- Gently fold the whipped topping into the cream cheese mixture using a spatula until the filling is uniform and airy.
- Pour the filling over the graham cracker crust and smooth the top. Cover and refrigerate the cheesecake for at least 4 to 6 hours or overnight to set.
3. Make the Peach Topping
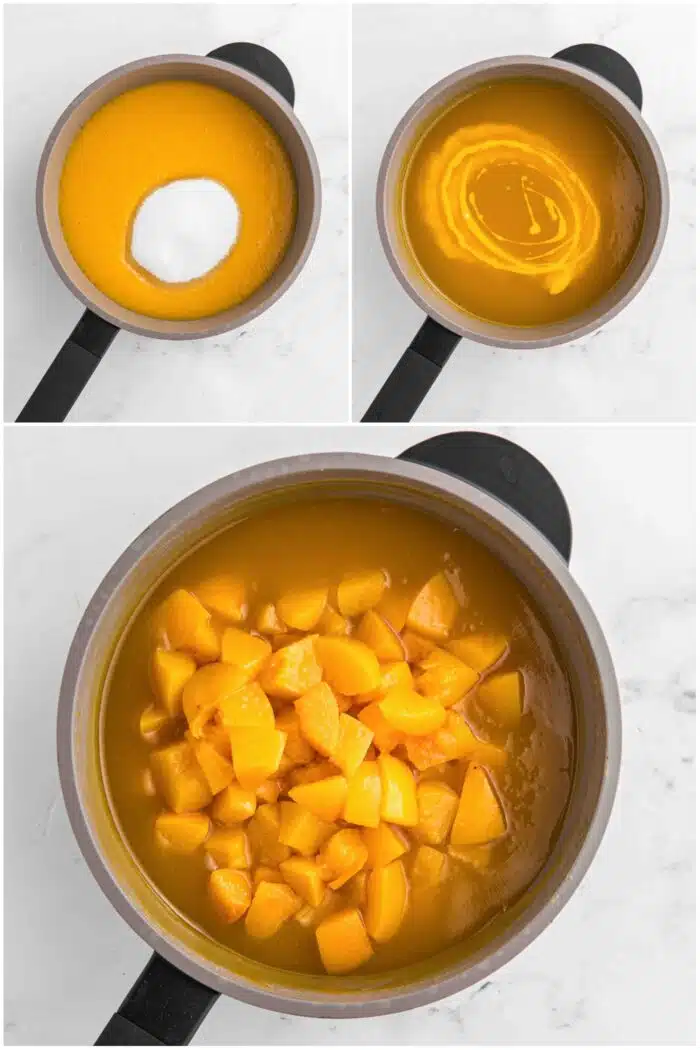
- Place the remaining peach puree (about 1 ¼ cups/296 ml), and the granulated sugar in a saucepan over medium heat. (If using fresh peaches, add the diced pieces now.) Cook for 3-5 minutes, stirring frequently, or until the peach puree starts to simmer and the sugar dissolves.
- Whisk the cornstarch with the lemon juice in a small bowl to create a slurry and stir it into the bubbling peach sauce.
- Add the chopped peaches. Simmer the peach mixture, stirring frequently, until the sauce is thick and glossy, about 2-3 minutes. Let the peach topping cool to room temperature. Then cover and chill completely in the fridge.
To Serve
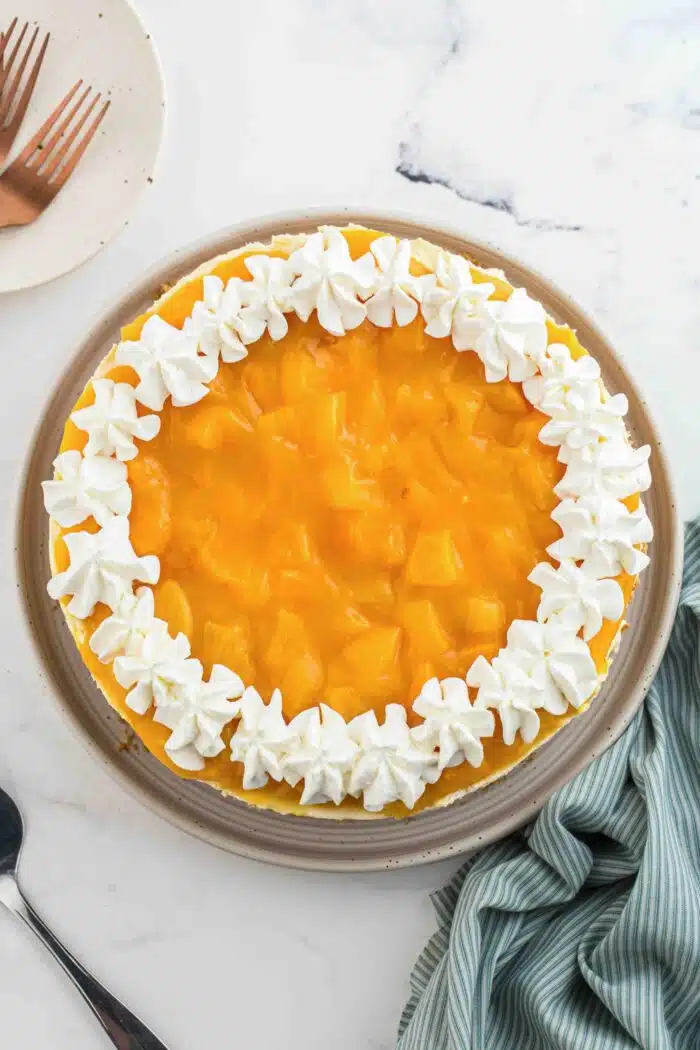
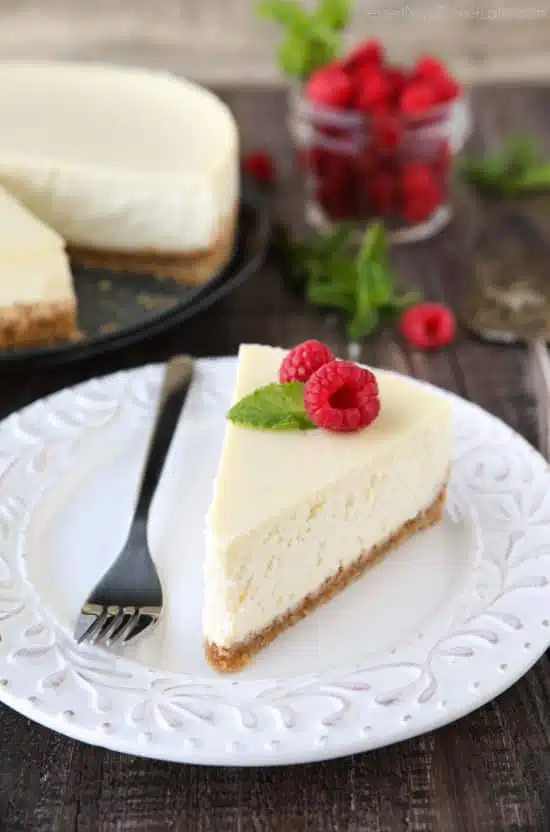
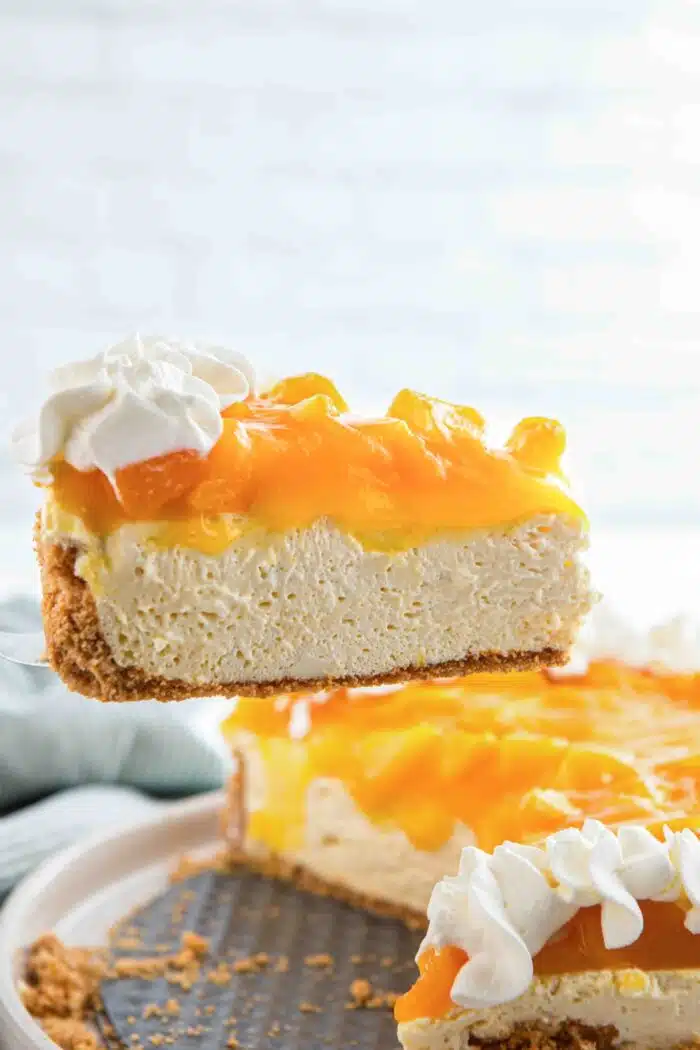
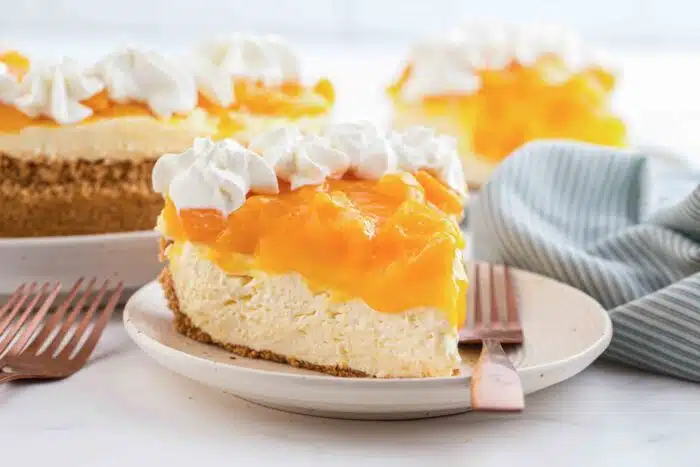
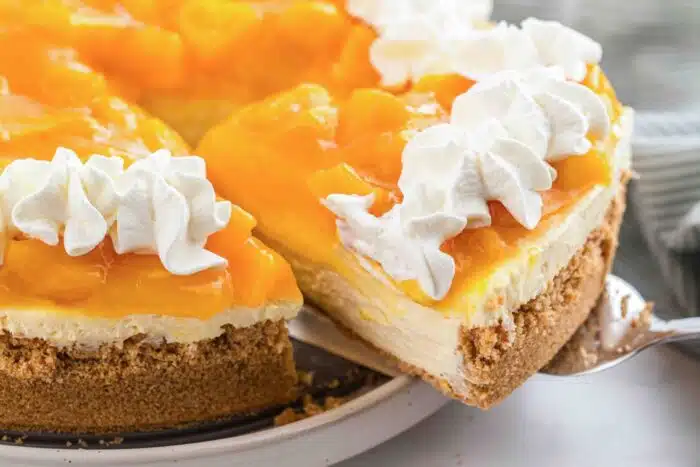
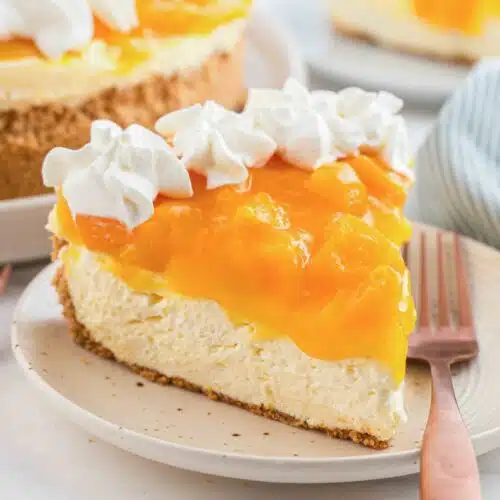
- Gently remove the sides of the springform pan and place the cheesecake onto a large plate. Spoon the peach topping over the top.
- Garnish with whipped cream, if desired. Cut and serve. (TIP: Run a knife under water and dry it off with a towel before making each cut for clean slices.)
Did you Make This?
Please leave a review and rating about how you liked this recipe! Your feedback supports my small business and allows me to continue providing free recipes.
How to Store No Bake Peach Cheesecake
- STORING: This cheesecake should be kept refrigerated. Store it in an airtight container for up to 4 days. Because of the high moisture content in the peach puree, the crust may soften slightly after the second day. For the best presentation, wait to add the topping until the day you plan to serve it to keep the filling layers looking crisp and clean.
- FREEZING: This recipe does not freeze well due to the moisture content in the peach puree and topping.
Substitutions
- Fresh Peach Conversion: To replace the 3 cans of peaches called for in this recipe, you will need approximately 10 to 12 medium-sized fresh peaches. Just make sure that you peel and pit them first. You will need about 4 cups of fresh slices total for the puree and 1 ¼ cups of diced peaches for the topping.
- Crust Variation: For a warm, spiced flavor profile, swap the graham crackers for gingersnap cookies. It will taste just like a spiced peach cobbler!
- No Whipped Topping: Not a fan of Cool Whip? Make this stabilized whipped cream instead.
- Berry Twist: You can add berries in with your peaches to create different flavor combinations. Stir in ½ cup of fresh raspberries or strawberries into the topping during the final simmer. Or try my No Bake Blackberry Cheesecake, one of the best blackberry dessert recipes for summer.
Recipe Notes
- Draining the Cans: If using canned peaches, let them sit in a colander for at least 5 minutes. Any juice clinging to the slices will thin out your puree and affect the set of the cheesecake filling in particular.
- Measure The Puree: Peach sizes and canning brands vary in liquid content. Make sure the peaches are well drained and measure your 1 cup of puree for the filling exactly. Adding too much liquid will prevent the no-bake cheesecake from setting firmly.
- Fresh Peaches: If using fresh peaches in the topping, you may need to add a splash of water or peach juice to the pan if they aren’t as juicy as the canned variety.
- Boil and Thicken Completely: When making your peach topping, make sure the mixture reaches a full boil after adding the cornstarch, or it won’t reach its full thickening potential.
- Chill the peach topping before adding it to the top of the cheesecake. The heat can melt the whipped topping in the filling, causing the layers to collapse.
- Ensure your cream cheese is truly at room temperature. If it’s cold, it won’t emulsify properly with the peach puree.
- Wait to cut. If you cut this cheesecake before the 4-hour mark, it will likely have a pudding consistency. The full 4 to 6 hour chill is what gives it that clean, sliceable cheesecake structure. But overnight is even better.
No Bake Peach Cheesecake
Ingredients
Crust
- 9 sheets (140 g) graham crackers, (1 sleeve; about 1 ⅓ cups crumbs)
- 3 Tbsp (38 g) granulated sugar
- 6 Tbsp (85 g) salted butter, melted
Filling
- 30 oz (850 g) canned peach slices in fruit juice, (two 15oz/425g cans) drained
- 24 oz (678 g) block-style cream cheese, (three 8oz/226g packages) room temperature
- 1 cup (200 g) granulated sugar
- 2 Tbsp lemon juice
- 1 tsp vanilla extract
- 8 oz (226 g) frozen whipped topping, thawed
Topping
- 1 ¼ cups (296 ml) peach puree, (taken from filling ingredients)
- ½ cup (g) granulated sugar
- 1 Tbsp cornstarch
- 1 Tbsp lemon juice
- 15 oz (425 g) can peach slices in fruit juice, drained and chopped into 1-inch pieces
- Additional whipped cream, optional for garnish
Equipment
Instructions
- FOR THE CRUST: In a food processor or blender, pulse the graham crackers, granulated sugar, and melted butter together until the texture resembles wet sand.
- Press the mixture very firmly into the bottom and halfway up the sides of a 9-inch springform pan. Chill the crust in the freezer while you prepare the filling and topping.
- FOR THE FILLING: Place 2 drained cans of peaches into a blender or food processor. Blend until smooth. Measure out 1 cup (237 ml) of the puree and reserve the rest for the topping.
- In a large bowl with an electric hand mixer, beat the cream cheese and granulated sugar together until completely smooth.
- Add 1 cup (237 ml) of the peach puree, as well as the lemon juice, and vanilla extract. Mix until incorporated.
- Gently fold the whipped topping into the cream cheese mixture using a spatula until the filling is uniform and airy.
- Pour the filling over the graham cracker crust and smooth the top. Cover and refrigerate the cheesecake for at least 4 to 6 hours or overnight to set.
- FOR THE TOPPING: Place the remaining peach puree (about 1 ¼ cups/296 ml), and the granulated sugar in a saucepan over medium heat. (If using fresh peaches, add the diced pieces now.) Cook for 3-5 minutes, stirring frequently, or until the peach puree starts to simmer and the sugar dissolves.
- Whisk the cornstarch with the lemon juice in a small bowl to create a slurry and stir it into the bubbling peach sauce.
- Add the chopped peaches. Simmer the peach mixture, stirring frequently, until the sauce is thick and glossy, about 2-3 minutes.
- Let the peach topping cool to room temperature. Then cover and chill completely in the fridge.
- TO SERVE: Gently remove the sides of the springform pan and place the cheesecake onto a large plate. Spoon the peach topping over the top. Garnish with whipped cream, if desired. Cut and serve. (TIP: Run a knife under water and dry it off with a towel before making each cut for clean slices.)
Notes
- STORING: This cheesecake should be kept refrigerated. Store it in an airtight container for up to 4 days. Because of the high moisture content in the peach puree, the crust may soften slightly after the second day. For the best presentation, wait to add the topping until the day you plan to serve it to keep the filling layers looking crisp and clean.
- FREEZING: This recipe does not freeze well due to the moisture content in the peach puree and topping.
- Draining the Cans: If using canned peaches, let them sit in a colander for at least 5 minutes. Any juice clinging to the slices will thin out your puree and affect the set of the cheesecake filling in particular.
- Measure The Puree: Peach sizes and canning brands vary in liquid content. Make sure the peaches are well drained and measure your 1 cup of puree for the filling exactly. Adding too much liquid will prevent the no-bake cheesecake from setting firmly.
- Fresh Peaches: To replace the 3 cans of peaches called for in this recipe, you will need approximately 10 to 12 medium-sized fresh peaches. Just make sure that you peel and pit them first. You will need about 4 cups of fresh slices total for the puree and 1 ¼ cups of diced peaches for the topping. You may also need to add a splash of water or peach juice to the pan for the topping if the fresh peaches aren’t as juicy as the canned variety.
- No Whipped Topping: Not a fan of Cool Whip? Make this stabilized whipped cream instead.
- Wait to cut. If you cut this cheesecake before the 4-hour mark, it will likely have a pudding consistency. The full 4 to 6 hour chill is what gives it that clean, sliceable cheesecake structure. But overnight is even better.
Nutrition
Did you make this?
Don’t forget to leave a rating below and make sure to follow on Pinterest and Instagram for more!