
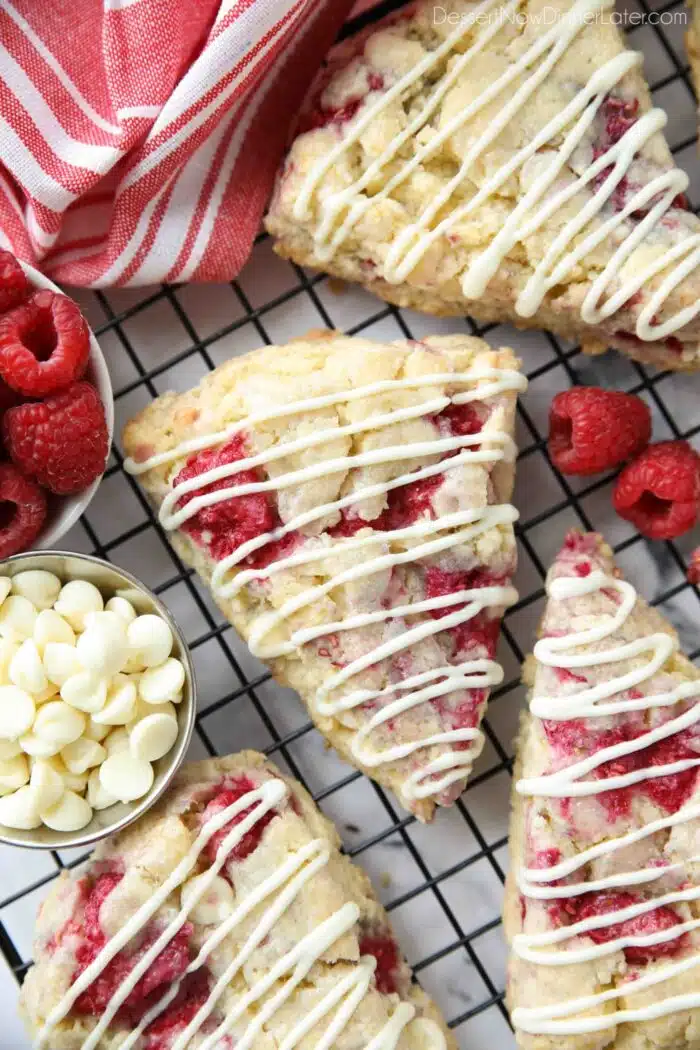
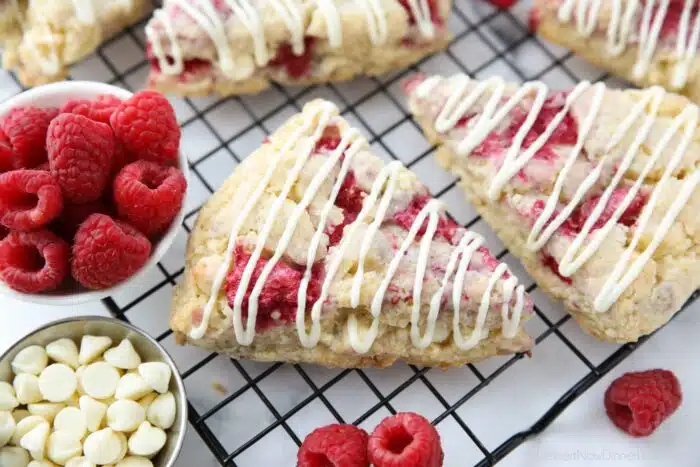
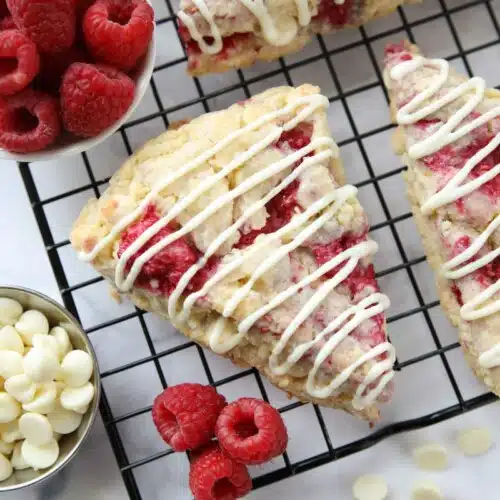
White Chocolate Raspberry Scones


White Chocolate Raspberry Scones are easy to make with white chocolate chips and fresh (or frozen) raspberries. You’ll love these tender scones for breakfast, brunch, or afternoon tea.
Looking for more brunch recipes? Try the best cinnamon rolls, my flaky biscuit recipe, or sour cream coffee cake.
What’s the difference between biscuits and scones?
You may have noticed that scones look an awful lot like biscuits, and the ingredients are almost the same.
The difference between the two is that scones are made with cream and eggs, whereas biscuits are typically made with buttermilk and no eggs.
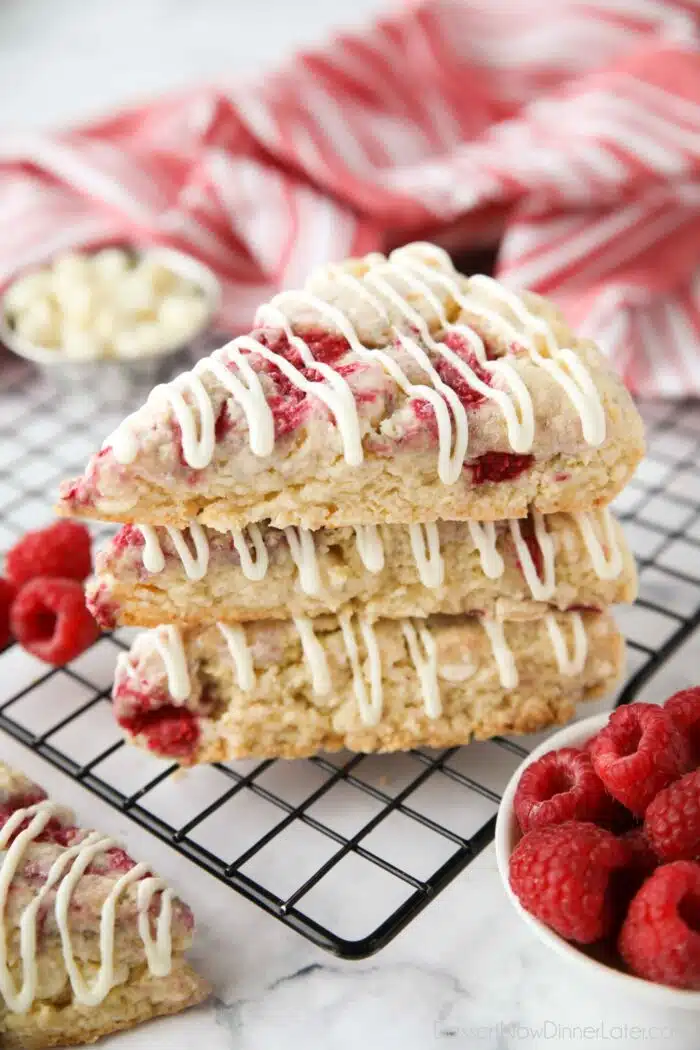
Biscuits have a flaky interior, and scones have a more crumbly interior.
Save This recipe
Enter your email below to get a link to this recipe emailed straight to you to save later! Plus be signed up for all new recipes.
Scones are often topped with course sugar or glaze. So they are generally sweeter, and may contain fruit and or chocolate, like these white chocolate raspberry scones.
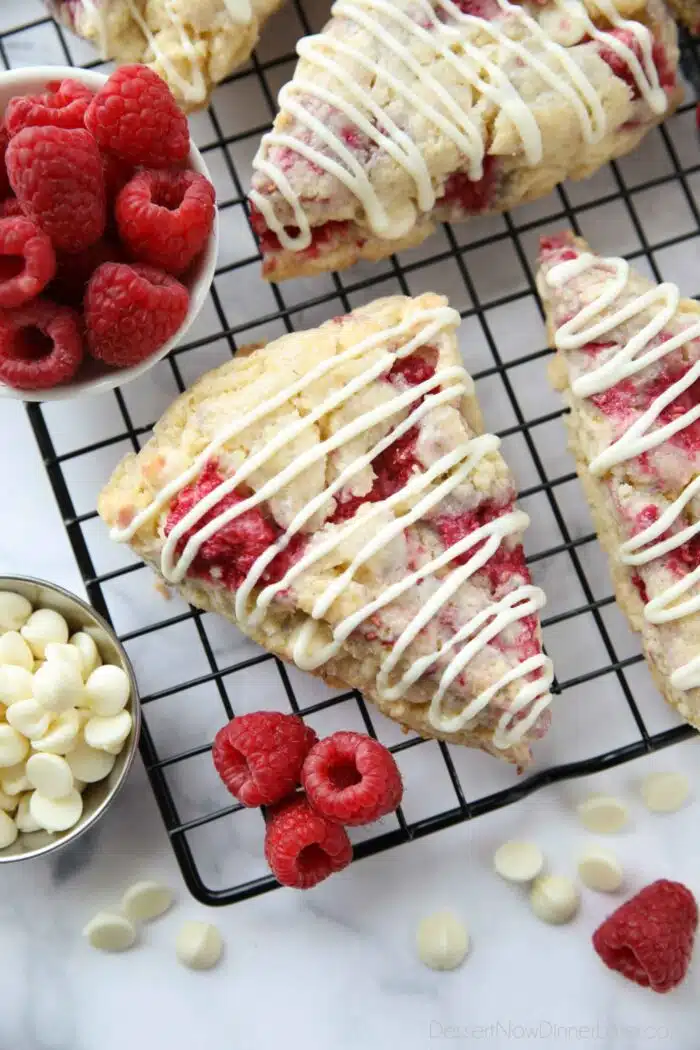
Raspberry White Chocolate Chip Scones
Scones are the perfect breakfast treat. They are more like a dessert, but totally pass as a breakfast or brunch pastry.
My friend Michelle makes a bunch of scone flavors like: orange cream scones, lemon poppyseed scones, and strawberry cream cheese scones to name a few.
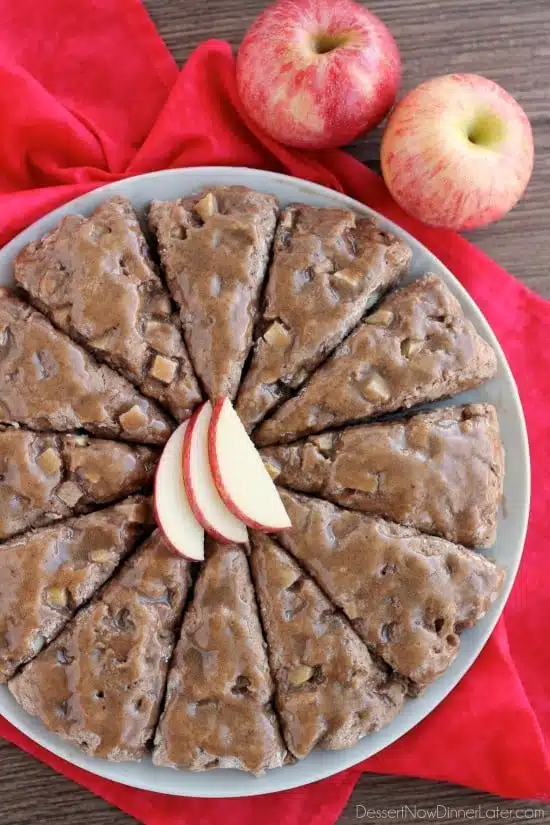
Michelle’s love for scones made me want to update this old recipe for Raspberry White Chocolate Chip Scones. Sadly it’s one of the only scone recipes currently on my blog, besides my apple brown sugar scones. But it’s a good one! Let me show you how to make it.
How to Make White Chocolate Raspberry Scones
PRO TIP: To ensure the best shaped scones, you want cold ingredients. Cold butter, cold cream, and even a cold bowl will help you out.
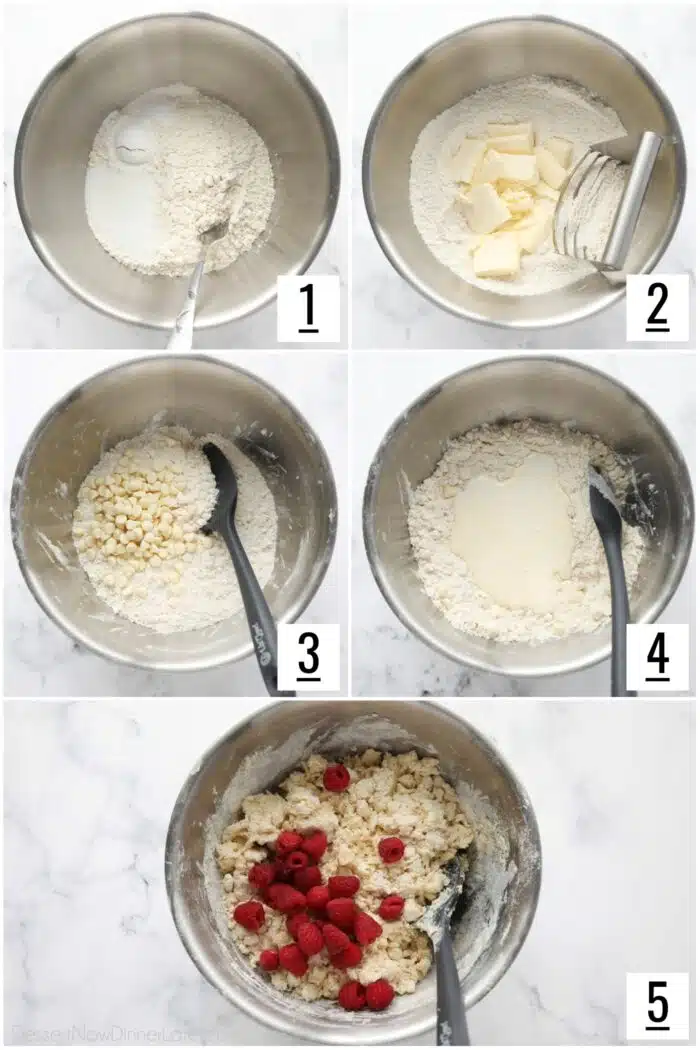
- In a large bowl, stir together the flour, sugar, baking powder and salt.
- Add the butter and use a pastry blender to cut the butter into the dry ingredients until the mixture resembles course crumbs. (NOTE: Cutting the butter into Tablespoons first, helps expedite this process.)
- Fold in the white chocolate chips.
- Whisk together the heavy cream, egg, and vanilla (or almond extract). Add to dry ingredients.
- Stir together until mixture starts to clump together. Add raspberries and fold gently.
Shaping the Scones
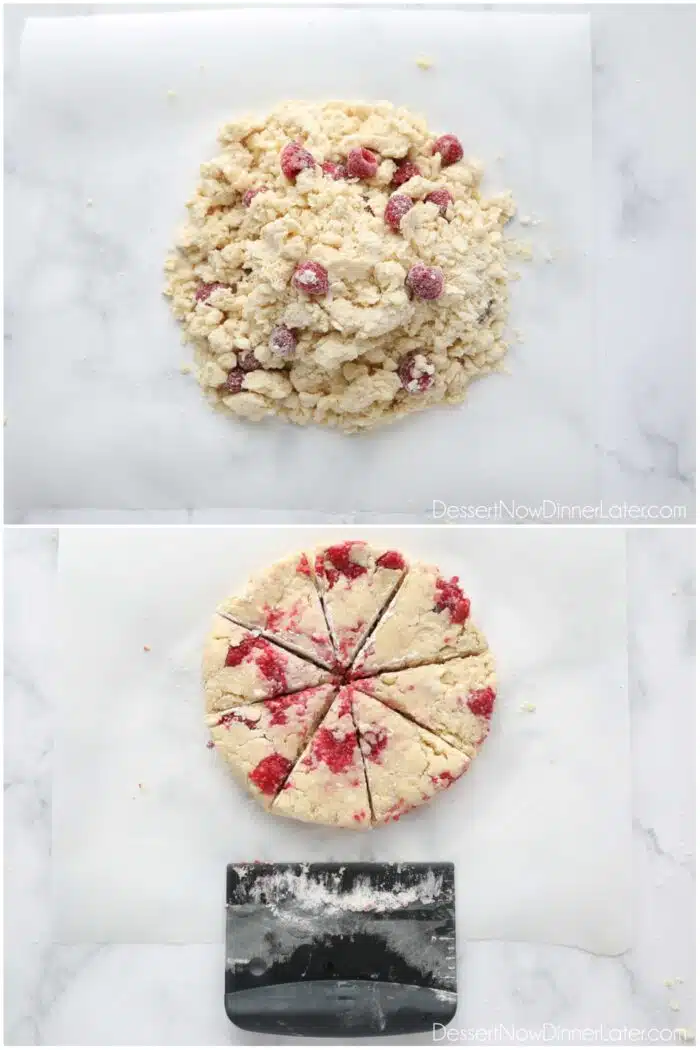
- Empty mixture onto a lightly floured surface. Gently press mixture together to create a round, flat disc about 7-inches in diameter and approximately 1-inch thick, using extra flour as needed to prevent sticking.
- Cut the disc into 8 wedges and use a pie server to carefully move the pieces to a parchment or silicone-lined baking sheet.
Baking and Storing
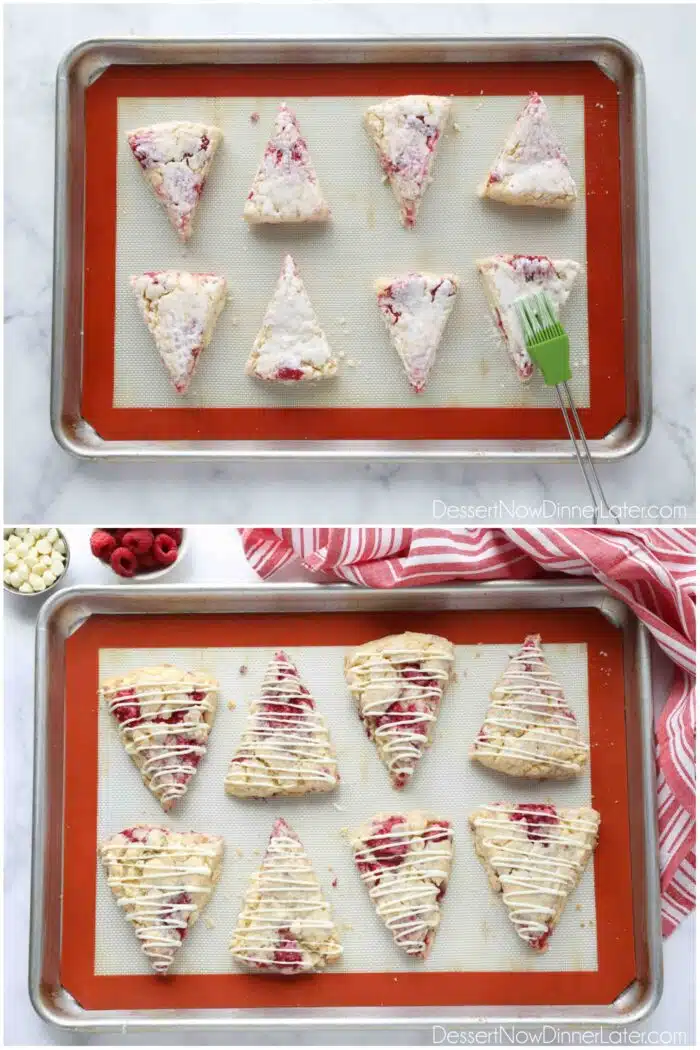
- Lightly brush the tops of the prepared scones with heavy cream. (Sprinkle with course sugar like Turbinado or Demerara sugar, if desired.) Bake at 400˚F for 15 minutes or until golden brown on edges/bottom.
- Allow scones to cool on the baking sheet. Melt 1/4 cup of white chocolate chips with 1/2 teaspoon of a neutral tasting oil in the microwave for 15 second intervals, stirring in-between. Drizzle or pipe melted white chocolate over cooled scones. Allow chocolate to harden before serving.
- Store white chocolate raspberry scones in an airtight container at room temperature for up to 1-3 days, or in the fridge for up to 1 week.
Freezing Scones
Can I freeze scones? Yes! You can freeze the dough or baked scones.
To freeze scone dough: Freeze the dough shaped into a disc (as a whole) with a double layer of plastic wrap. Or flash-freeze cut scones on a parchment or silicone-lined baking sheet for 1 hour, then transfer the scones into a freezer-safe zip-top bag and keep them in the freezer. (This prevents the scones from sticking together.) Baking scones from frozen will take up to 5 minutes or so longer.
NOTE: Baking from frozen is best. I do NOT recommend thawing the scone dough before baking. Especially this flavor, as the raspberries in these white chocolate scones will weep and introduce moisture into the dough, making it spread and bake flatter.
To freeze baked scones: Flash freeze the scones (as mentioned above) and move them into a freezer-safe zip-top bag. Thaw scones at room temperature before consuming.
Tips for Success
- Do NOT over-work the dough. The less you knead the ingredients, the less the gluten will tighten up – which means your scones will stay loose and crumbly, rather than tough and chewy. You really only need to press the ingredients into a disc, rather than kneading it into a ball first.
- Use cold ingredients and work quickly. Like homemade biscuits, and pie crust, it’s important to prevent the butter from melting, so it creates that flaky tender crumb. This also helps prevent the scones from spreading and losing their shape. Using cold ingredients and even a cold bowl will help with this.
- Add the raspberries gently. Fresh raspberries will slightly break apart when mixed into the dough, which is completely fine and totally normal; however, try and keep them as intact as possible. If the fruit is smashed completely, the juices will incorporate extra moisture into the dough (making the dough too wet). Frozen raspberries do work well in these scones. Do NOT thaw them first.
If You Make This Recipe, Please Rate and Review it in the Comments Below. THANKS!
White Chocolate Raspberry Scones
Ingredients
- 2 cups (240 g) all-purpose flour, stir, spoon & level
- ⅓ cup (68 g) granulated sugar
- 1 Tbsp baking powder
- 1 tsp salt, use half if you are sensitive to salt
- ½ cup (113 g) unsalted butter, cold (cut into Tablespoons)
- ½ cup (85 g) white chocolate chips, Guittard or Ghirardelli brand recommended
- ½ cup (118 ml) heavy cream
- 1 large egg
- ½ tsp vanilla extract, or almond extract
- ¾ cup (105 g) raspberries, rinsed and dried
For topping:
- 2 Tbsp heavy cream
- ¼ cup (43 g) white chocolate chips (Guittard or Ghirardelli brand)
- ½ tsp oil, canola/vegetable, for thinning the chocolate
Equipment
Instructions
- Preheat oven to 400 degrees Fahrenheit. Line a baking sheet with parchment paper or a silicone baking mat. Set aside.
- In a large bowl, stir together the flour, sugar, baking powder and salt. Add the butter and use a pastry blender to cut the butter into the dry ingredients until the mixture resembles course crumbs. Fold in the white chocolate chips.
- Whisk together the heavy cream, egg, and vanilla (or almond extract). Add to dry ingredients. Stir together until mixture starts to clump together. Add raspberries and fold gently.
- Empty mixture onto a lightly floured surface. Gently press mixture together to create a round, flat disc about 7-inches in diameter and approximately 1-inch thick, using extra flour as needed to prevent sticking. Cut the disc into 8 wedges and use a pie server to carefully move the pieces to the prepared baking sheet.
- Lightly brush the top of the scones with heavy cream. (Sprinkle with course sugar, if desired.) Bake at 400˚F for 15 minutes or until golden brown on edges/bottom.
- Allow scones to cool on the baking sheet. Melt 1/4 cup of white chocolate chips with 1/2 teaspoon of a neutral tasting oil in the microwave for 15 second intervals, stirring in-between. Drizzle or pipe melted white chocolate over cooled scones. Allow chocolate to harden before serving.
Video
Notes
- Frozen raspberries also work really well. Do not thaw first.
- If skipping the white chocolate drizzle, be sure the sprinkle coarse sugar (like Turbinado or Demerara sugar) over the scones after brushing them with heavy cream. Then bake as directed.
- Store these white chocolate raspberry scones in an airtight container at room temperature for up to 1-3 days, or in the fridge for up to 1 week.
Nutrition
Did you make this?
Don’t forget to leave a rating below and make sure to follow on Pinterest and Instagram for more!
*Post originally published 2/8/2012. Recipe and photos updated April 2023.


I have made your scones several times and my family and I think they’re the best
I’m so happy to hear that! Thanks for your comment!
Think this is the third time I have made these. They always turn out great. They don’t even have time to cool before we start eating them. ❤️
I love that you’re enjoying this recipe so much Bonnie! Thanks for your review!
My first time making scones. There was one left and I had a hard time sending it back to college with my son. I will definitely make again.
Yay! I’m so glad you enjoyed this recipe! Sorry you had to share with your son, but good mom!