Homemade Caramels
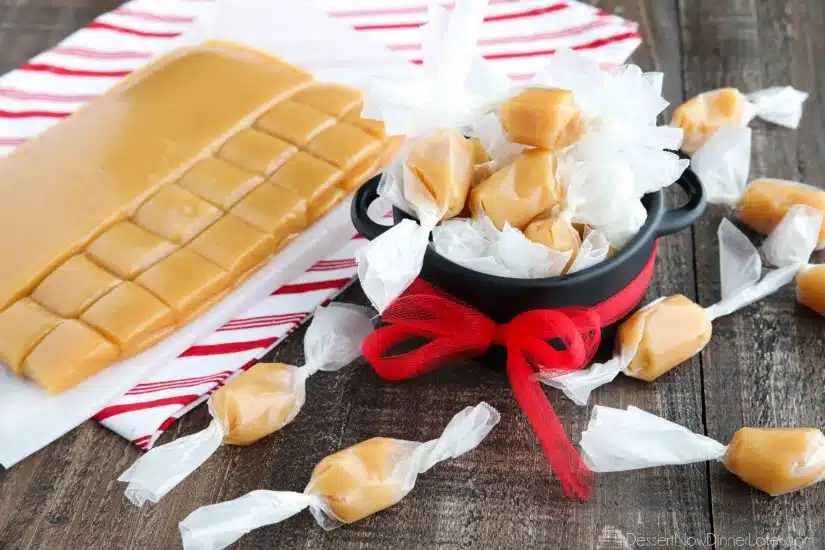
This Homemade Caramels recipe is so soft, chewy, and melt-in-your mouth buttery. A delicious candy that is the perfect holiday gift for Christmas neighbor plates.
Soft caramels are an addiction of mine. I buy the big tub of Chocolate Covered Sea Salt Caramels at Sam’s Club and eat one almost every day. It’s my special treat.
Of course the holidays are a great time to make homemade candy and treats like these homemade caramels, so I gave it a try. My whole family really enjoyed this recipe. So much so, that we almost didn’t want to share!
Save This recipe
Enter your email below to get a link to this recipe emailed straight to you to save later! Plus be signed up for all new recipes.
Homemade Caramels
Homemade caramels, although extremely delicious, can be temperamental, just like any other candy. Here are some tips for success when making homemade caramels:
Keep a Rolling Boil
To make sure the caramels don’t get grainy, crystalized, or curdled, you must keep a consistent rolling boil over medium heat and stir, stir, STIR! This is especially important as you add extra heavy cream. TIP: Warm the heavy cream up in the microwave for 1 1/2 to 2 minutes and SLOWLY add it to the boiling mixture. Never allow that boil to let up!
Candy Thermometer or Cold Water Test
I used both a candy thermometer and the cold water test, but honestly, the cold water test is more accurate! The first batch that I made I heated to soft ball stage (240 degrees Fahrenheit) with two different thermometers for accuracy. The cold water test checked out at that temperature, but the caramels still ended up being quite hard once they set. This had to have been due the high altitude of my location. (Rookie mistake.)
Altitude and humidity may also effect the temperature that your homemade caramels need to be heated to for a soft texture. TIP: Start checking the caramels around 225-230 degrees Fahrenheit and use the cold water test. You’ll know you’re close to done when the mixture reduces to almost half and is starting to thicken.
To do the cold water test, spoon some of the caramel into cold water, let it sit for a few seconds. Then pull it out. If it can hold the shape of a ball, then it’s done. Keep in mind, the caramels will firm up a little bit more than the cold water test suggests, so stop when it’s slightly under where you like it.
Note from reader Susan: “At sea level water boils at 212 degrees. If you’re at a higher altitude water will boil at a lower temperature. Adjust the soft ball temperature accordingly, i.e. if water boils at 203 degrees at your altitude, soft ball stage would be 9 degrees less or 231 degrees.”
Want more homemade holiday treats? Try my Christmas Pretzel Hugs, Peanut Butter Ball Buckeyes, or Copycat Trader Joe’s Coconut Cashews.
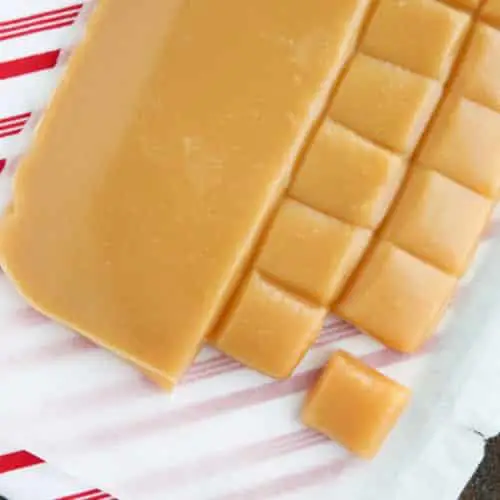
Homemade Caramels
Ingredients
- ¾ cup (170 g) butter, cut into chunks
- ¾ cup (180 ml) dark corn syrup
- 2 cups (400 g) granulated sugar
- 2 cups (473 ml) heavy cream, divided
- 1 tsp vanilla extract
Instructions
- Prepare a 9×9-inch or 11×7-inch baking dish — butter the dish generously, or line it with parchment paper and spray the paper lightly with cooking spray.
- In a 4 quart pot (no smaller) over medium heat, bring the butter, corn sryup, sugar, and 1 cup of heavy cream to a boil. Stir continuously, scraping the bottom of the pan with a wooden spoon or heat resistant spatula.
- Once the caramel comes to a boil, heat the remaining cup of cream in a LARGE bowl or glass measuring cup in the microwave for 1 1/2 to 2 minutes until hot/boiling. (Will rise as it boils, keep an eye on it so it doesn’t spill over.)
- SLOWLY add the hot cream to the pot of caramel while stirring continuously. Never allow the caramel to stop boiling or it will become grainy/crystalized.
- Keep stirring the caramel until it reduces by about half and starts to thicken. (About 25 minutes.)
- *TEST the caramel once it reaches 225-230 degrees Fahrenheit, by spooning some of the caramel into a small bowl of very cold water. Let it sit for a few seconds. Then pull it out. If it can hold the shape of a ball, then it’s done. Keep in mind, the caramels will firm up a little bit more than the cold water test suggests, so stop when it’s slightly under where you like it.
- Remove from heat and stir in the vanilla. It will bubble up so be careful.
- Pour the caramel mixture into the prepared dish. (If some caramel sticks to the sides, leave it. Do not scrape it out. It will be more firm and result in two different consistencies.)
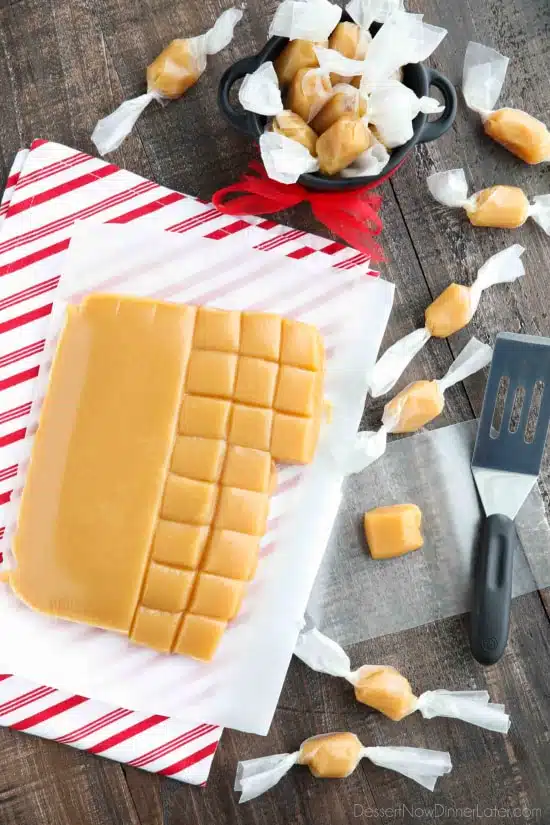
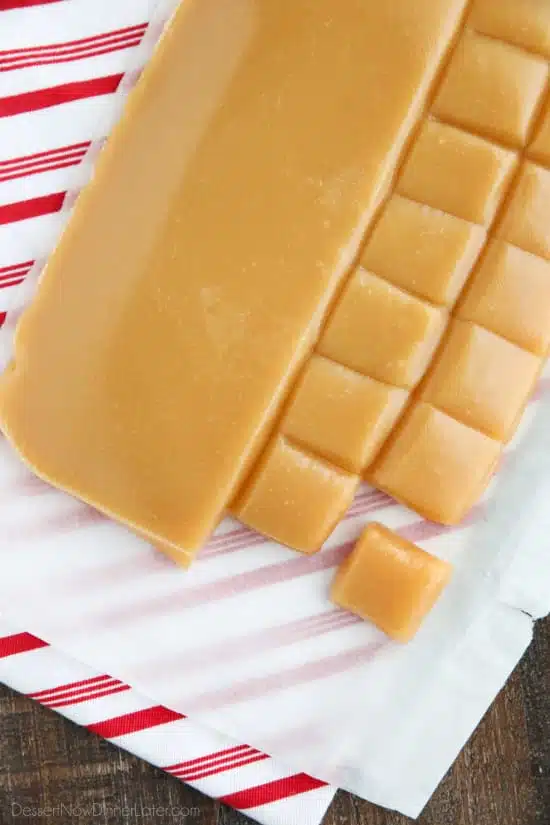
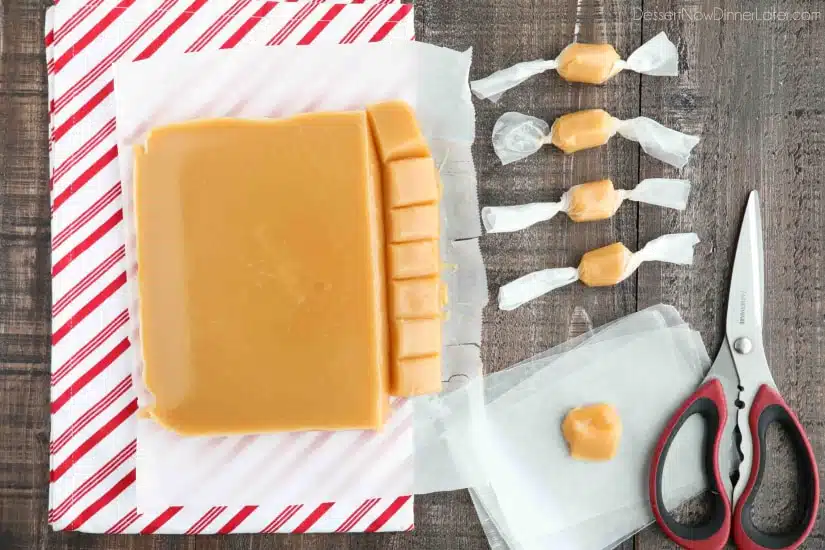
- Let the caramels cool a minimum of 3 hours before cutting. Cut wax paper strips that are 5 to 6-inches long. Then cut each strip into thirds that are about 4-inches wide.
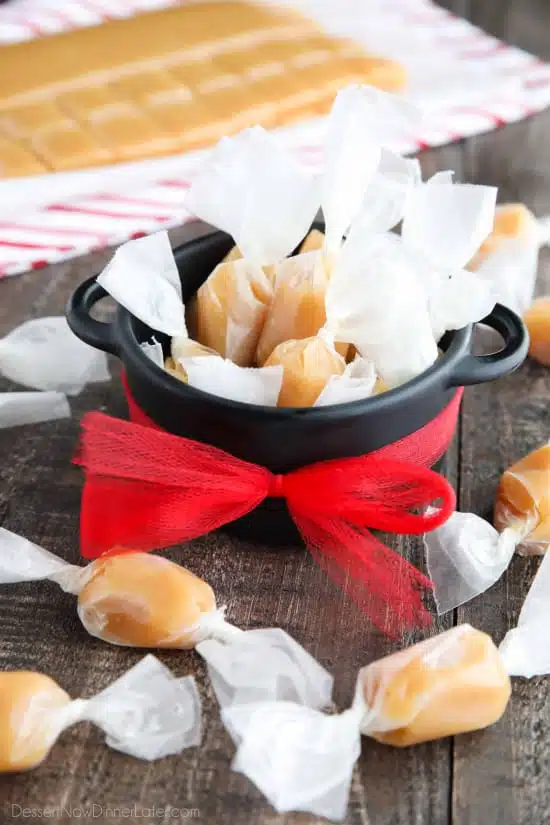
- Cut caramels into squares (8 rows by 8 columns for 64 pieces.) Place a caramel in the center of a wax paper strip. Roll up and twist the ends. Repeat with all caramels.
Notes
Nutrition
Did you make this?
Don’t forget to leave a rating below and make sure to follow on Pinterest and Instagram for more!



These caramels are amazing!!!! I have never done this before and they came out great. I started off using the thermometer but you’re so right, the cold water test is the best gauge of doneness. It made a ton! I was wondering how long these keep for?
I would say about 7-10 days. Possibly longer.
Can I use light corn syrup instead of dark?
That will be fine. The caramels will be lighter in color and maybe not quite as rich.
Saw this one and knew I had to give it a try. I love it soo much.
That’s great! We love these too!
Could I use brown sugar in place of white? I just love brown sugar…
Brown sugar is white sugar and molasses, and since molasses is wet, it will add extra moisture to the recipe and mess with the chemistry of the caramels. I wouldn’t recommend it.
Hi Amber
Your recipe does not say if you use salted or not salted butter. Which do you use? plus mine are good, but a bit greasy, so you think it is from the butter?
Thank you so much!!!
The choice to use salted or unsalted butter is up to the baker, which is why I don’t specify what I used. Since you asked, I like to use salted for caramels because it tastes better to me. As far as it being greasy, this can happen if the butter and sugar melt unevenly, or if the temperature changes drastically during the cooking process. To prevent this, make sure your butter is cut into chunks and that you don’t change the temperature while it’s cooking. Medium or medium-low heat is preferred. Glad they still taste good though!
Maybe someone has already commented on this, but test at what temperature your candy thermometer shows water boils. At sea level water boils at 212 degrees. If you’re at a higher altitude water will boil at a lower temperature. Adjust the soft ball temperature accordingly, i.e. if water boils at 203 degrees at your altitude, soft ball stage would be 9 degrees less or 221 degrees.
Thanks for sharing this Susan! Very helpful!