Homemade Caramel Apples
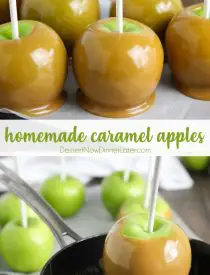
Classic homemade caramel apples are fun to make from scratch. Any leftover caramel can be cooled, cut, and wrapped for treats. Plus tips and tricks to make professional looking caramel apples at home.
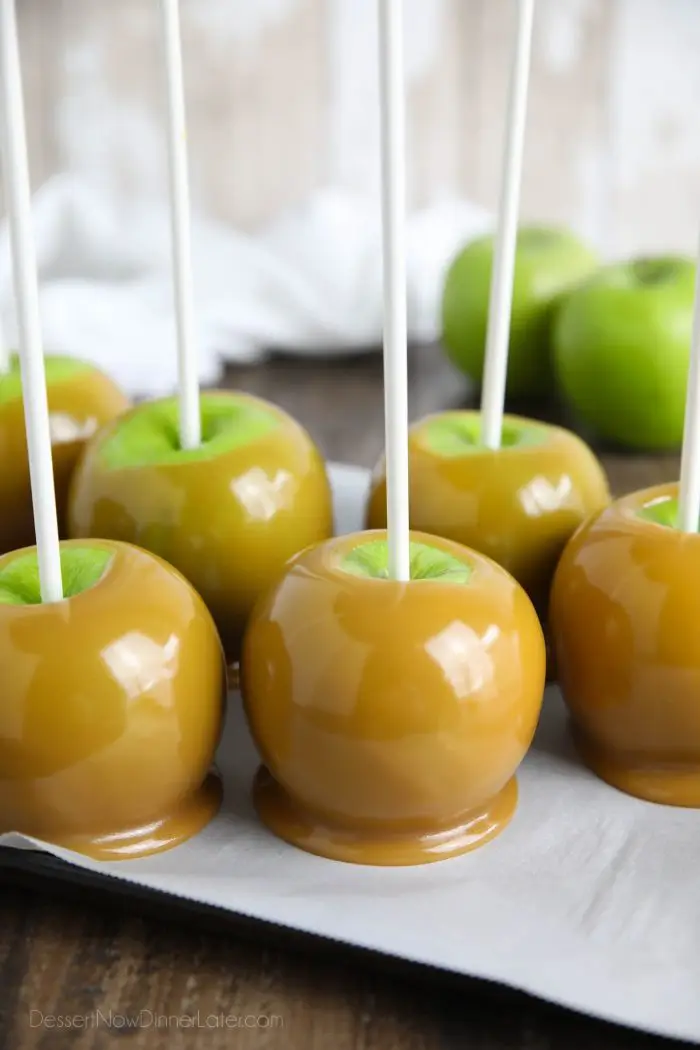
Making homemade caramel apples is a fun fall activity that kids and adults alike will enjoy. You can keep them plain, dip or drizzle them with chocolate, and coat them in finely chopped nuts or candy. The possibilities are endless!
We made this plain and simple caramel apples recipe with friends twice last year. I’m so happy to be sharing it with all the tips we learned while making them.
Save This recipe
Enter your email below to get a link to this recipe emailed straight to you to save later! Plus be signed up for all new recipes.
How do you keep caramel from sliding off apples?
The most important step to making homemade caramel apples is to make sure you get the wax off the apples or the caramel will slide right off.
Most, if not all, of the apples you can purchase at the store will have wax on them. Even some of the organic ones. You will be able to tell if there is wax on an apple by running your fingernail against the apple skin. Any wax that ends up under your fingernail is a sure sign that the apples are coated in wax.
To get wax off apples, you need to soften the wax and scrub it off.
The first time I did this, I followed some instructions to place each apple in boiling water for a few seconds. Unfortunately, this discolored the apples so much that my kids thought they already had caramel on them. Yuck! Luckily there is a better way.
Remove the Wax From Apples
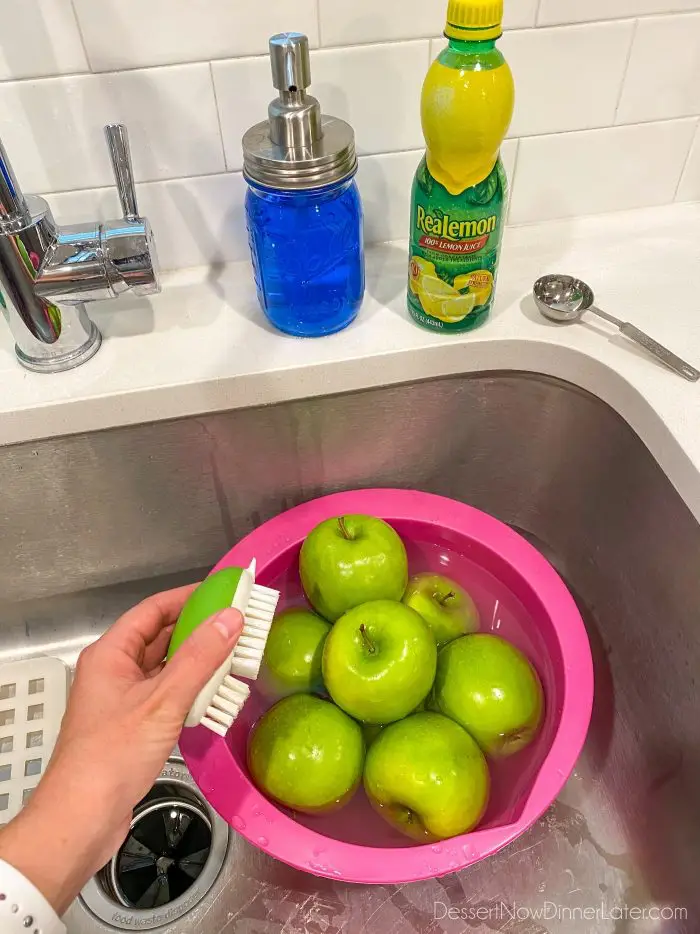
- First, place the apples in a bowl of comfortably hot water. Tap hot is fine, no need to boil it first (boiling water will discolor the apples). Add 2 Tablespoons of lemon juice or vinegar to the water and let the apples soak for a minute or two. (The acid helps brighten and preserve the apple’s freshness, while helping break down some of the wax.)
- Next, use a vegetable scrub brush or a slightly abrasive cloth and a little dish soap (I used Dawn) to scrub each apple all around. If it’s scraping off the peel, use a slightly less abrasive brush/cloth. You can also use a produce spray/wash instead of dish soap, if desired.
- Rinse the apples well.
Prepare the Apples for Dipping in Caramel
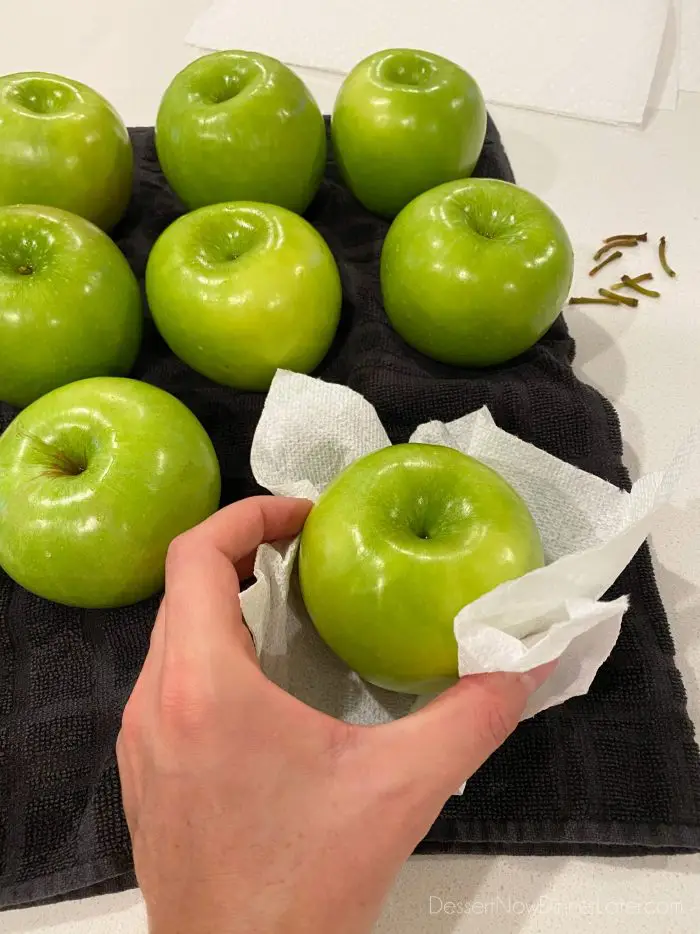
- Once the wax has been removed from the apples, remove the stems and dry the apples well. You do not want ANY moisture left on the apples, or it will wreck your caramel and/or prevent it from sticking to the apple. I used several paper towels to make sure the apples were super dry.
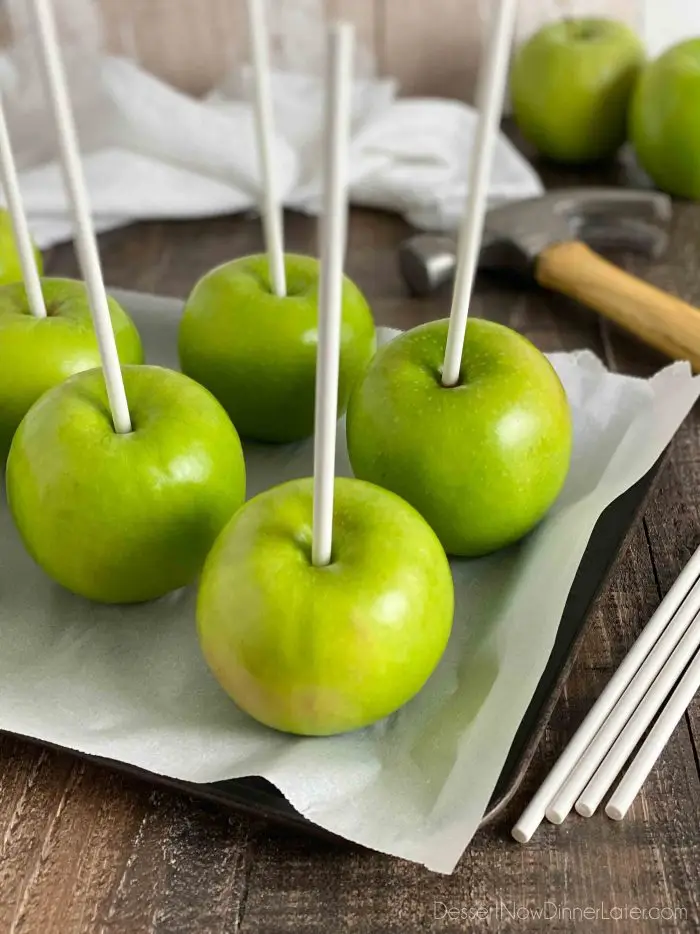
- Next, insert handles. Gently tap cookie sticks 1/2 to 2/3 of the way down the center of each apple with a hammer or the flat side of a meat mallet. (Food safety tip: Wash the hammer or clean it with a disinfectant wipe before using it to insert the handles into the apples.)
- For the handles, you will want to use 6 to 8-inch cookie sticks or a similar sturdy dowel. Take care not to hammer it through the bottom.
- After inserting the handles, refrigerate the apples until ready to dip. Using cold apples is best because it will allow the hot caramel to set faster and better adhere to the apple when dipped.
Homemade Caramel for Dipping Apples
This caramel recipe for apples is pretty similar to my soft caramel recipe, which would also work for dipping apples. It uses:
- butter
- light brown sugar (instead of white granulated sugar)
- light corn syrup (instead of dark corn syrup)
- sweetened condensed milk (instead of heavy cream)
- vanilla extract
This from-scratch caramel is a little simpler to make with the sweetened condensed milk cooked right in, instead of being added at the end like with heavy cream.
How to Make Caramel Apples from Scratch
To prepare the caramel for dipping the apples, you will need a heavy duty saucepan. Ideally a deep and thick saucepan with straight sides.
You will also need a candy thermometer. Preferably one that clips onto the side of your pot. This tool is a MUST to make sure the caramel hits the proper soft-ball phase.
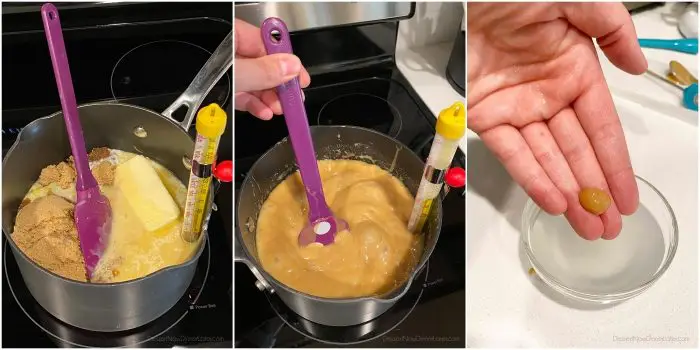
- For the caramel: Stir the butter, brown sugar, corn syrup, and sweetened condensed milk together in a large saucepan over medium-high heat. Bring to a boil, stirring constantly, and the reduce heat to medium.
- Cook until a candy thermometer reads between 230˚F – 240˚F. The higher the temperature, the thicker and firmer the caramel will be. PLEASE NOTE:
- Cooking the caramel may take between 15-30 minutes depending on the heat source (electric or gas) and type of pan that you use.
- Soft ball phase is technically 234˚F – 240˚F, but where I live in a high altitude, it reaches that phase at a slightly lower temperature. Start checking the caramel around 230˚F if high altitude.
- Double check that the caramel is ready by spooning some into a small bowl of very cold water. Let it sit for a few seconds. Then pull it out. If it can hold the shape of a ball, then it’s done.
- Once caramel has reached the proper temperature and texture, remove the caramel from the heat and stir in vanilla. Careful, it may bubble up.
Preparing to Dip the Apples
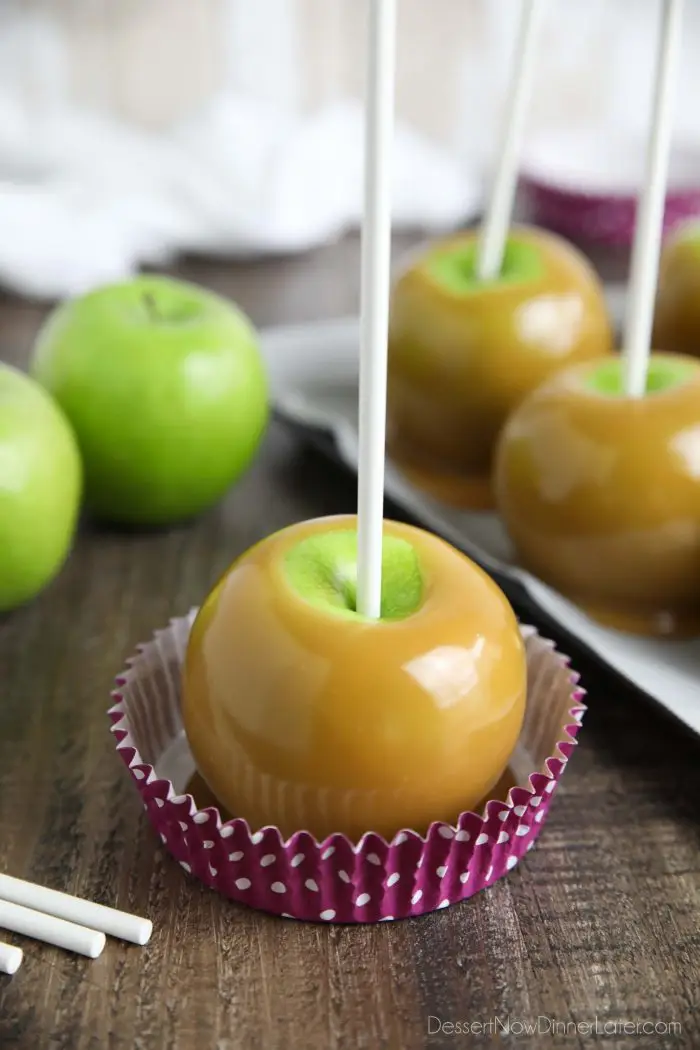
Before dipping the apples, make sure you have a non-stick surface to place them onto. A silicone baking mat or parchment paper lined baking sheet works well. DO NOT USE WAX PAPER with hot caramel or it will stick! And don’t use cooking spray. A coating of grease would not be fun to eat and is unnecessary anyway.
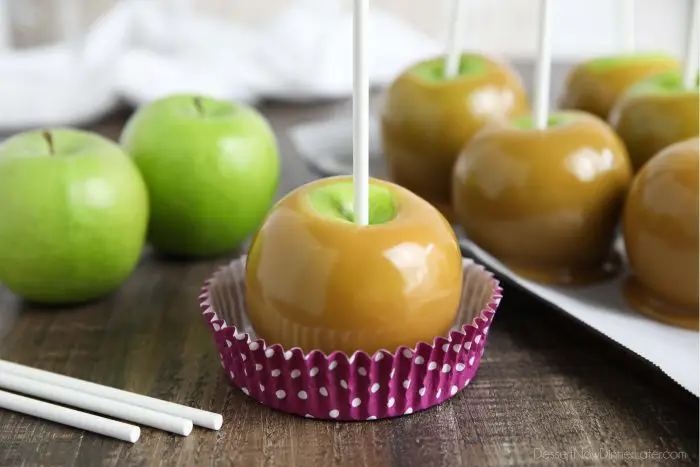
I found these coated baking cups also worked well, and were cute for wrapping with clear cellophane bags and gifting.
How to Dip the Apples in Caramel
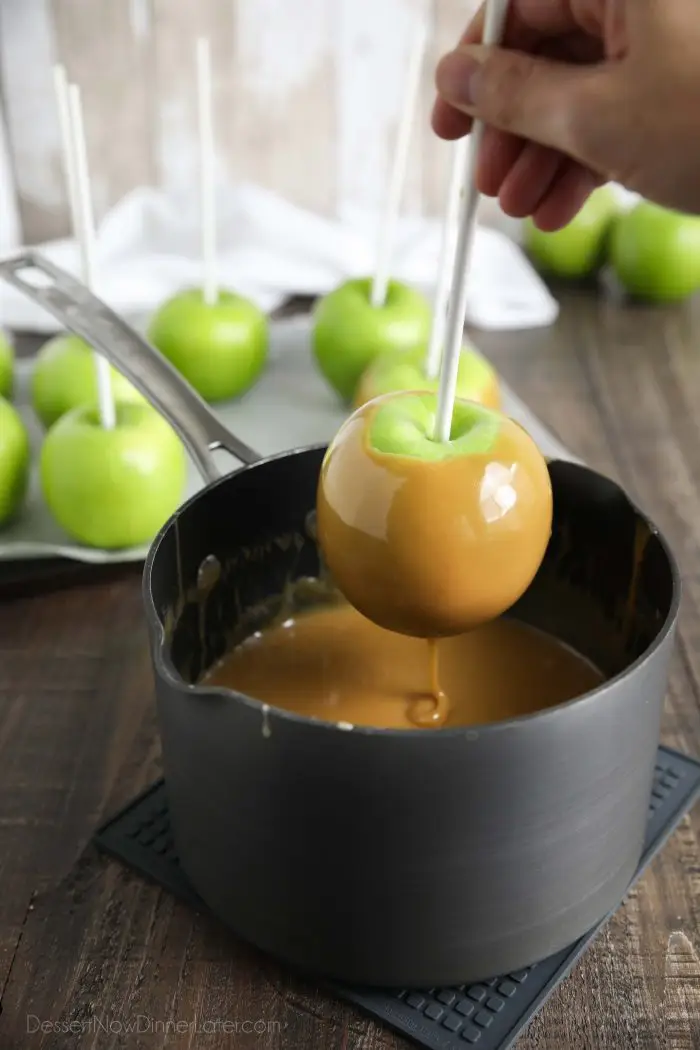
- To dip the apples in the caramel, first, allow the caramel to cool to 180˚F – 190˚F and then work quickly.
- The cooler temperature will help thicken the caramel so it doesn’t run off of the apple too quickly. If the caramel starts to get too cool, simply warm it on the stove for a minute or two and keep working.
- Tilt the pan, insert the apple, and slowly swirl it until all sides are coated. Allow excess caramel to drip into the pan for a few seconds, then gently scrape the bottom on the edge of the pan and place the apple onto the parchment paper or silicone lined baking sheet.
- You don’t want a lot of excess caramel on the bottom of the apple or else it will pool around the bottom as it cools and sets. It’s hard to avoid this completely, but try to minimize it.
- Repeat with all apples, being careful not to stir the caramel too much or bubbles will form.
Caramel Apple Toppings
Plain caramel apples are delicious as-is, but you can make them gourmet caramel apples by adding toppings.
Immediately after coating the apples in caramel, and before it sets, roll the caramel apples in finely chopped nuts, crushed Oreos, toffee pieces, mini M&Ms, etc. Crumbly toppings will adhere better than chunky toppings, but feel free to use whatever you like.
Dipping or drizzling the apples with melted chocolate (milk, white, semi-sweet, or dark) is great too. This needs to be done after the caramel has firmed up, after about 20-30 minutes in the refrigerator, and before adding any additional toppings.
The toppings will stick to the melted chocolate as long as it is not too hot and runny.
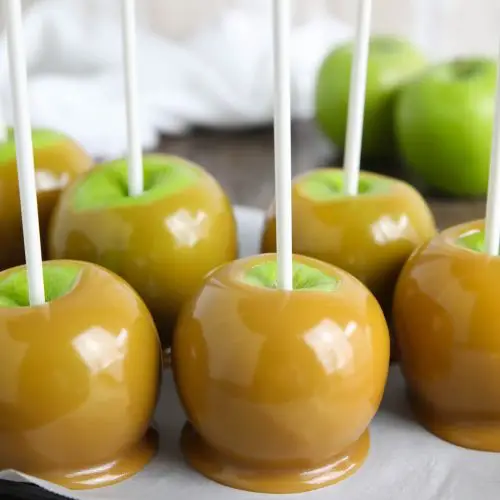
Best Apples To Use For Homemade Caramel Apples
Since caramel is pretty sweet, using a tart, crisp apple like Granny Smith is preferred for caramel apples. Honeycrisp or Pink Lady (aka Cripps Pink) apples would also be a good choice.
When hand selecting apples, pick ones that:
- are medium size and as round as possible
- sit flat so the stem/center of the apple is facing straight up
- are firm with no soft spots or nicks that could leak juices into the caramel
How long do caramel apples last?
Storing the caramels in the refrigerator is best, and my personal preference. I love a cold, crisp apple. This will also keep the caramel firm and adherent. The caramel apples will last up to one week in the refrigerator.
Leftover Caramel???
Pour any leftover caramel into a parchment lined dish while still warm. Allow it to set up, then cut it into pieces and wrap it with wax paper for individual candies. See this post for more information.
More Homemade Treats
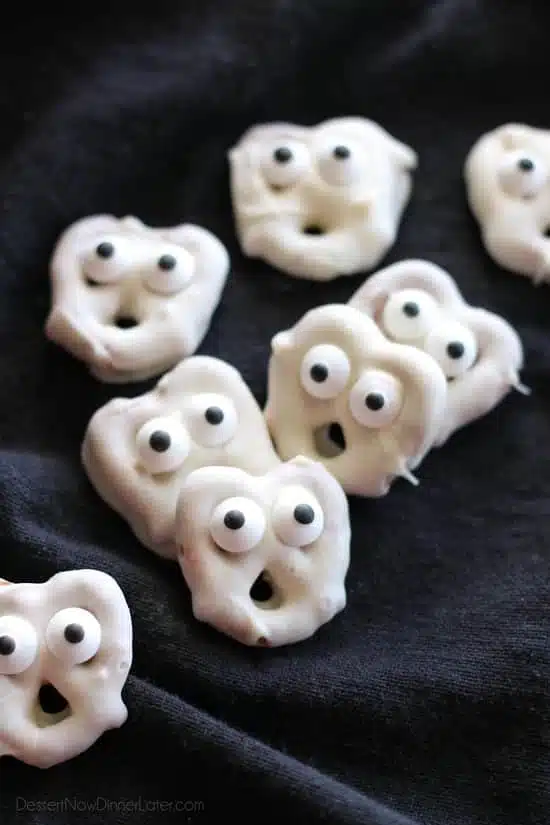
- Pretzel Hugs
- Easy Buckeyes
- Chocolate Truffles
- Cracker Toffee
- Cookie Dough Pretzel Bites
- Marshmallow Popcorn
- Peanut Butter Pretzel Balls
FOLLOW ME on PINTEREST, FACEBOOK, OR INSTAGRAM for more great recipes!
Homemade Caramel Apples
Ingredients
- 12 medium Granny Smith apples
- 2 Tbsp lemon juice or vinegar
- 12 Wilton cookie sticks, (6 to 8-inches long)
- 1 cup (226 g) salted butter, (2 sticks)
- 2 cups (400 g) light brown sugar, gently packed
- 1 cup (237 g) light corn syrup
- 14 oz (396 g) can sweetened condensed milk
- 2 tsp vanilla extract
Equipment
Instructions
- WASH APPLES: Place the apples in a large bowl and fill with comfortably hot tap water. Add 2 Tablespoons of lemon juice or vinegar to the water and let the apples soak for a minute or two. Use a vegetable scrub brush or a slightly abrasive cloth and a little dish soap (I used Dawn) or produce spray to scrub each apple well all around. Rinse completely, remove stems, and dry each apple extremely well with cloth or paper towels.
- INSERT HANDLES: Gently tap cookie sticks 1/2 to 2/3 of the way down the center of each apple with a hammer or the flat side of a meat mallet. (Food safety tip: Wash the hammer or clean it with a disinfectant wipe before using it to insert the handles into the apples.)
- PREPARE FOR DIPPING: Line a baking sheet with parchment paper or a silicone baking mat. Place the prepared apples on top and refrigerate until ready to dip. (Also prepare any toppings in plates or bowls before proceeding.)
- MAKE CARAMEL: Stir butter, brown sugar, corn syrup, and sweetened condensed milk in a large saucepan over medium-high heat. Bring to a boil, stirring constantly, then reduce heat to medium.
- Cook until a candy thermometer reaches 230˚F – 240˚F, about 20-30 minutes, stirring constantly to prevent burning. Check the caramel by spooning some into a small bowl of very cold water. Let it sit for a few seconds. Then pull it out. If it can hold the shape of a ball, then it’s done. (Check caramel at the lower temperature for those at a high altitude.) Remove from heat and stir in vanilla. Careful, it may bubble up.
- DIP APPLES: Let caramel cool at room temperature to 180˚F – 190˚F. Working quickly, tilt the pan, insert the apple, and slowly swirl it until all sides are coated. Allow excess caramel to drip into the pan for a few seconds, then gently scrape the bottom on the edge of the pan and place the apple onto the parchment paper or silicone lined baking sheet. (If using toppings, immediately dip or sprinkle toppings over the warm caramel coated apple. Then place on prepared pan.)
- Repeat with remaining apples, being careful not to stir the caramel too much or bubbles will form. If the caramel cools too much, warm it slightly over the stovetop and continue dipping. Allow caramel apples to set up in the refrigerator for 20-30 minutes before eating.
- Store apples covered lightly in the refrigerator up to 1 week. To eat, cut slices around the core or hold onto the stick and bite right into the apple.
Notes
- Use parchment paper or a silicone baking mat fitted on a baking sheet for the dipped apples. No cooking spray needed. DO NOT USE WAX PAPER or the hot caramel will stick.
- TOPPINGS: If dipping into toppings, prepare all toppings before dipping apples into caramel. Finely chopped toppings are easier to adhere to the caramel. Crushed nuts, Oreos, candies, etc.
- If there is leftover caramel after dipping all the apples, simply pour it into a parchment lined dish and allow it to cool completely. Cut the caramel into squares and wrap it with wax paper for individual candies. May need to refrigerate caramels to keep firm.
- For gifting: Place caramel apples in clear cellophane bags and tie shut with a ribbon around the stick.
Nutrition
Did you make this?
Don’t forget to leave a rating below and make sure to follow on Pinterest and Instagram for more!