Raspberry Crumble Bars
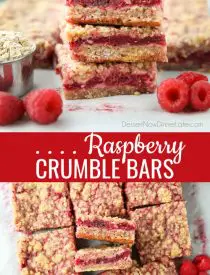
Raspberry Crumble Bars are made with sweetened fresh or frozen raspberries layered between a brown sugar oat crust and crumb topping. They’re chewy, fruity, and delicious cookie-like dessert bars.
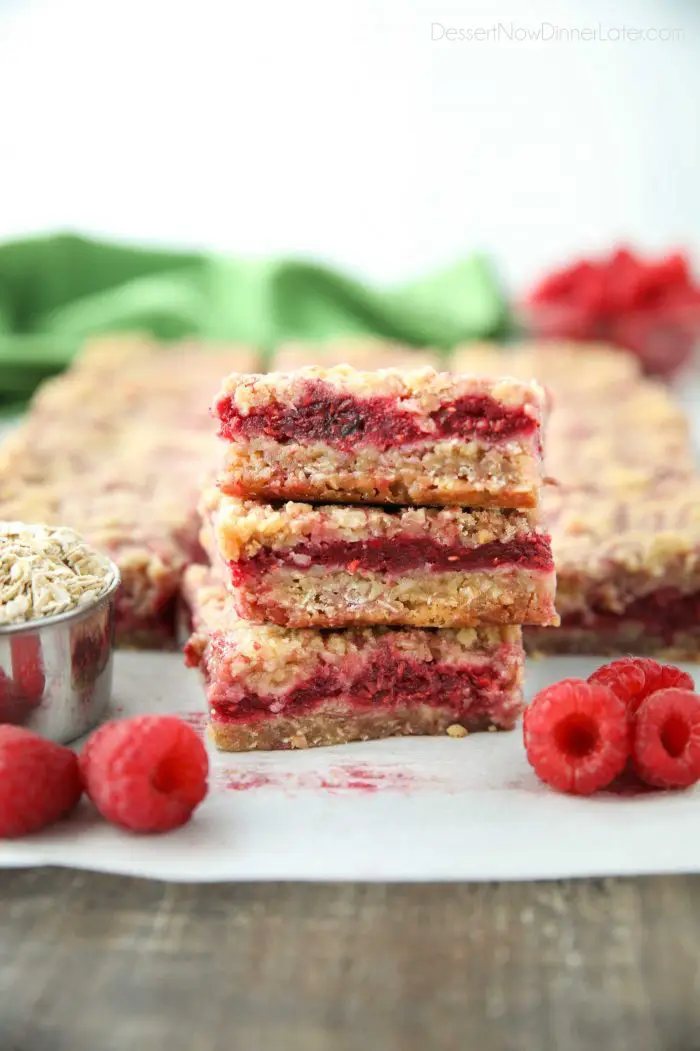
Fans of streusel and fruit crisp alike will love these chewy oatmeal-cookie-like bars with a fruit-filled center.
Raspberry Crumble Bars are like eating a chewy granola bar with a jelly-filled center.
Save This recipe
Enter your email below to get a link to this recipe emailed straight to you to save later! Plus be signed up for all new recipes.
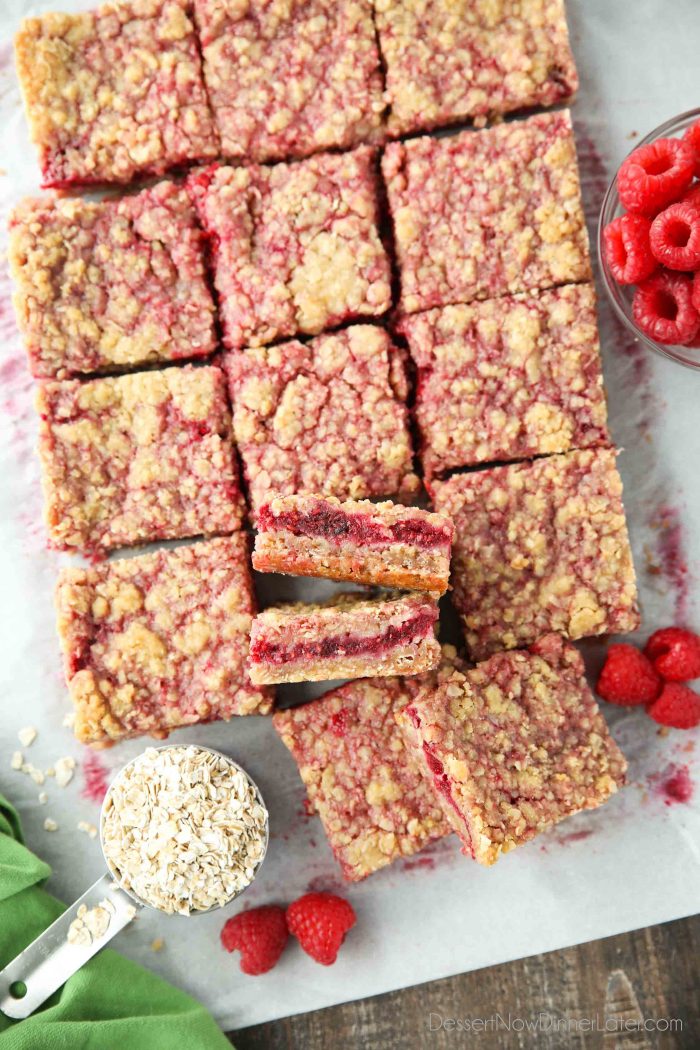
My love for fruit crisp gave me the idea for these easy-to-eat dessert bars.
Fruit + Streusel = a match made in heaven!
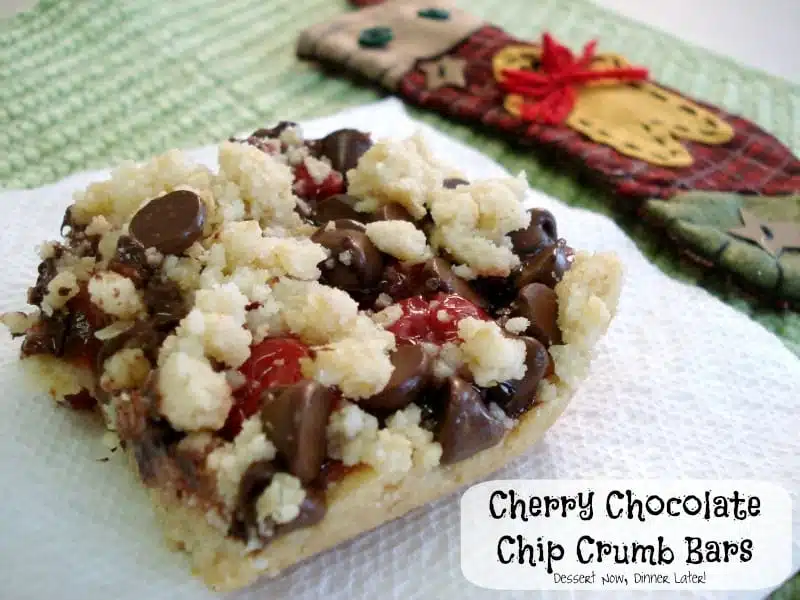
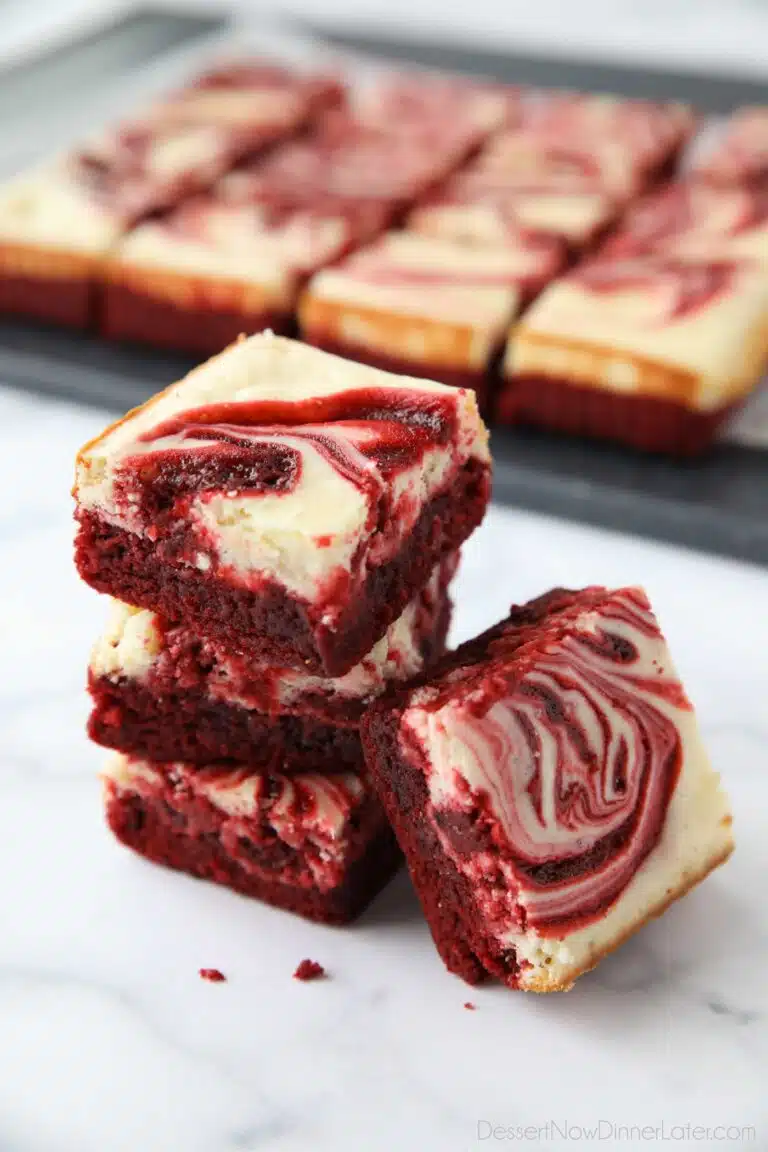
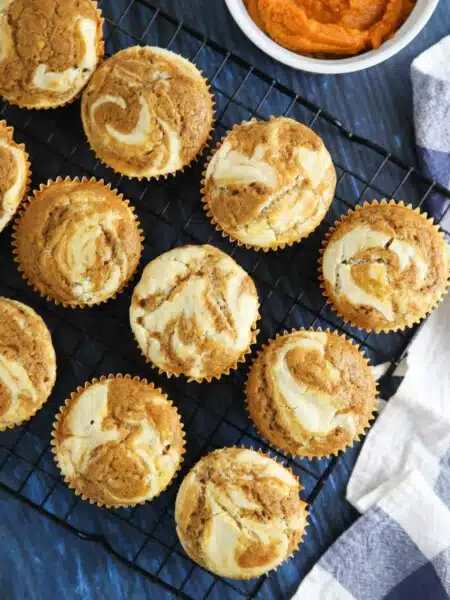
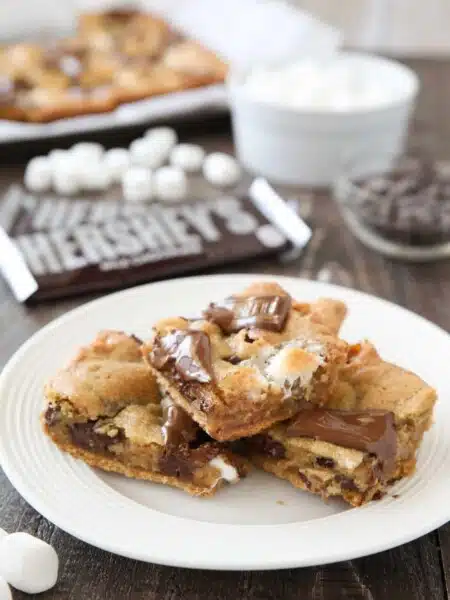
I actually have made several crumb bars on my blog…
All with a sweet, buttery, shortbread crust and crumb topping.
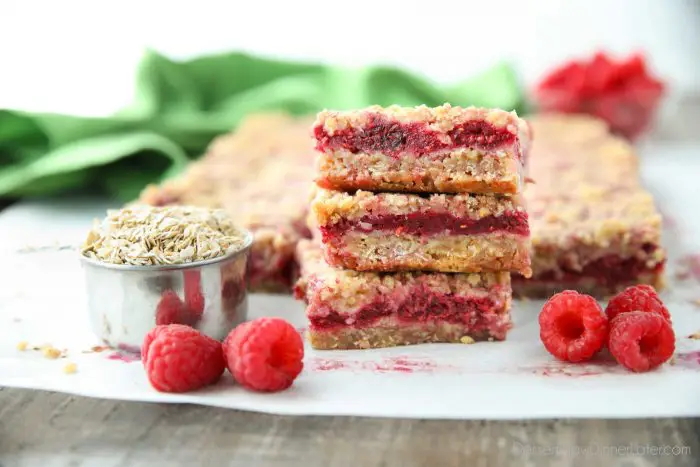
Raspberry Crumble Bars
But these Raspberry Crumble Bars use streusel ingredients (flour, oats, butter, brown sugar, etc.) that double as the crust AND crumb topping.
I’ve actually made a very similar recipe of Lemon Raspberry Crumb Bars with the same crust and topping, but with a creamy lemon and raspberry filling. Think key lime pie filling, but with lemons and chunks of fresh raspberries. Also incredibly delicious!
Fresh or Frozen Raspberries?
The raspberry filling for these crumble bars is made with fresh OR frozen raspberries. Fresh berries work great, but require A LOT (4 to 5 cups), and that can get expensive! Frozen berries are typically cheaper, easier to get year round, and yield great results.
When using frozen raspberries, you will want to gently rinse them in a strainer or colander until they are thawed and the water runs (mostly) clear.
Let the water drip off into a bowl while you assemble the crust ingredients. Gently pressing the berries in the colander with a spatula will also help. You want as little water as possible.
Once you add the sugar, lemon juice, and cornstarch, the fruit will release its own liquid and you will want it to start baking right away. Nobody wants mushy bars.
Baking and Other Tips:
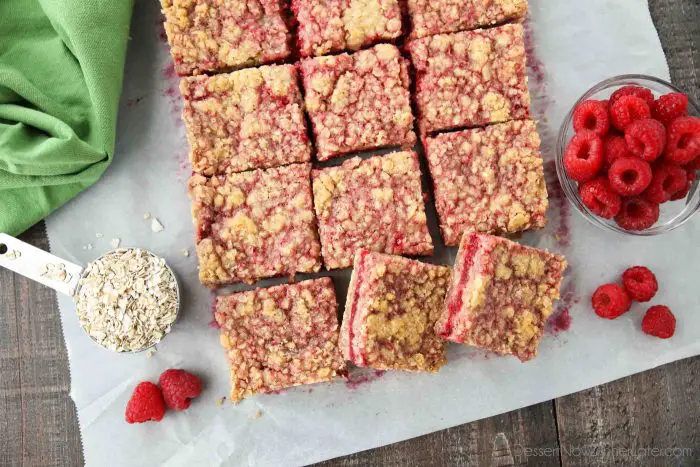
- When baking these bars, you will want the center to bubble up like you would a pie. Reaching that boiling point ensures that the fruit layer is thickened and will solidify nicely. The crust should also reach a nice golden brown color so that it bakes all the way through.
- CHILLING these bars is highly recommended. It helps the fruit layer set up and tastes great cold. You can store the bars at room temperature, but they will be softer and require a plate and fork to eat.
- Want to use other fruits? Why not?! Check out my variations listed above and swap out the shortbread crust for this one!
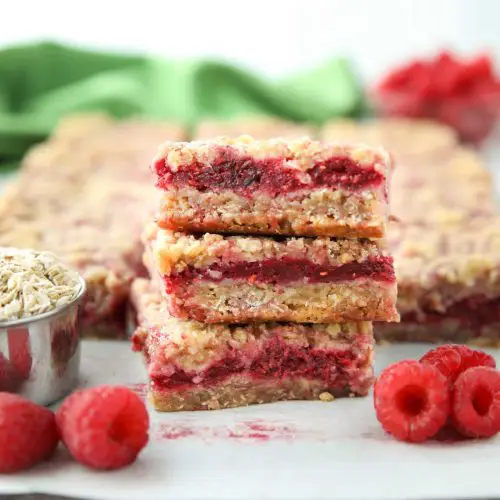
Raspberry Crumble Bars
Ingredients
Crust/Topping:
- 1 cup (226 g) butter, (2 sticks) room temperature
- 1 ¼ cup (250 g) brown sugar, gently packed
- 1 ¼ cup (100 g) quick oats
- 1 ¾ cup (210 g) all-purpose flour, (stir, spoon, & level)
- ½ tsp salt
- 1 ¼ tsp baking powder
Filling:
- 24 oz (680 g) fresh or frozen raspberries
- ½ – 1 cup (100-200 g) granulated sugar, depending on tartness of the berries
- ¼ cup (40 g) cornstarch
- 1 Tbsp lemon juice
Instructions
- Preheat oven to 350 degrees Fahrenheit.
- Rinse and drain raspberries in a mesh strainer or colander. Place over a bowl to catch excess water. Set aside. (Rinse frozen raspberries until thawed and water runs mostly clear. Can gently press with a spatula to get excess water out.)
- In a large bowl, mix together the crust/topping ingredients: butter, brown sugar, oats, flour, salt, and baking powder. Mix until there are no butter chunks and the mixture is starting to clump together.
- Press 2/3 of the mixture on the bottom of a lightly greased 9×13-inch pan. (Optional: Line pan with parchment paper sticking out of the sides to easily lift the bars out of the pan after they are baked.)
- In a separate bowl, mix together the berries, sugar, cornstarch and lemon juice. Evenly distribute the fruit mixture on top of the crust. Sprinkle the remaining crust mixture over the fruit layer.
- Bake at 350˚F for 35-45 minutes or until crust browns and the filling bubbles and thickens in the center. Cover with foil if crust browns faster than filling bubbles in the middle.
- For best results, CHILL 1-2 hours before cutting and serving. (May also eat warm like fruit crisp, but fruit center solidifies better when chilled.) Keep leftovers covered and stored in the refrigerator.
Nutrition
Did you make this?
Don’t forget to leave a rating below and make sure to follow on Pinterest and Instagram for more!
